I love getting fresh flowers, but I always feel a little sad when they begin to wilt. That is why I like paper flowers–they never die.
One of the best paper flower tutorials I’ve seen is from Jones Design Company. If you have any interest in creating your own paper flower bouquet, I would definitely suggest checking out. It is a fairly simple process, but because I am terribly lazy, I modified the tutorial to make it even easier. I left out a few of the steps, but the end result is still beautiful. I’ve included my modified tutorial below, just in case anyone has a penchant for laziness like I do.
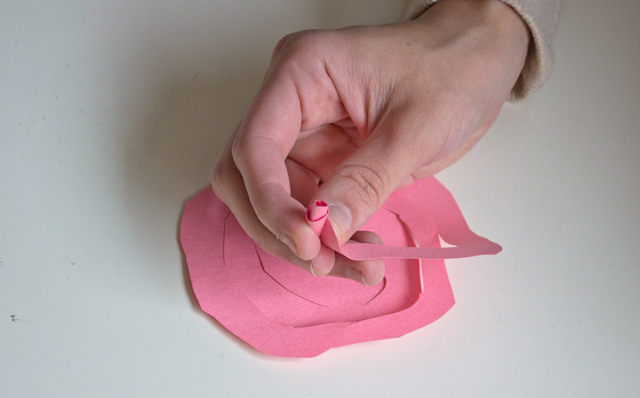
I began by cutting an uneven circle out of construction paper. Then I cut the circle into a sloppy spiral.

Next, I rolled the spiral inwards, creating a tight rosette.
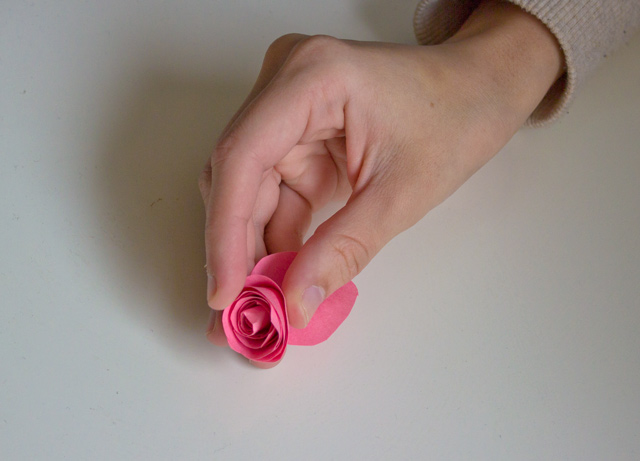
I released the rosette, letting the flower unfurl into a nice bloom.
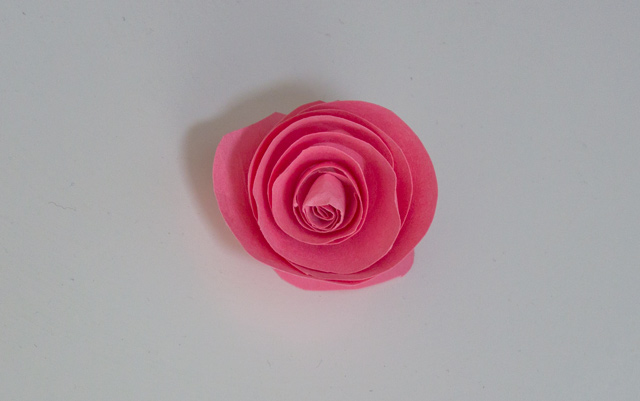
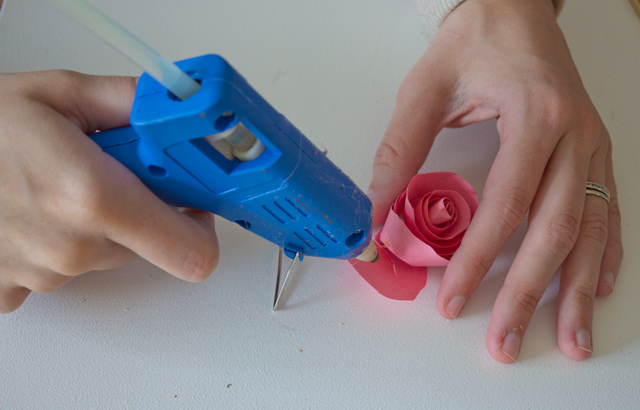
Then I put a dab of hot glue on the inner piece of the spiral and pressed the flower down.
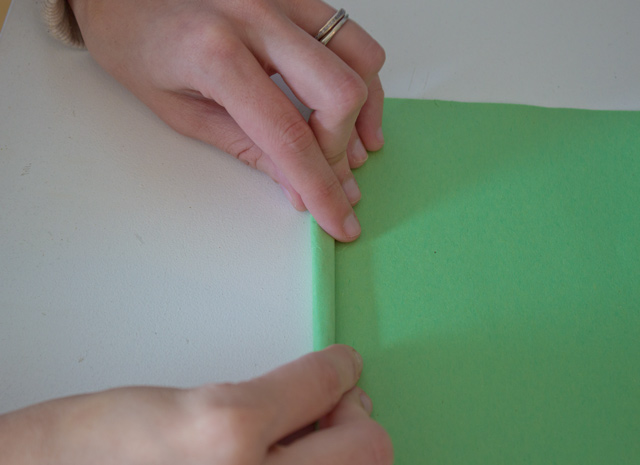
Next, I rolled a sheet of green construction paper into a sturdy stem.
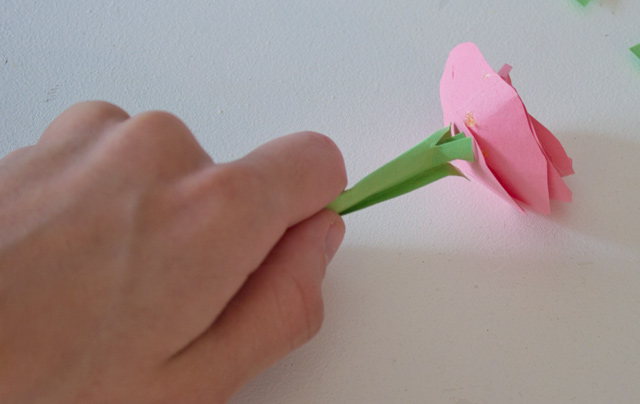
I made two small cuts on one end of the stem and hot glued it to the bottom of my flower.
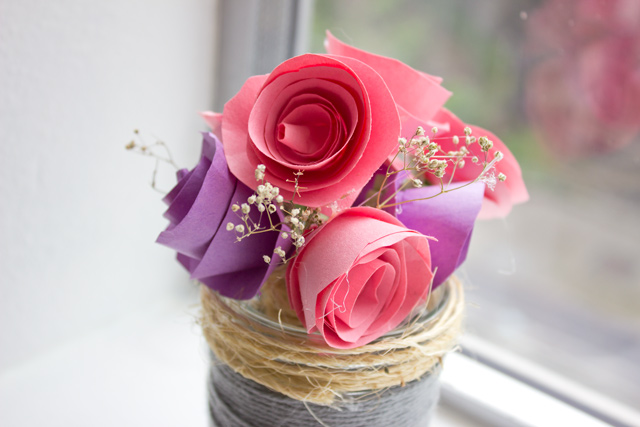
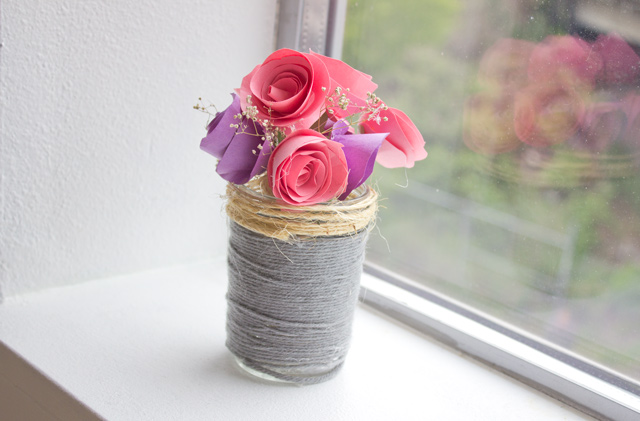
I repeated these steps until I had created eight flowers. To create my flower arrangement, I gathered all of the flowers and a few dried stems from another flower arrangement that I have. I used twine to tie the flowers into a tight bunch. For a vase, I cleaned out an empty olive jar and wrapped it in yarn and twine.
It’s definitely not perfect, but I don’t mind.
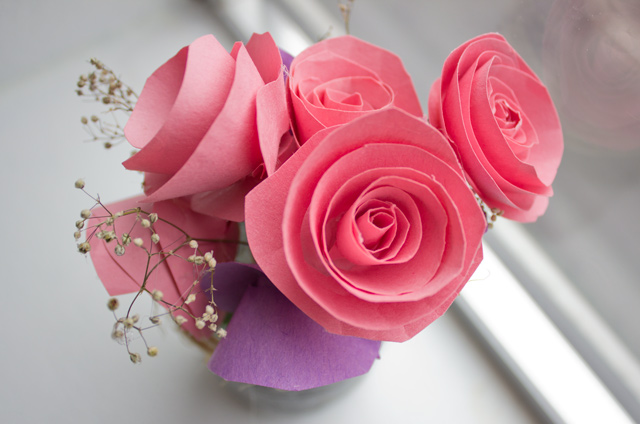
I’m just pleased that these flowers are not going to wilt.

1 Comment on Paper Flower Tutorial