The project I am about to share was one of the most frustrating projects I have ever worked on. I like to consider myself a fairly capable person, so when I decided that I was going to add tufting to my Ikea Nils chair, I thought it would be a piece of cake. I watched some YouTube tutorials, and although everyone said that it was going to be tough, I was confident that I had the skills to succeed… boy was I wrong. It was rough. I changed tactics so many times and got so frustrated, that I didn’t even get any photos of the process. On the bright side, I now have a pretty solid approach and am planning on reupholstering my other Ikea Nils chair, so I hope to get photos and give a better tutorial then.
Here is the before. It’s a perfectly lovely chair, but a bit on the plain side.
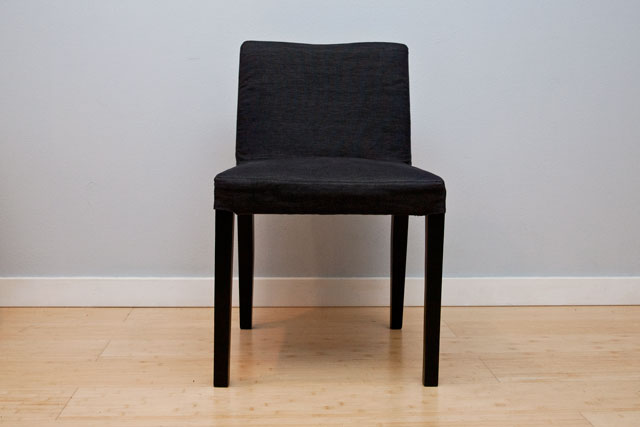
And here is the after!

I tried three different fabrics before settling on this faux leather that I got at Zero Landfill for FREE! The only things I had to buy for the project was an upholstery needle and a craft button cover kit. I also used some silver paint to give the legs a little pizazz.

But even though the monetary cost of my project was super cheap, the number of hours I spent working on it was costly. It pretty much took me a week to finish. Joey lucked out because he was out of town on a work trip, so he didn’t get to hear my incessant complaining as I toiled away for hours on end. I continually pricked my finger on the needle, and I actually ended up drawing blood a few times.
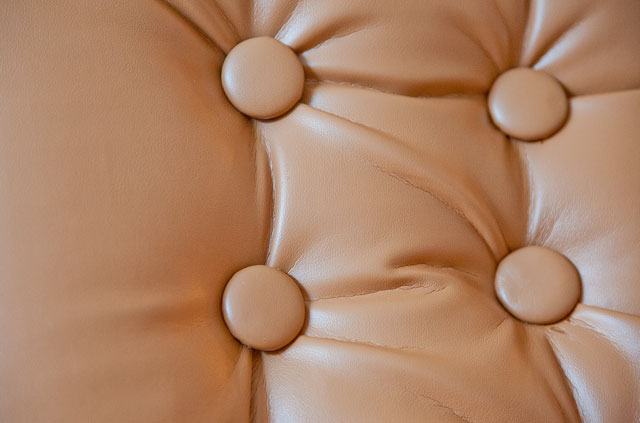
For all my complaining, I actually really like the outcome. The tufting isn’t perfect, and I wish that I had done diamond tufting instead, but it was a labor of love. And when I cover some of the less professional tufts with a faux sheepskin throw, it doesn’t look half bad.
