Menu
diy
inspiration
house projects
tangletown house
Shop
about
contact
mox & fodder
a rationed dose of aesthetics
DIY
DIY
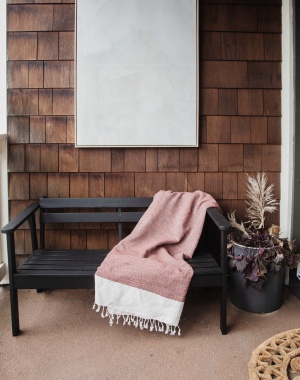
Outdoor Bench Make Over
April 1, 2023
DIY
,
house projects
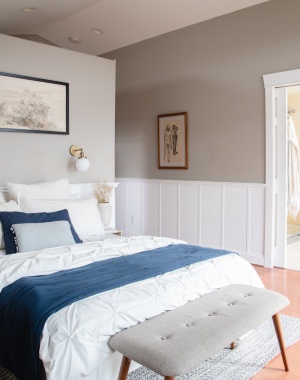
Wallpaper & Pink Bedroom
April 1, 2023
DIY
,
house projects
Easy Board and Batten in Main Bedroom
February 20, 2023
DIY
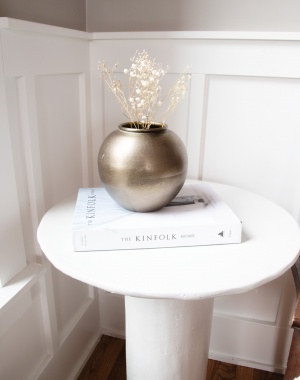
DIY Plaster Table (Crate & Barrel Inspired)
January 21, 2023
Posts navigation
1
2
3
4
5
6
…
35
Next