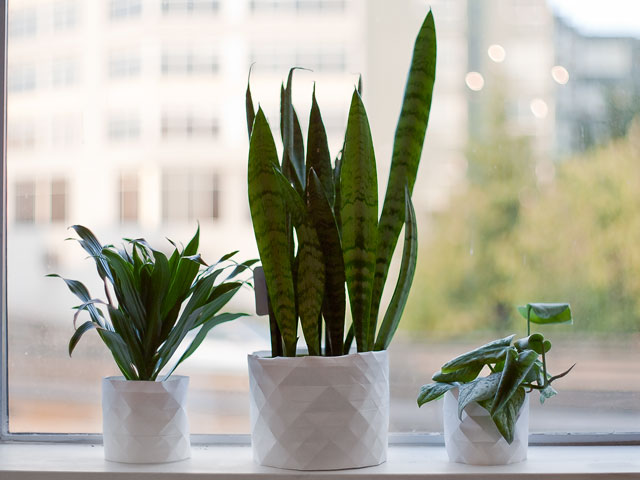
Today I’m sharing a tutorial for making inexpensive, geometric paper covers for planters. What I love about these covers is they erase the need to re-pot your plants from the plastic containers they come in. You can just wrap the planter in these covers, and they’ll look beautiful.
To begin, you’ll need a large piece of thick paper. I used a piece of paper from one of Joey’s 18″ x 24″ sketch pads. It’s thicker than regular paper, but less thick than poster board. This size covered a 6″ plant and a couple of 2″ plants with plenty of leftovers. The first step is to draw a 1″x1″ grid on the paper. Then intersect the grid with diagonal lines to create a crisscross pattern, as seen below.
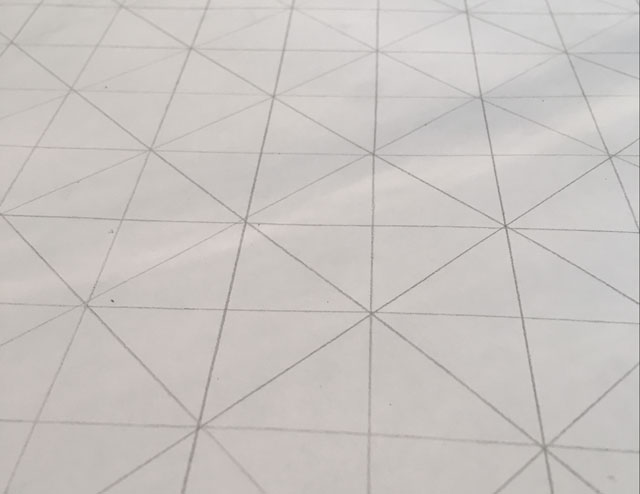
The next step is to arrange the paper in landscape position and draw an additional horizontal line through the center of each square. Then begin folding the paper horizontally along the straight lines. Be sure to fold in an outward fashion, so the pencil marks are visible. When done, unfolded the paper and begin folding inward along one set of diagonal lines. As you can tell from the photo below, this is actually a bit difficult because the pencil marks will be hidden as you fold. After folding all of the the diagonal lines one direction, fold the opposite diagonals in the same fashion.

At this point, the paper will naturally begin to curl into a ring. All you have to do is measure the circumference and height of the pots and cut the paper to the correct size. Then tape or glue the ends of the paper to make a ring and place it over your pot.
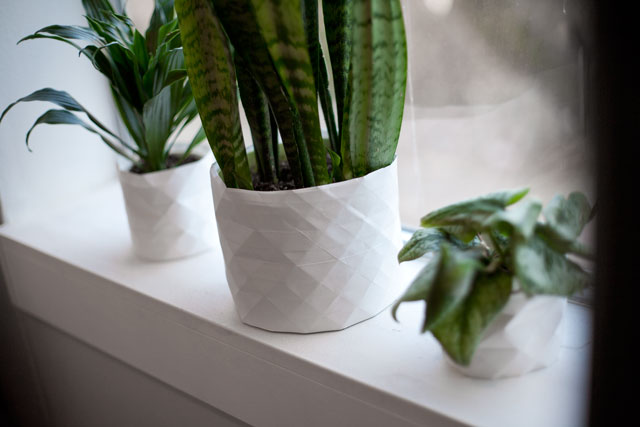
Since the covers are made from paper, they aren’t very durable; but I don’t really mind. They were so easy to make, so if they get torn or water-damaged, I can replace them without much effort. And in a few months, I might decide I want a different type of planter, so I like the fact that these are so low investment.