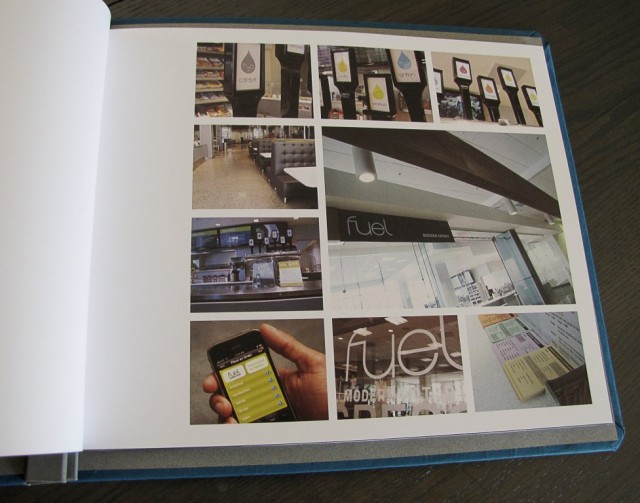
In tandem with my interest in reusing-on-the-cheap, I built a graphic design portfolio using thrift store materials, a cut of fabric, and some art supplies lying around the house. Plastic sleeves seem tacky to me and remind me of family photo albums, so I wanted my work to stand on its own on quality matte paper. Instead of paying $300+ for a cookie-cutter book portfolio or getting a bland Itoya Art Presentation books, I decided to make a book with interchangable pages. Screw and Post binding is great for updating, and it’s also the method used in most scrapbooks and older photo albums so it’s easy to find at a thrift store. You can learn how to make one.
Materials:
- An old-fashioned screw-post photo album (you could also use a scrapbook; just choose a size you want to work with)
- Satin fabric (any non-stretchy, sturdy fabric will do)
- Fusible interfacing (Stitch Witchery worked for me)
- Screw and Post binding, or grommets (you can reuse the ones that come with your book if your pages fit the same thickness, otherwise buy from a printshop)
- Paper/page printouts
Tools:
- Cutting mat, preferably larger than your book size
- Ruler (I prefer cork-bottom ones to keep things still)
- Xacto knife
- Single hole punch, or adjustable 2-3 hole punch
- Paintbrush, and disposable cup or container
- PVA glue or other archival bonding glue, or
- Photo or Spray Mount (I had leftover Super 77)
So to start, remove the inserts from your book so you can get at the outer covers. Usually they are made out of leather, plastic, or some cover-paper. In my case, the cover looked like gaudy gloss cardboard. I summoned my knife to make a dissection at the edge to start removing it from the book board that we’ll work from. Just rip as much as you can, then you can trim the rest to make it flush with the bookboard.
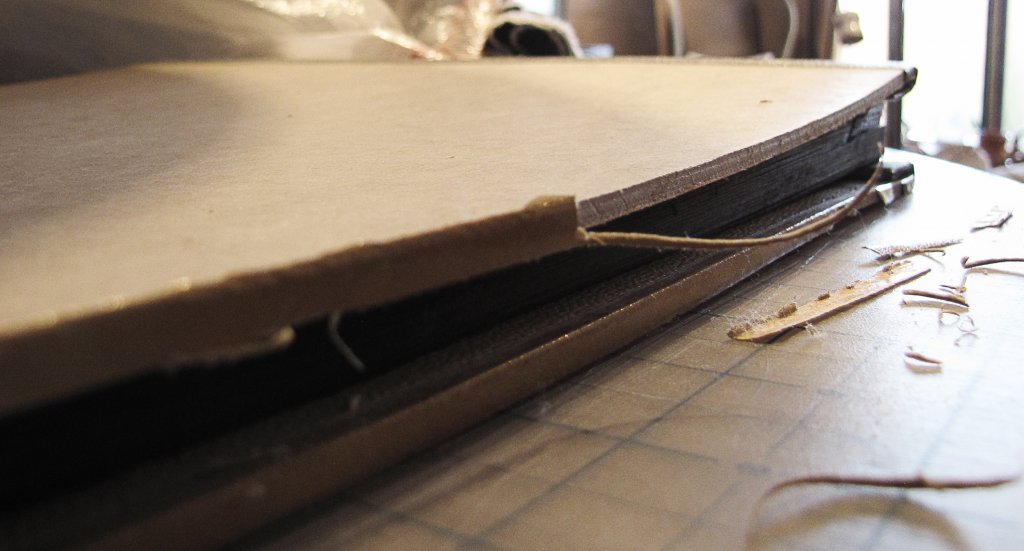
Leave the book tape/spine mesh unless you want to use your own tape. Mine is a bit weathered on the corners, but it was the neutral color I was looking for.
I then prepared my cloth for a stiff life as the cover. I followed the directions using enough of the Stitch Witchery interfacing to cover both front and back boards with some room to wrap into the inside by an inch. I also did some pre-test with the scraps to see if the cloth would hold up without the interfacing. However, the PVA glue bled through the porous surface leaving an uneven finish with darker stains (even though PVA dries clear).
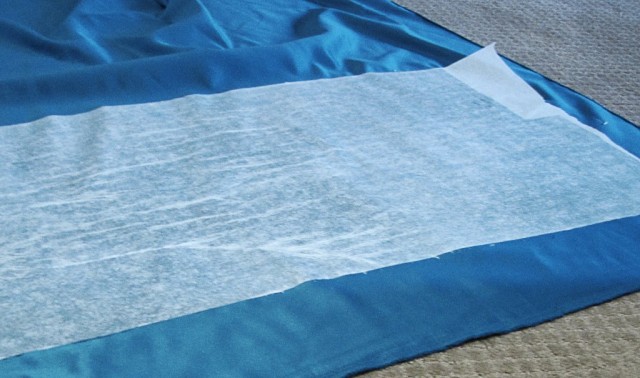
Do all your trimmings. Give an inch or more on 3 sides to make the folds. There’s no need to cover the binding edge unless that is what you have in mind. At the corners, trim a 45º cut so when you fold each side the corner doesn’t bunch.
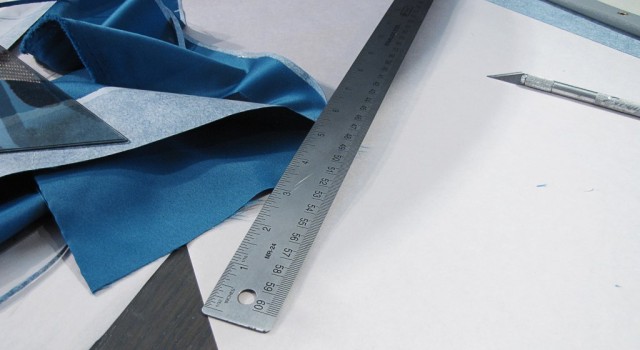
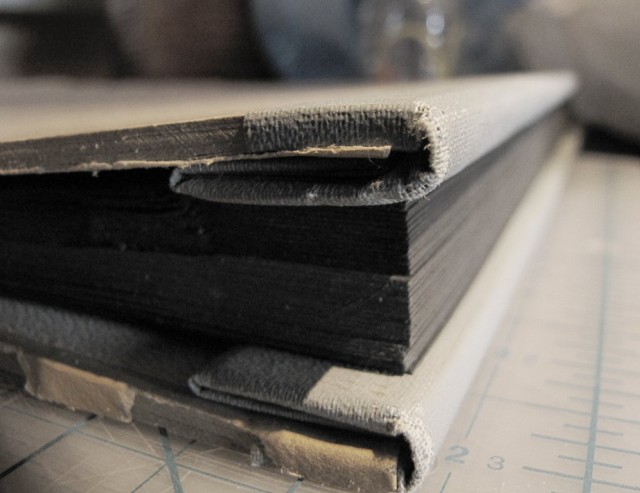
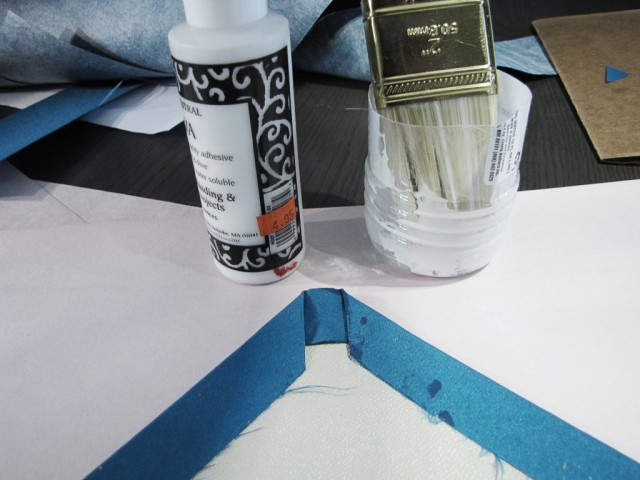
Apply straight glue to the book board that would show on the outside. Use thin layers and dilute with water if the application is too thick. Position the board to line up with your fabric and press down evenly (you can use a silkscreen squeegie, posterboard, or cardboard). If your fabric is thick (which it should be with the interfacing), score the edges so you can fold it over easily without bubbling. Finish gluing your edges down by applying glue to the fabric this time. Since my original photo-book had rounded edges, I had to make a 45º fold at the corner, then make the normal right angle folds.
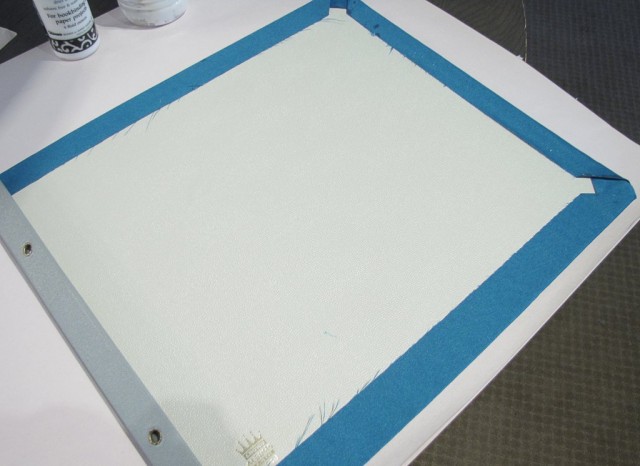
Repeat for the backside of the book cover. Don’t worry about fraying or wet glue drops that seep on the inside as they will be covered by what are called endpapers. Use your favorite bookmaking endpapers, opaque paper, or more fabric. Cut it to the size of the interior pages, or about a quarter-inch less than the size of the bookboard on the three sides, excluding the book spine. Then spray mount it (or glue if you know it won’t bleed through).
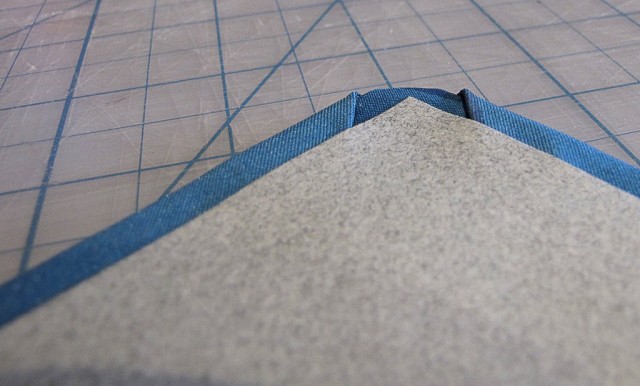
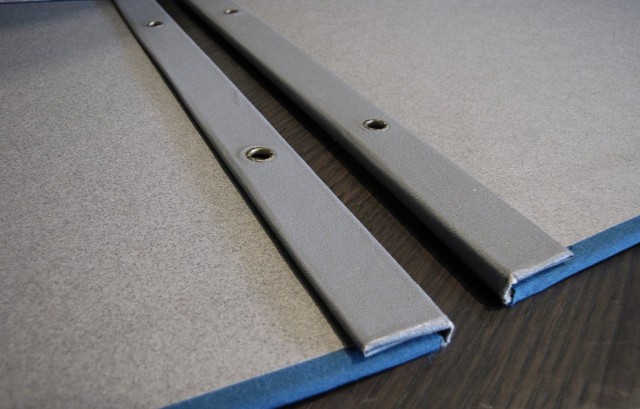
My end-papers matched the existing flaps, and distinguished the inside from the outside. Now all you need is to print pages or mount your images to the pages that came with your scrapbook/presentation book. Finish off by punching holes in the correct locations. Then you can bind it up using the screw and post, or binding studs from a hardware store. Add any final touches, such as a stamp, sticker, screenprint, or name plate for the cover.

