I have a treat for you all. My good friend, Aria, from The Suburban Hippy Momma did this guest post on how to make a faux leather necklace. She is incredibly creative, and I hope you enjoy her tutorial. Be sure to check out her blog for more awesome projects.
Accessories have never been my favorite things to shop for. I can never seem to find the right pieces that fit my personality, and my budget. This necklace was a great fix for both of those problems. I made it out of items I already had on hand, and because it’s DIY I was able to design it to express my style.
Wanna make one? Here’s how!
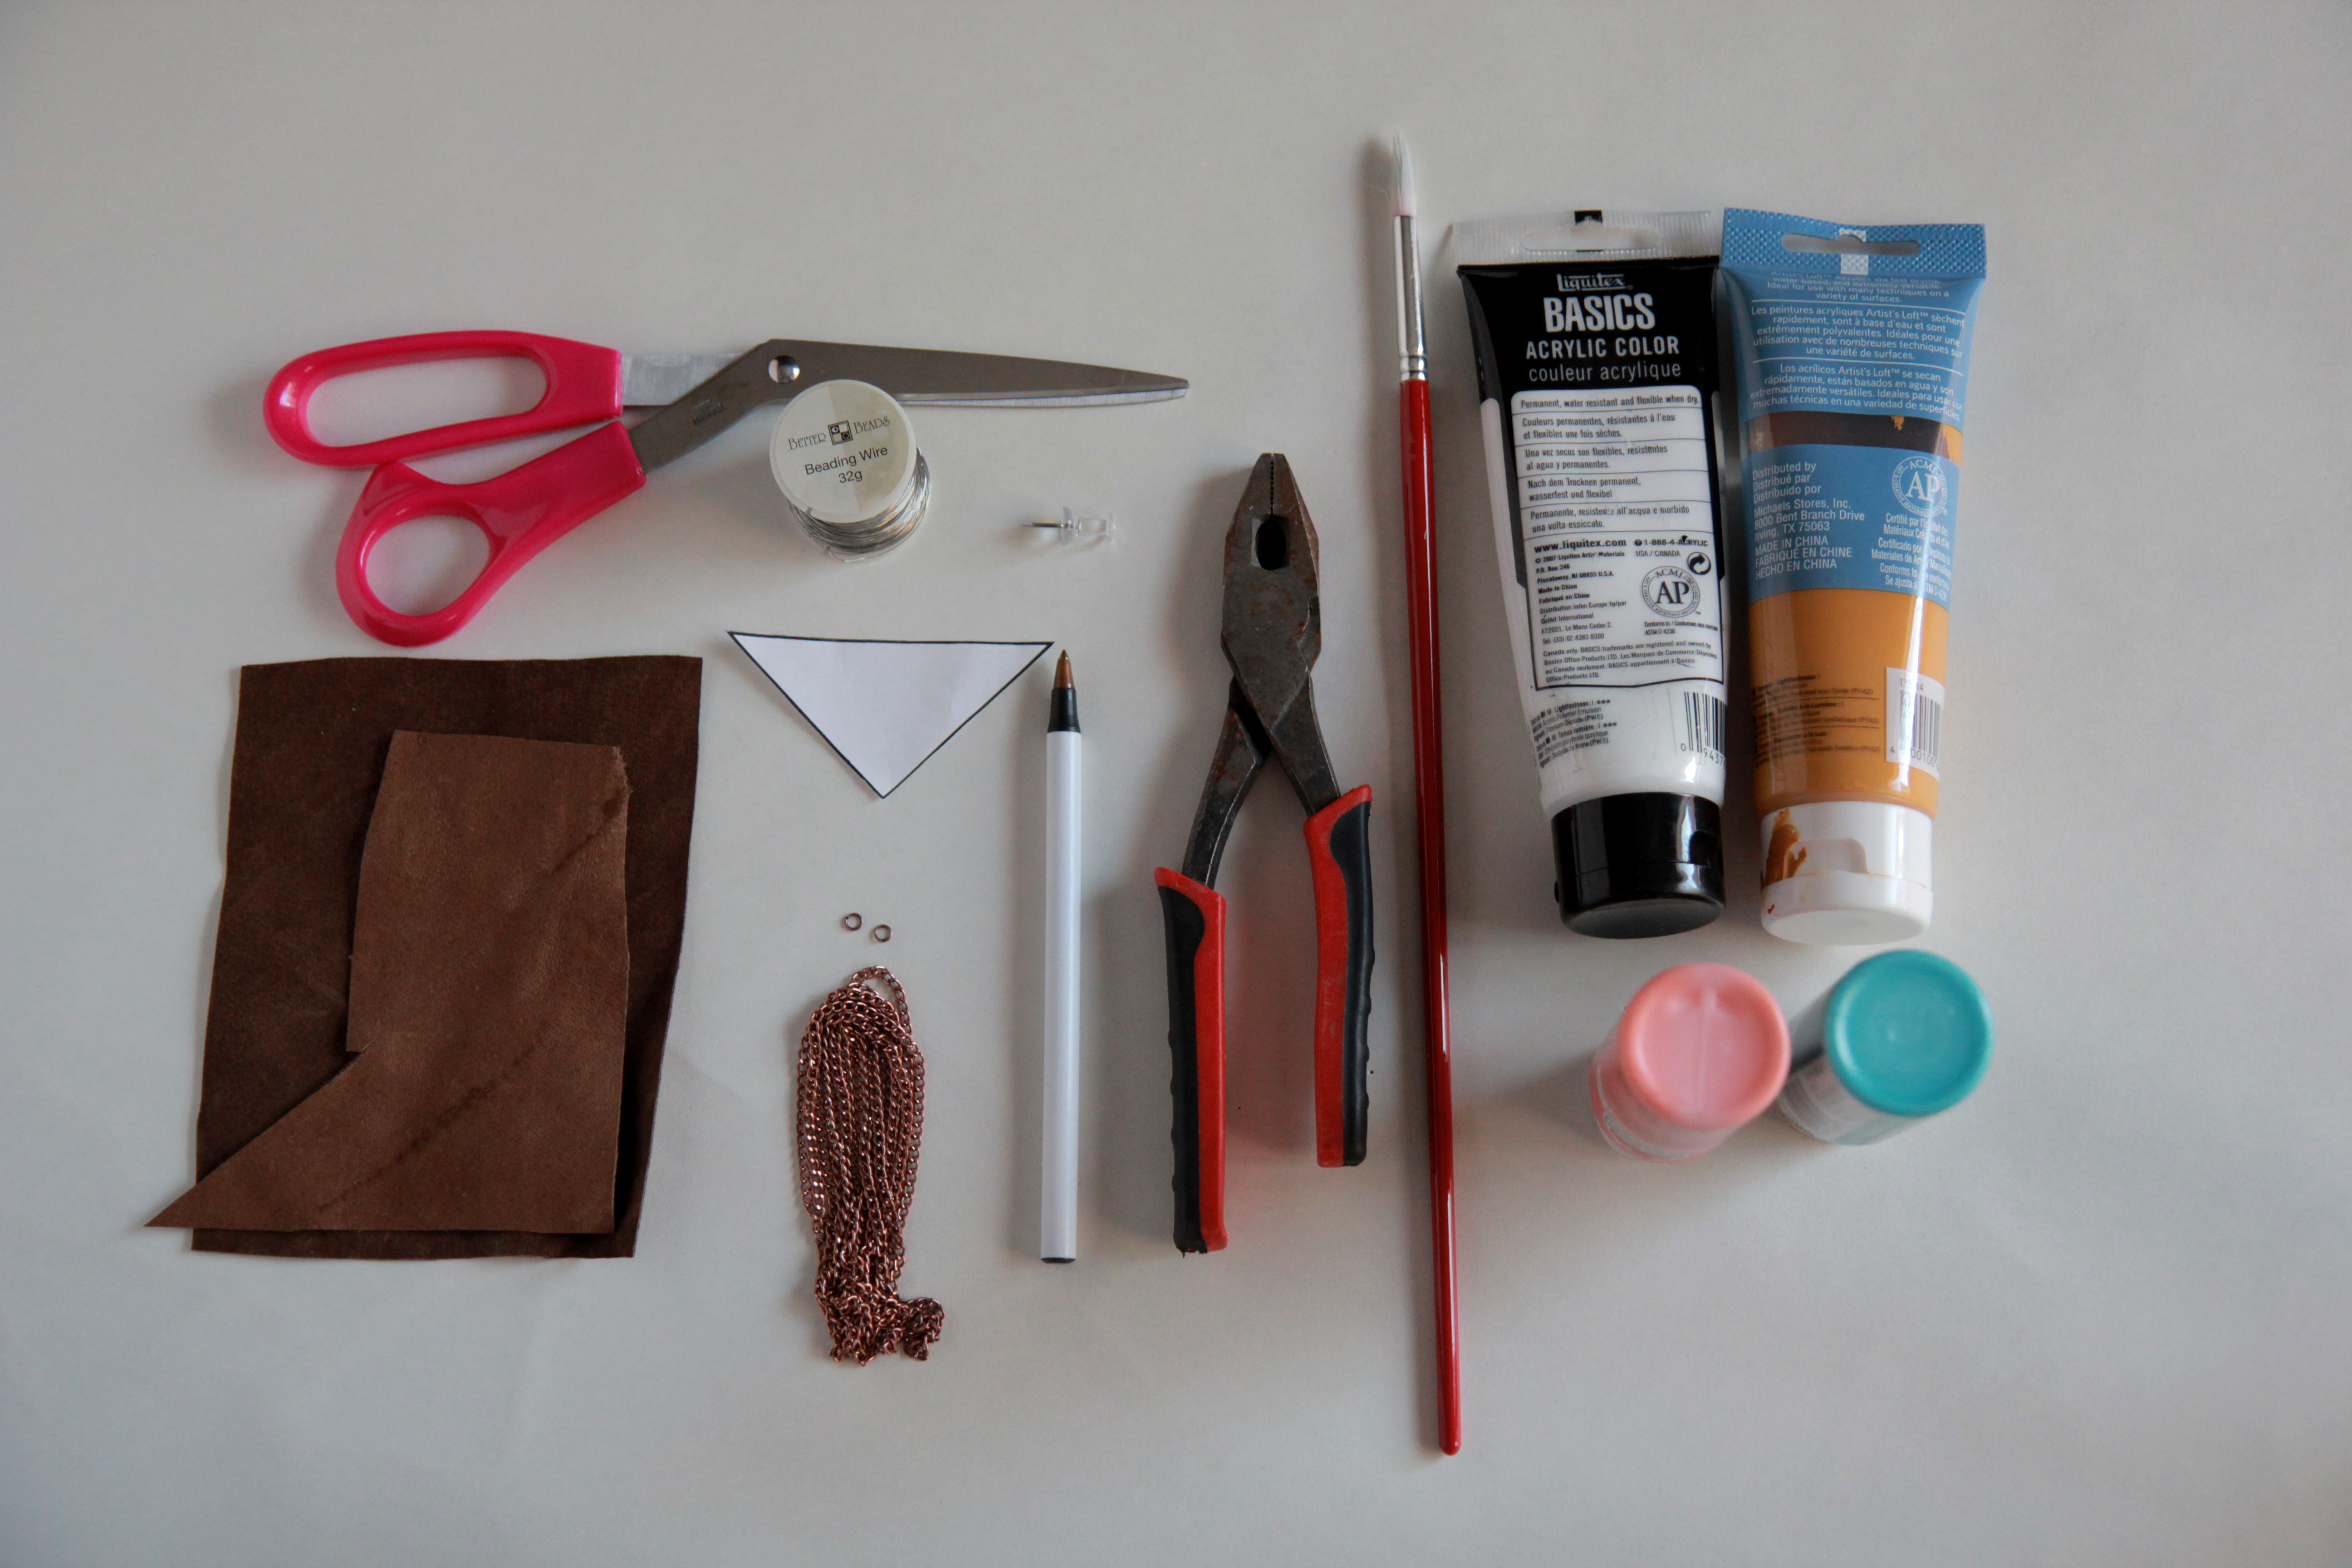
What You’ll Need:
Scrap faux leather
Scissors
Necklace chain
Jewelry jump rings
Wire cutters
Beading thread
Triangle cuttout (I just printed one from Pages. I made it to measure three inches)
Paintbrushes
Acrylic Paints
A pen
A pushpin

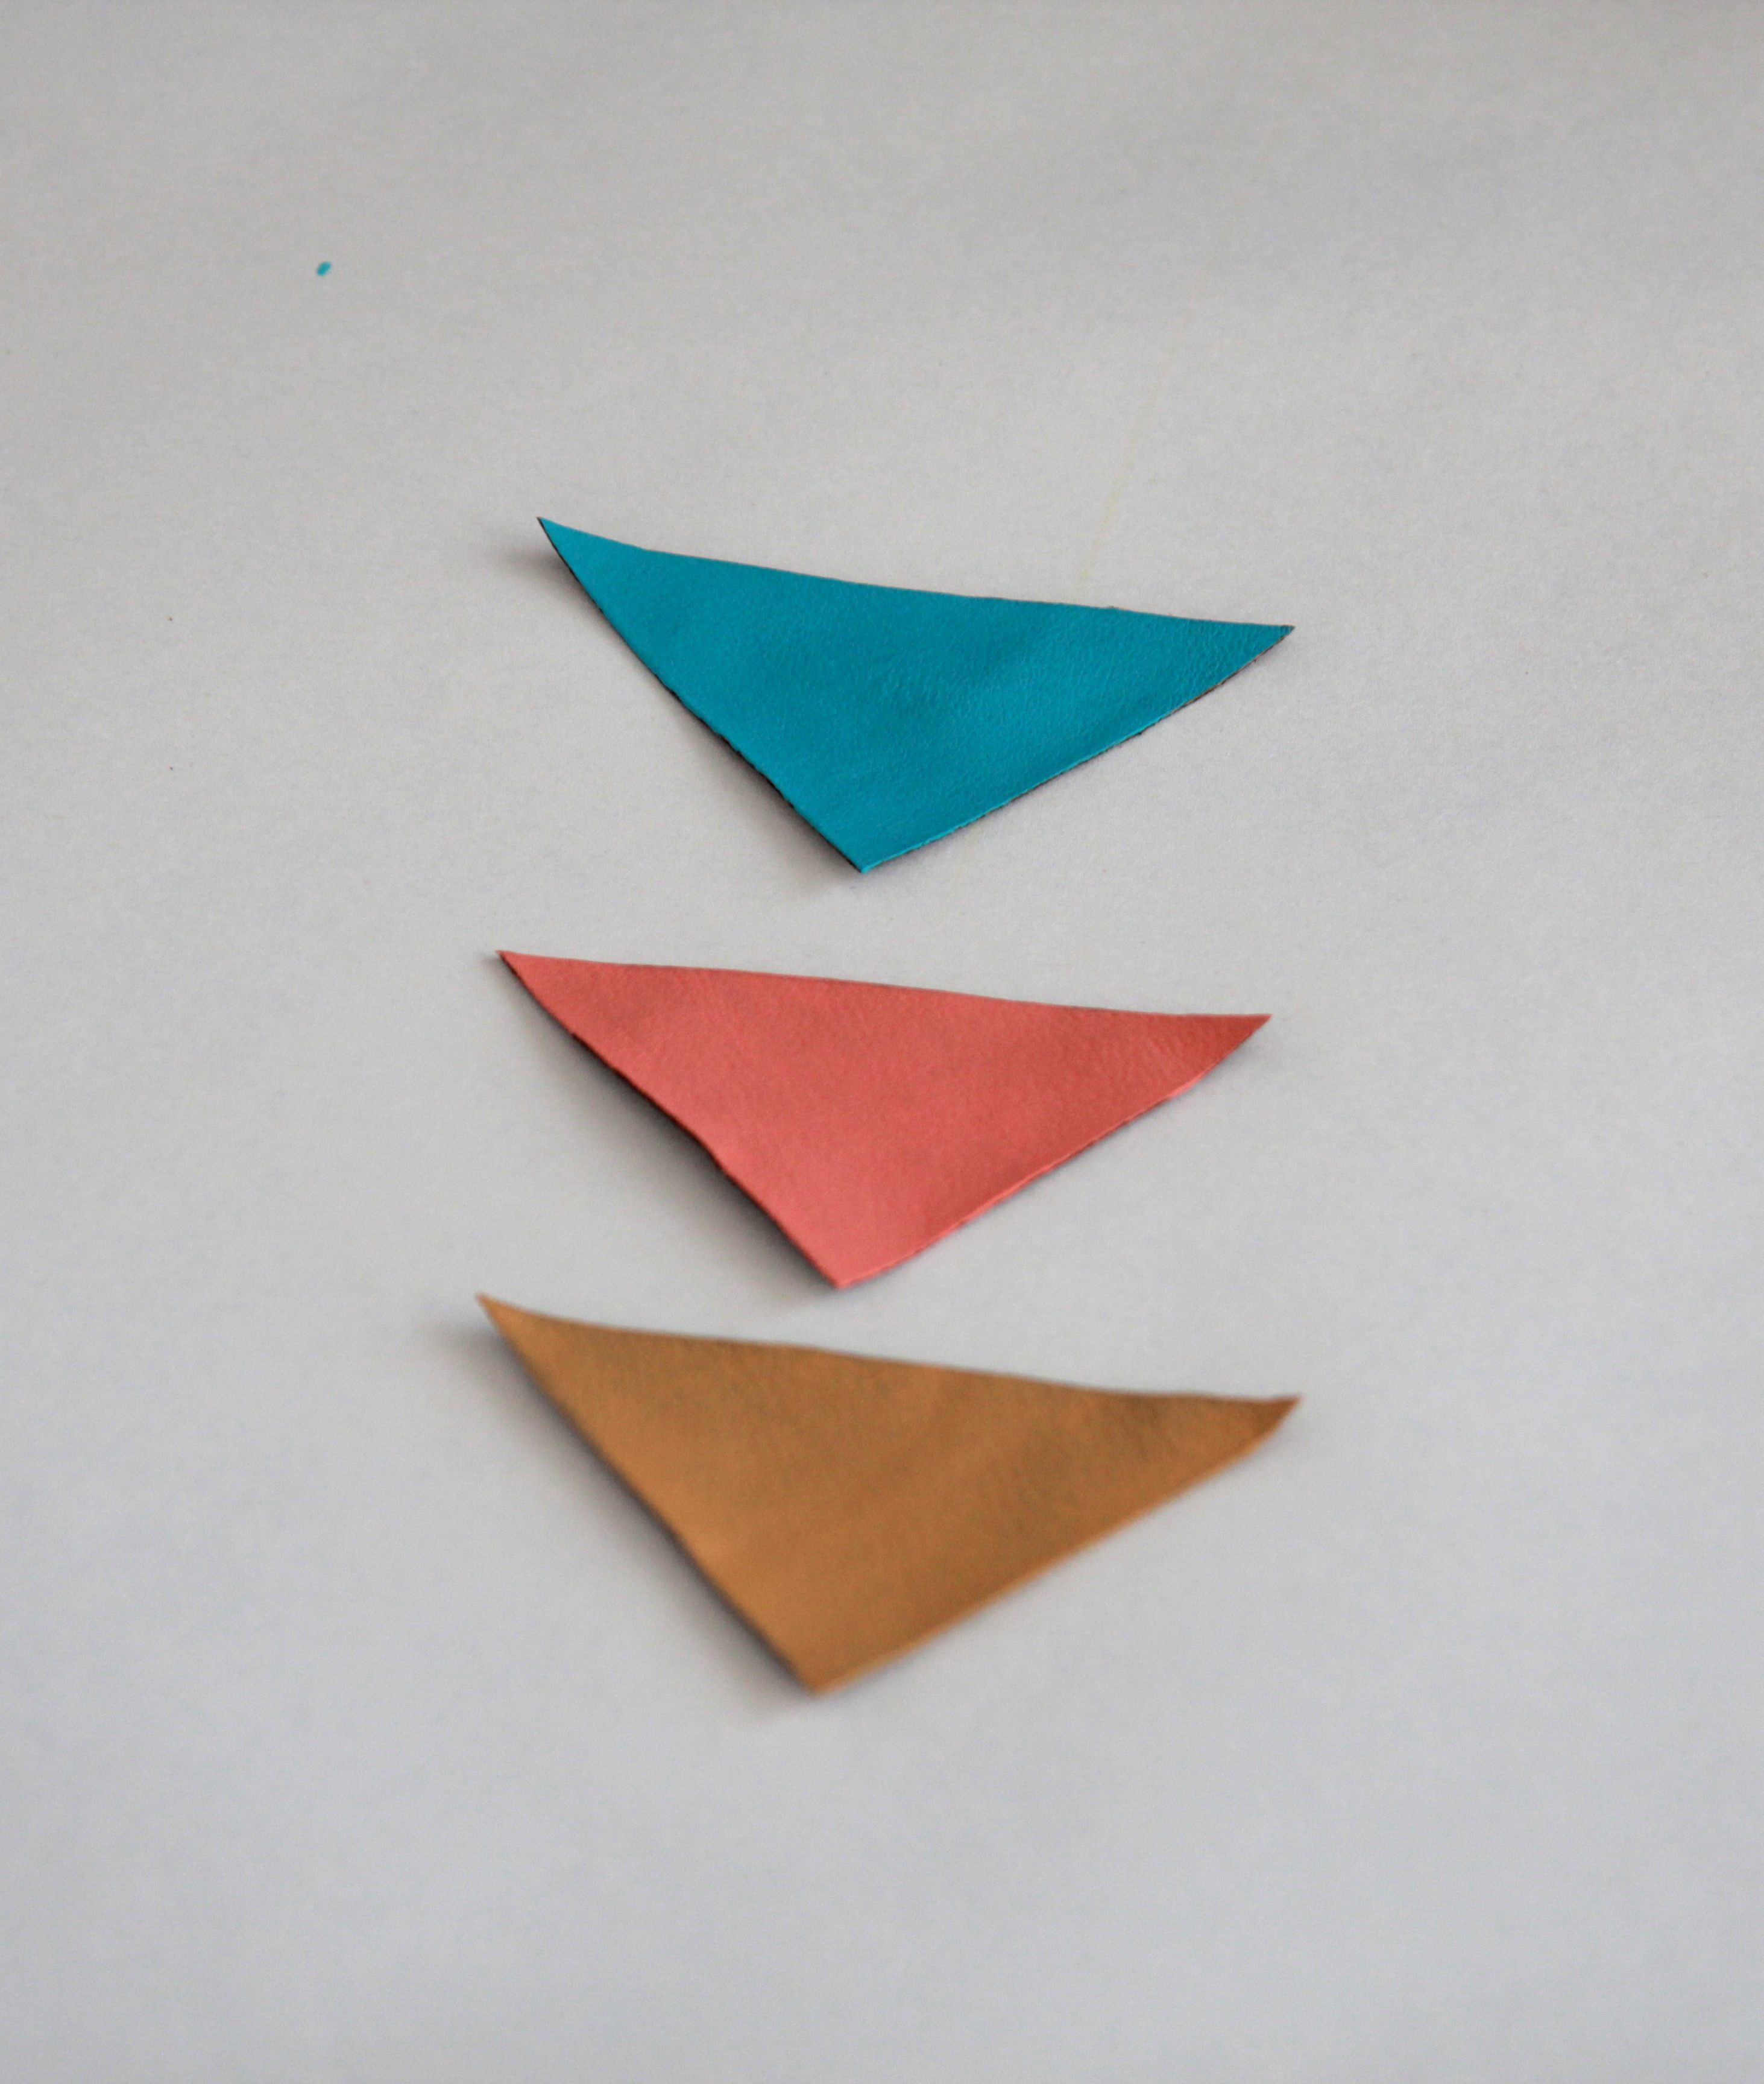
1. Trace the triangle cuttout on the leather three times, so that you have three leather triangles that are the same size. Make sure to do this on the “tough” side of the leather, not the fuzzy side.
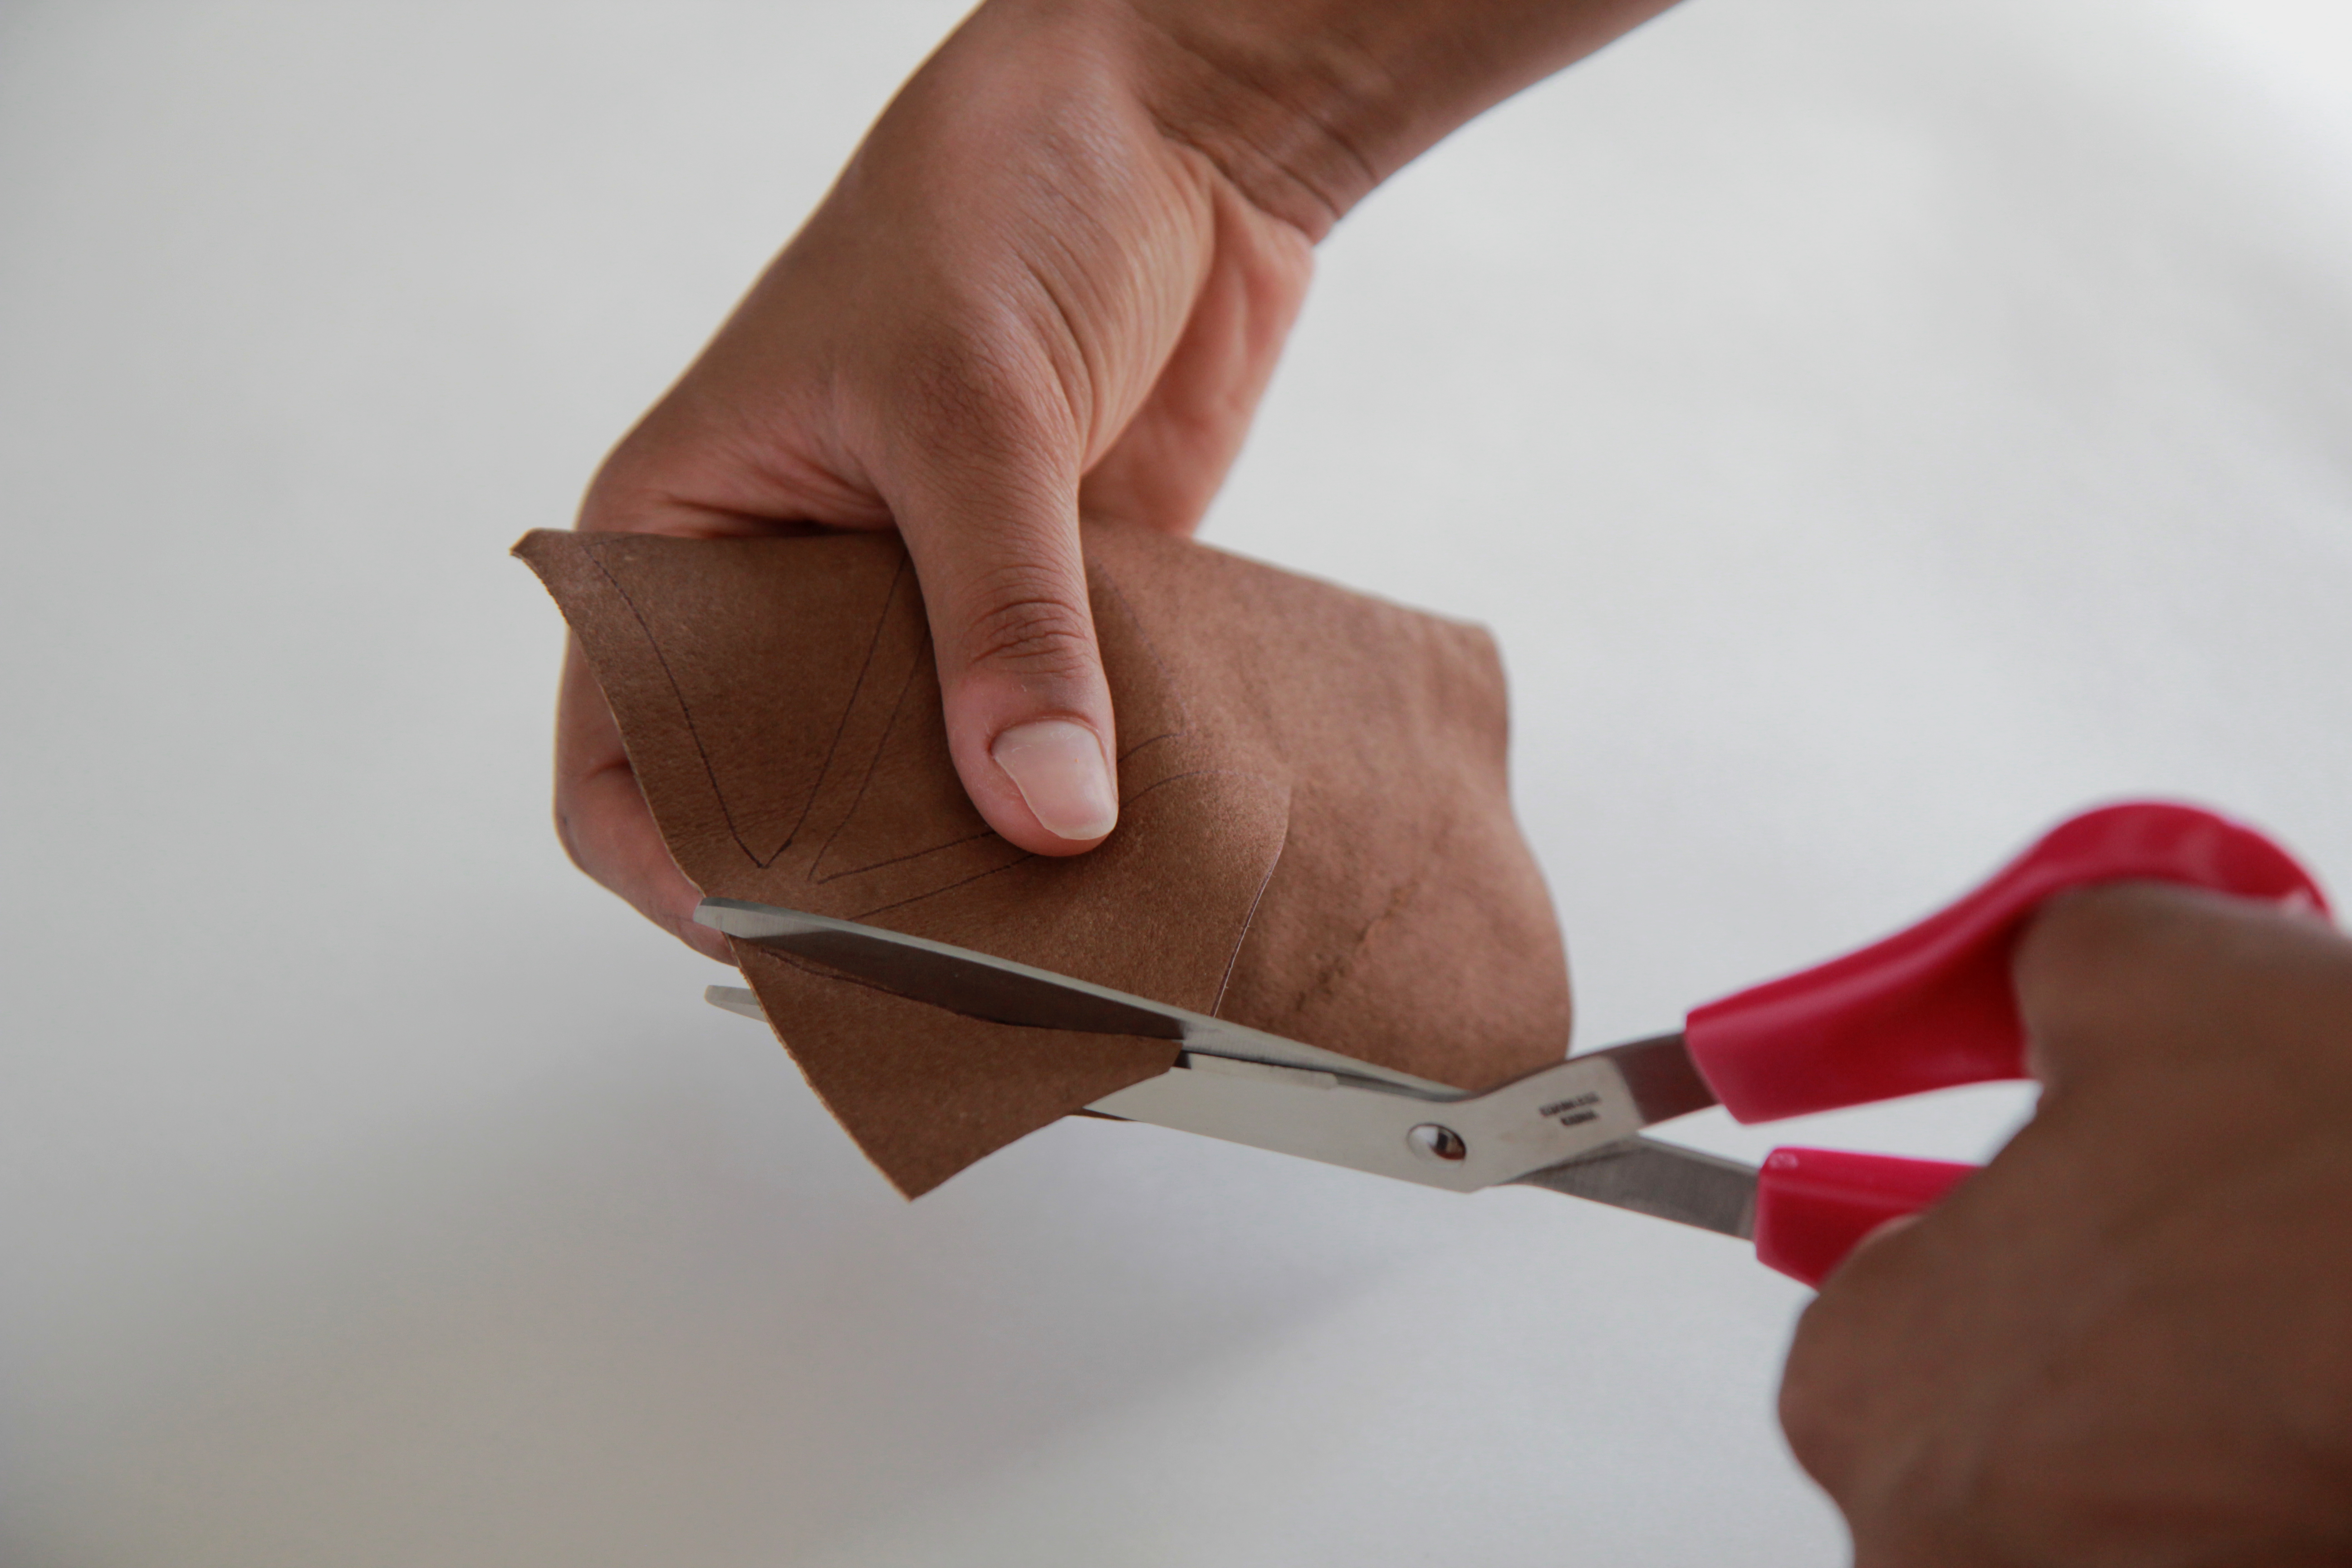
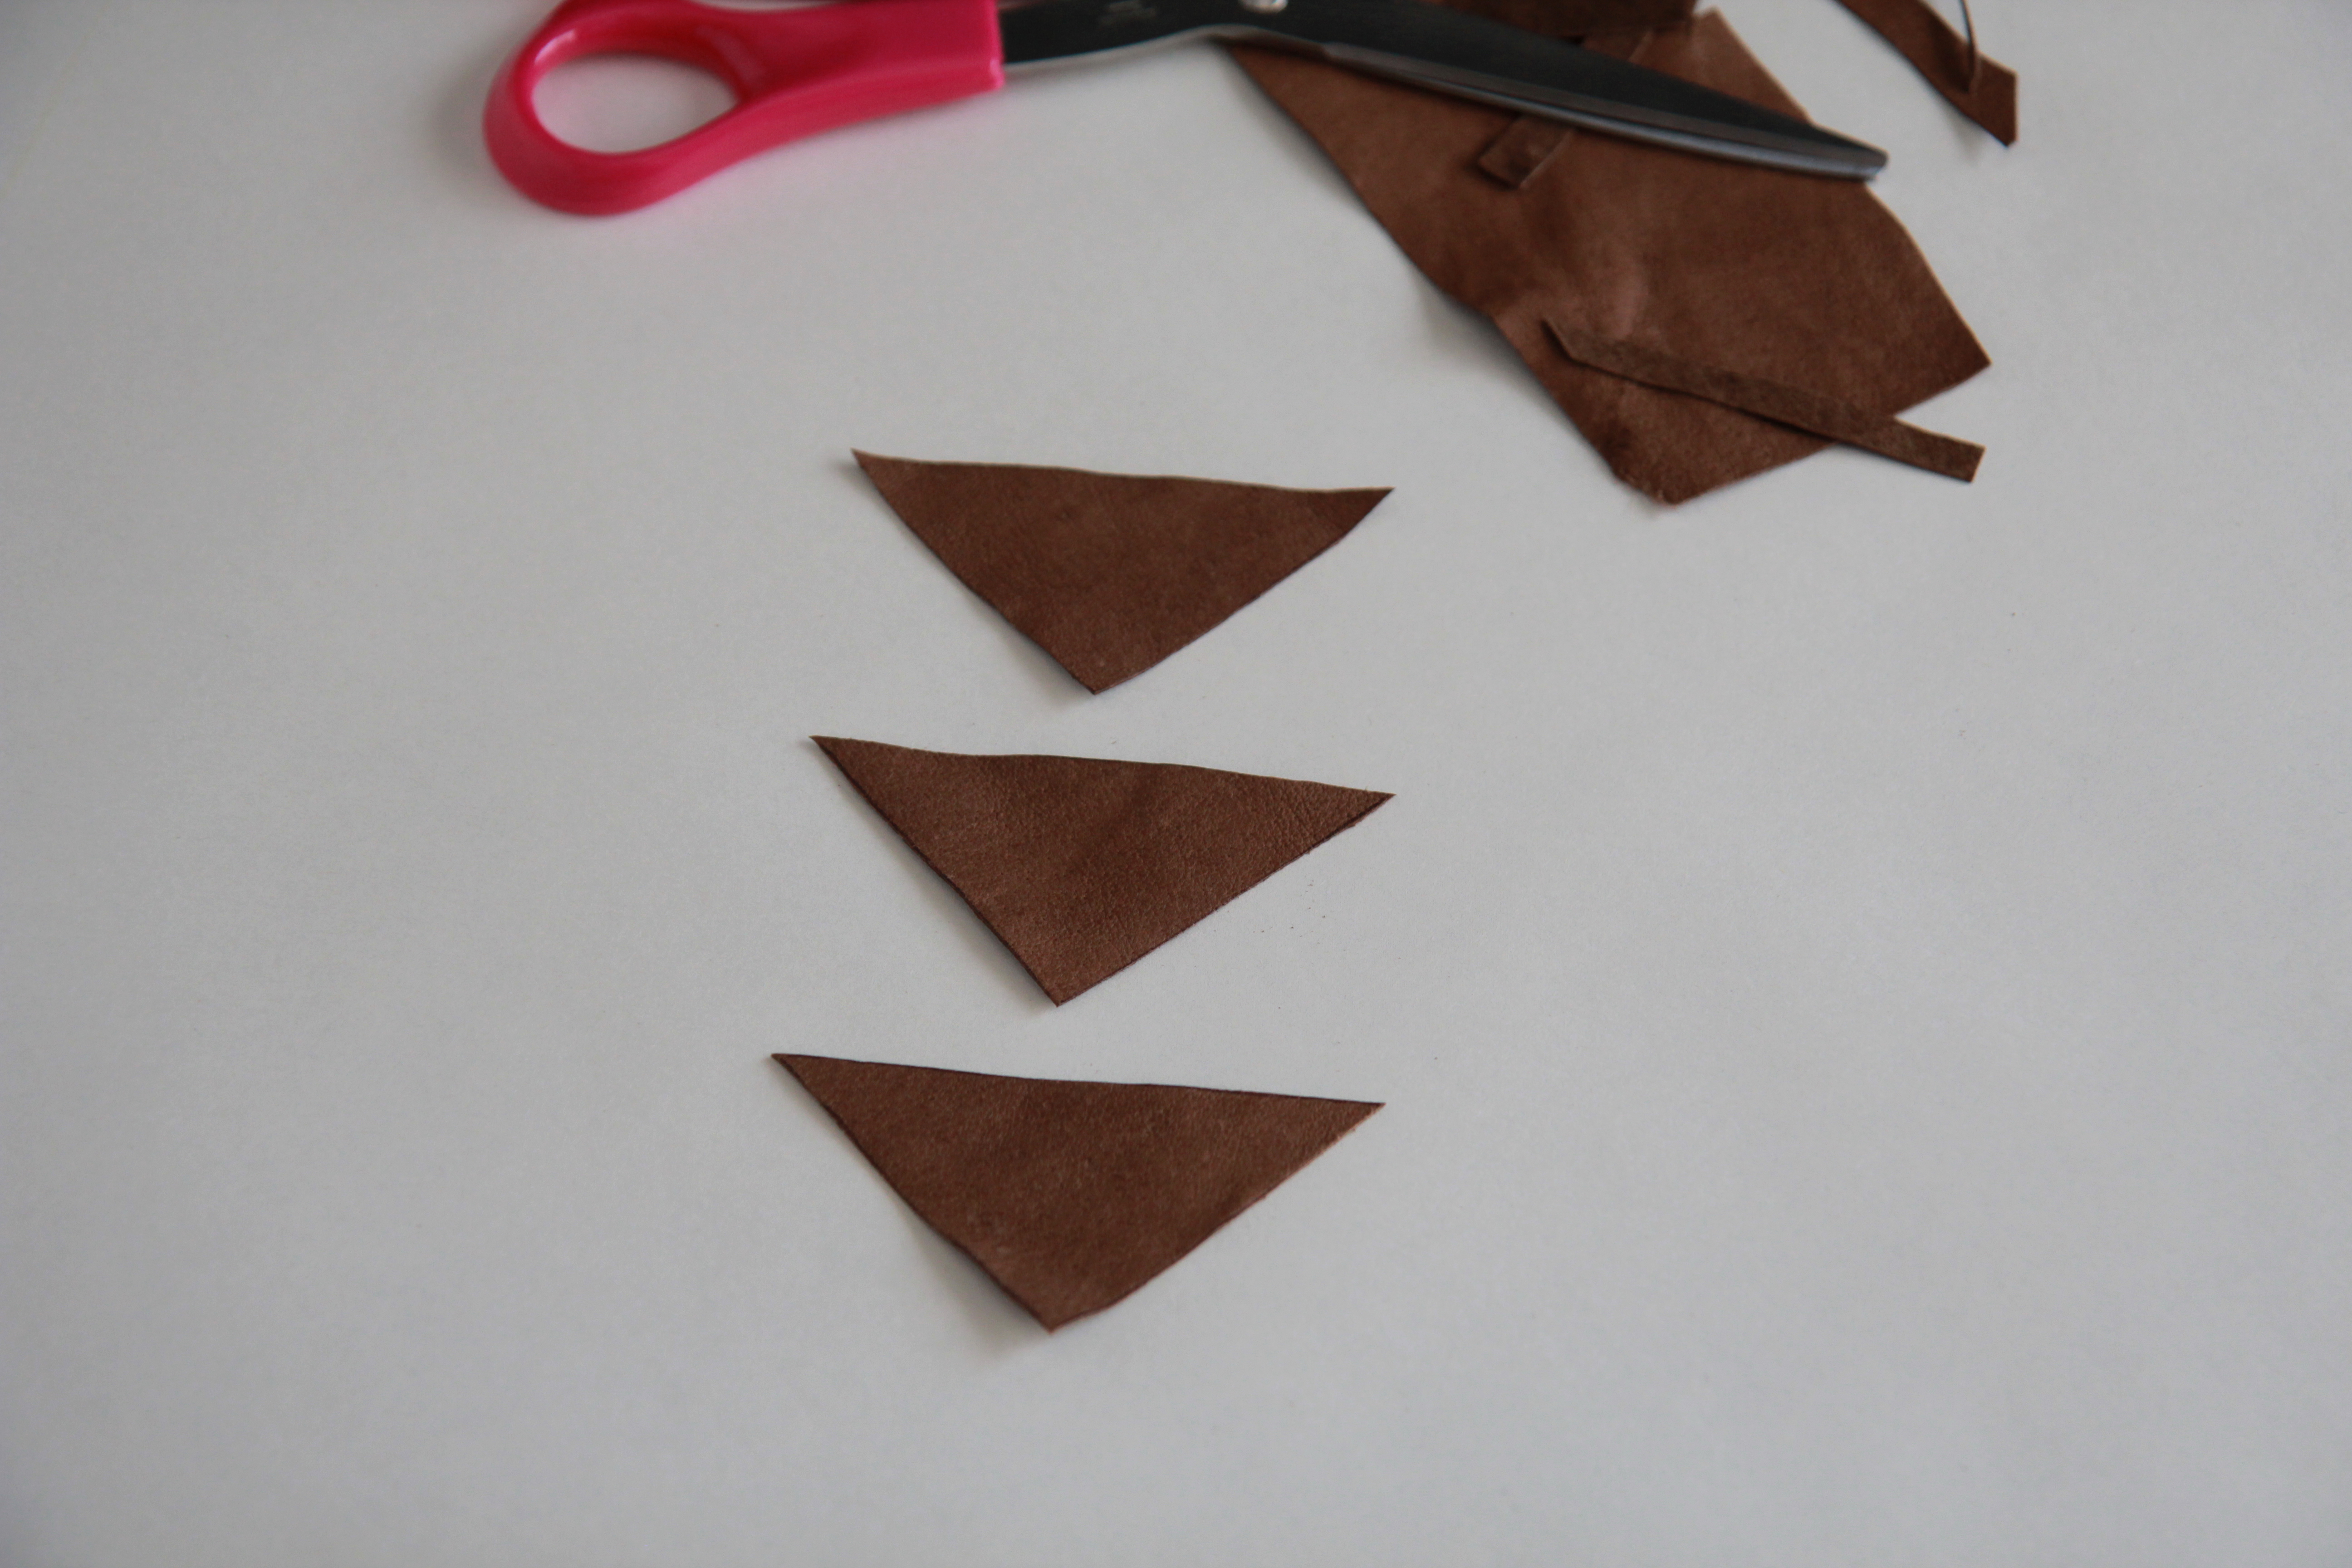
2. Cut out the triangles.
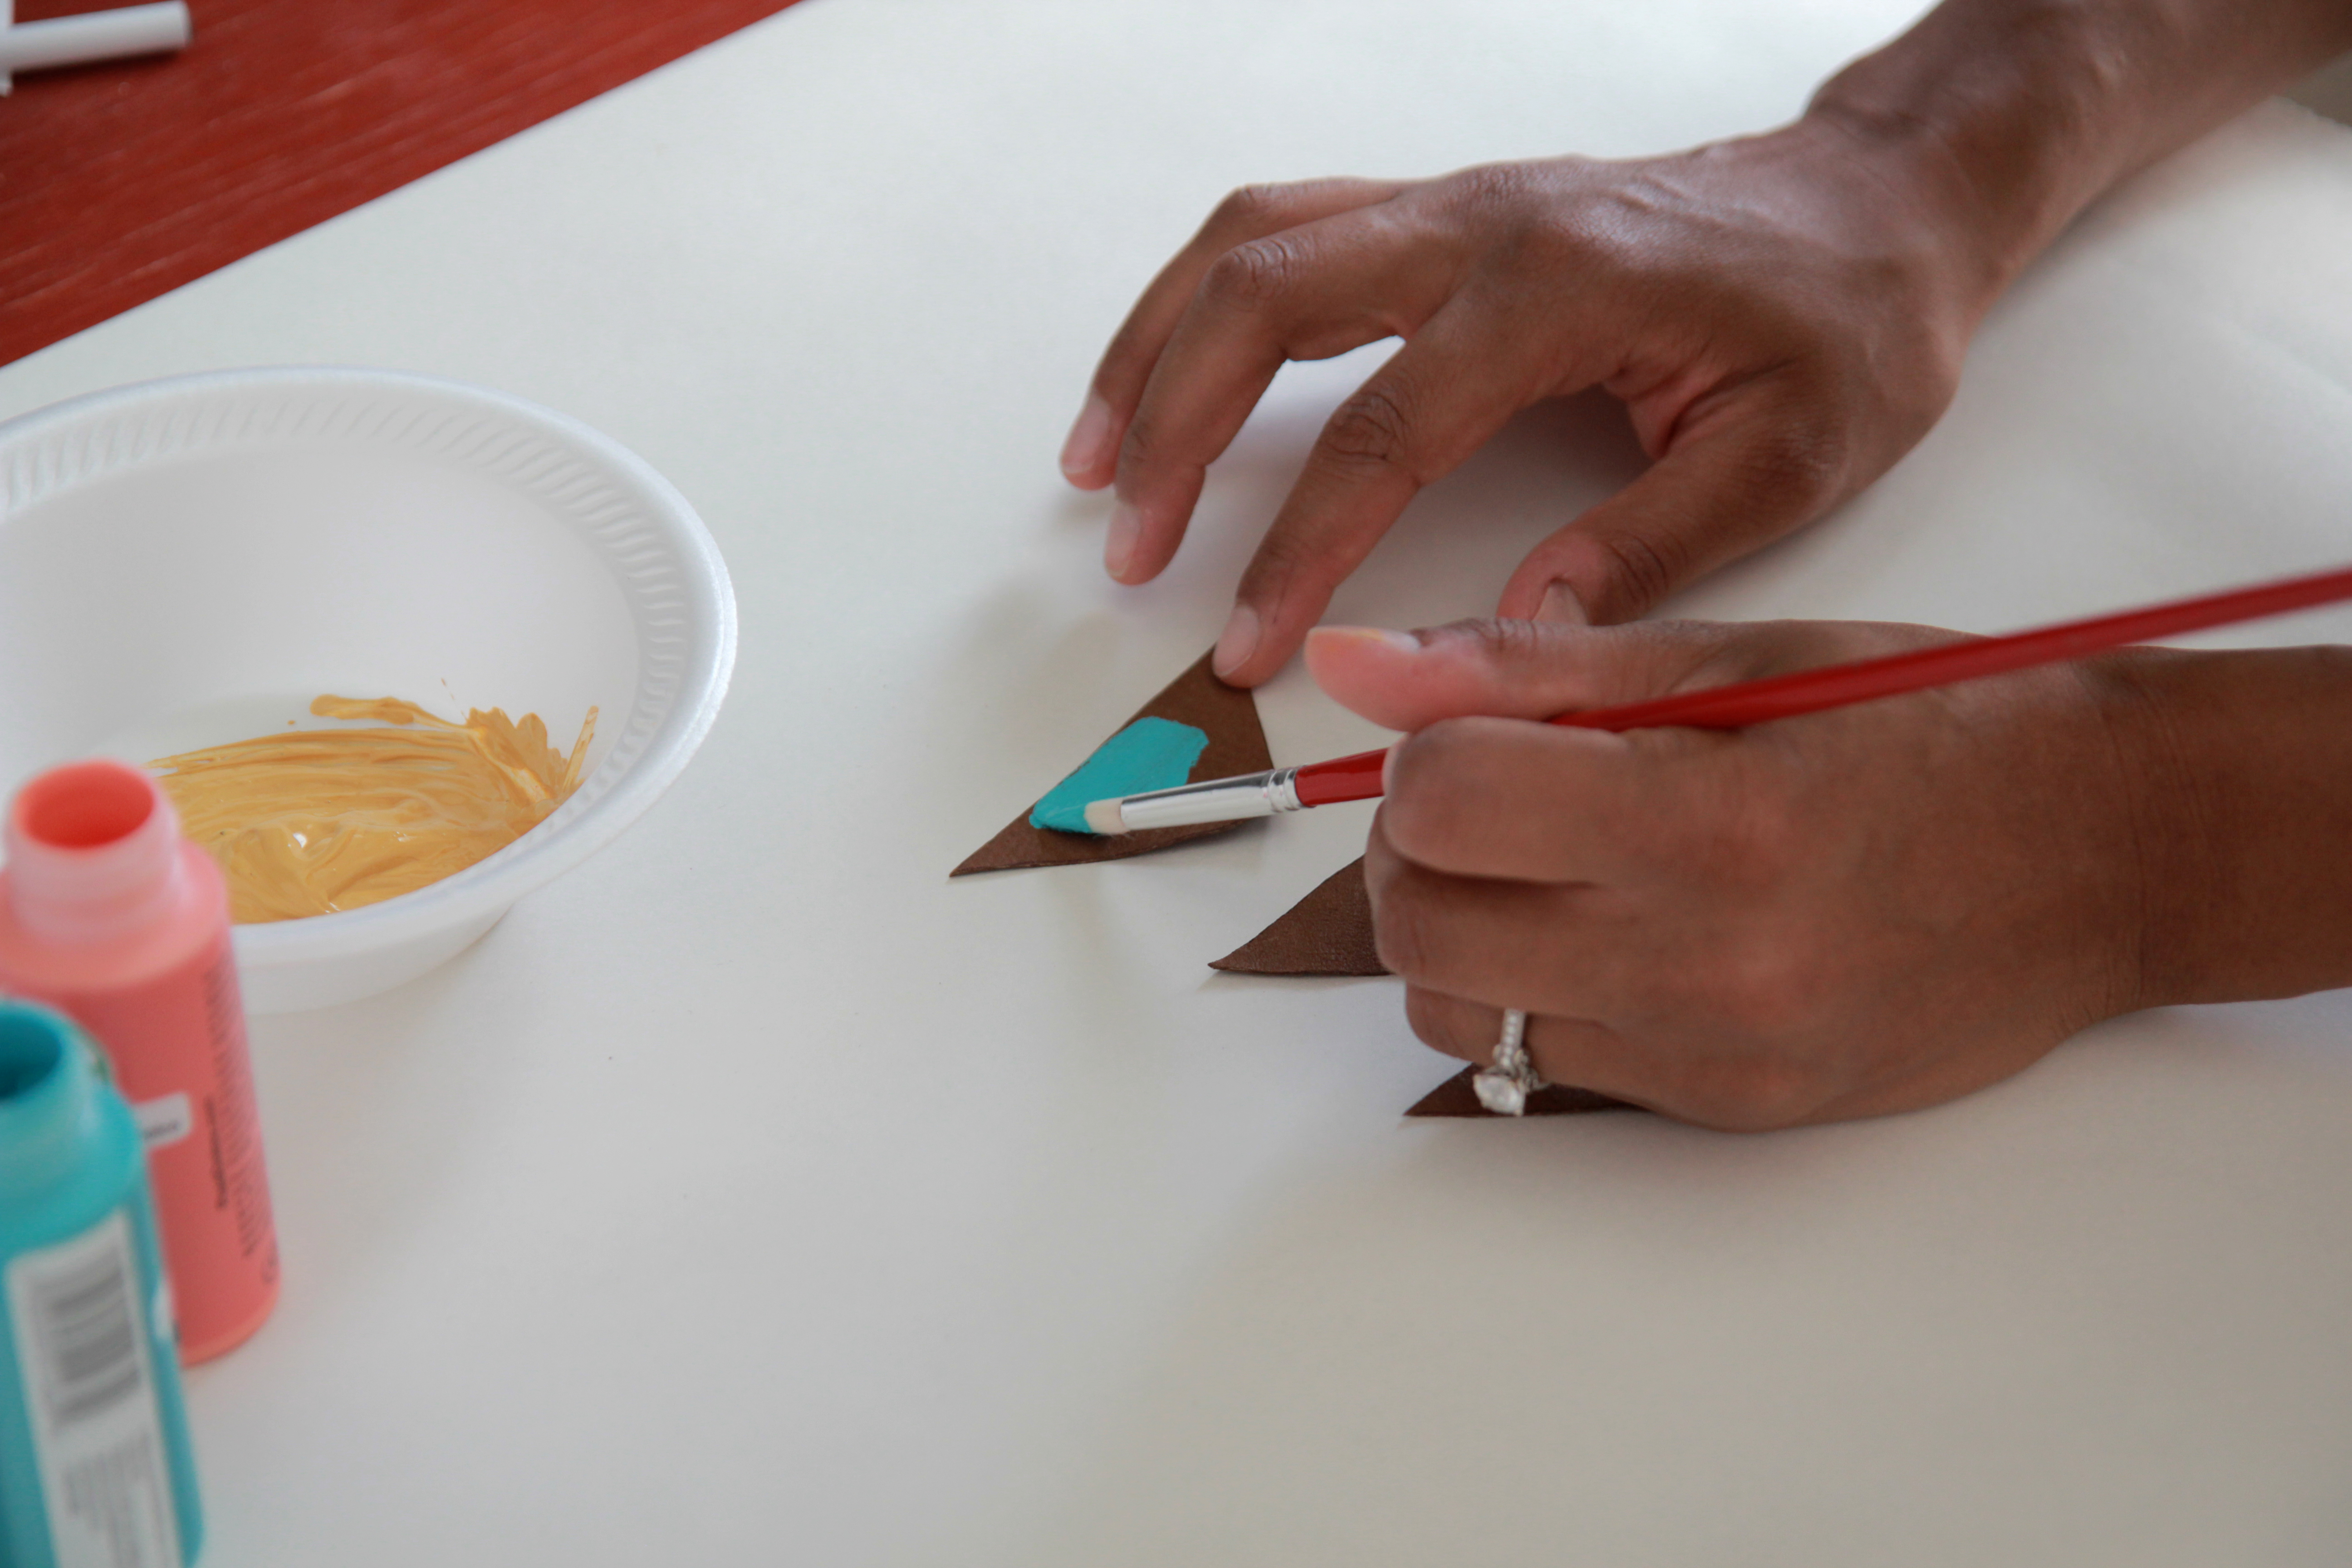
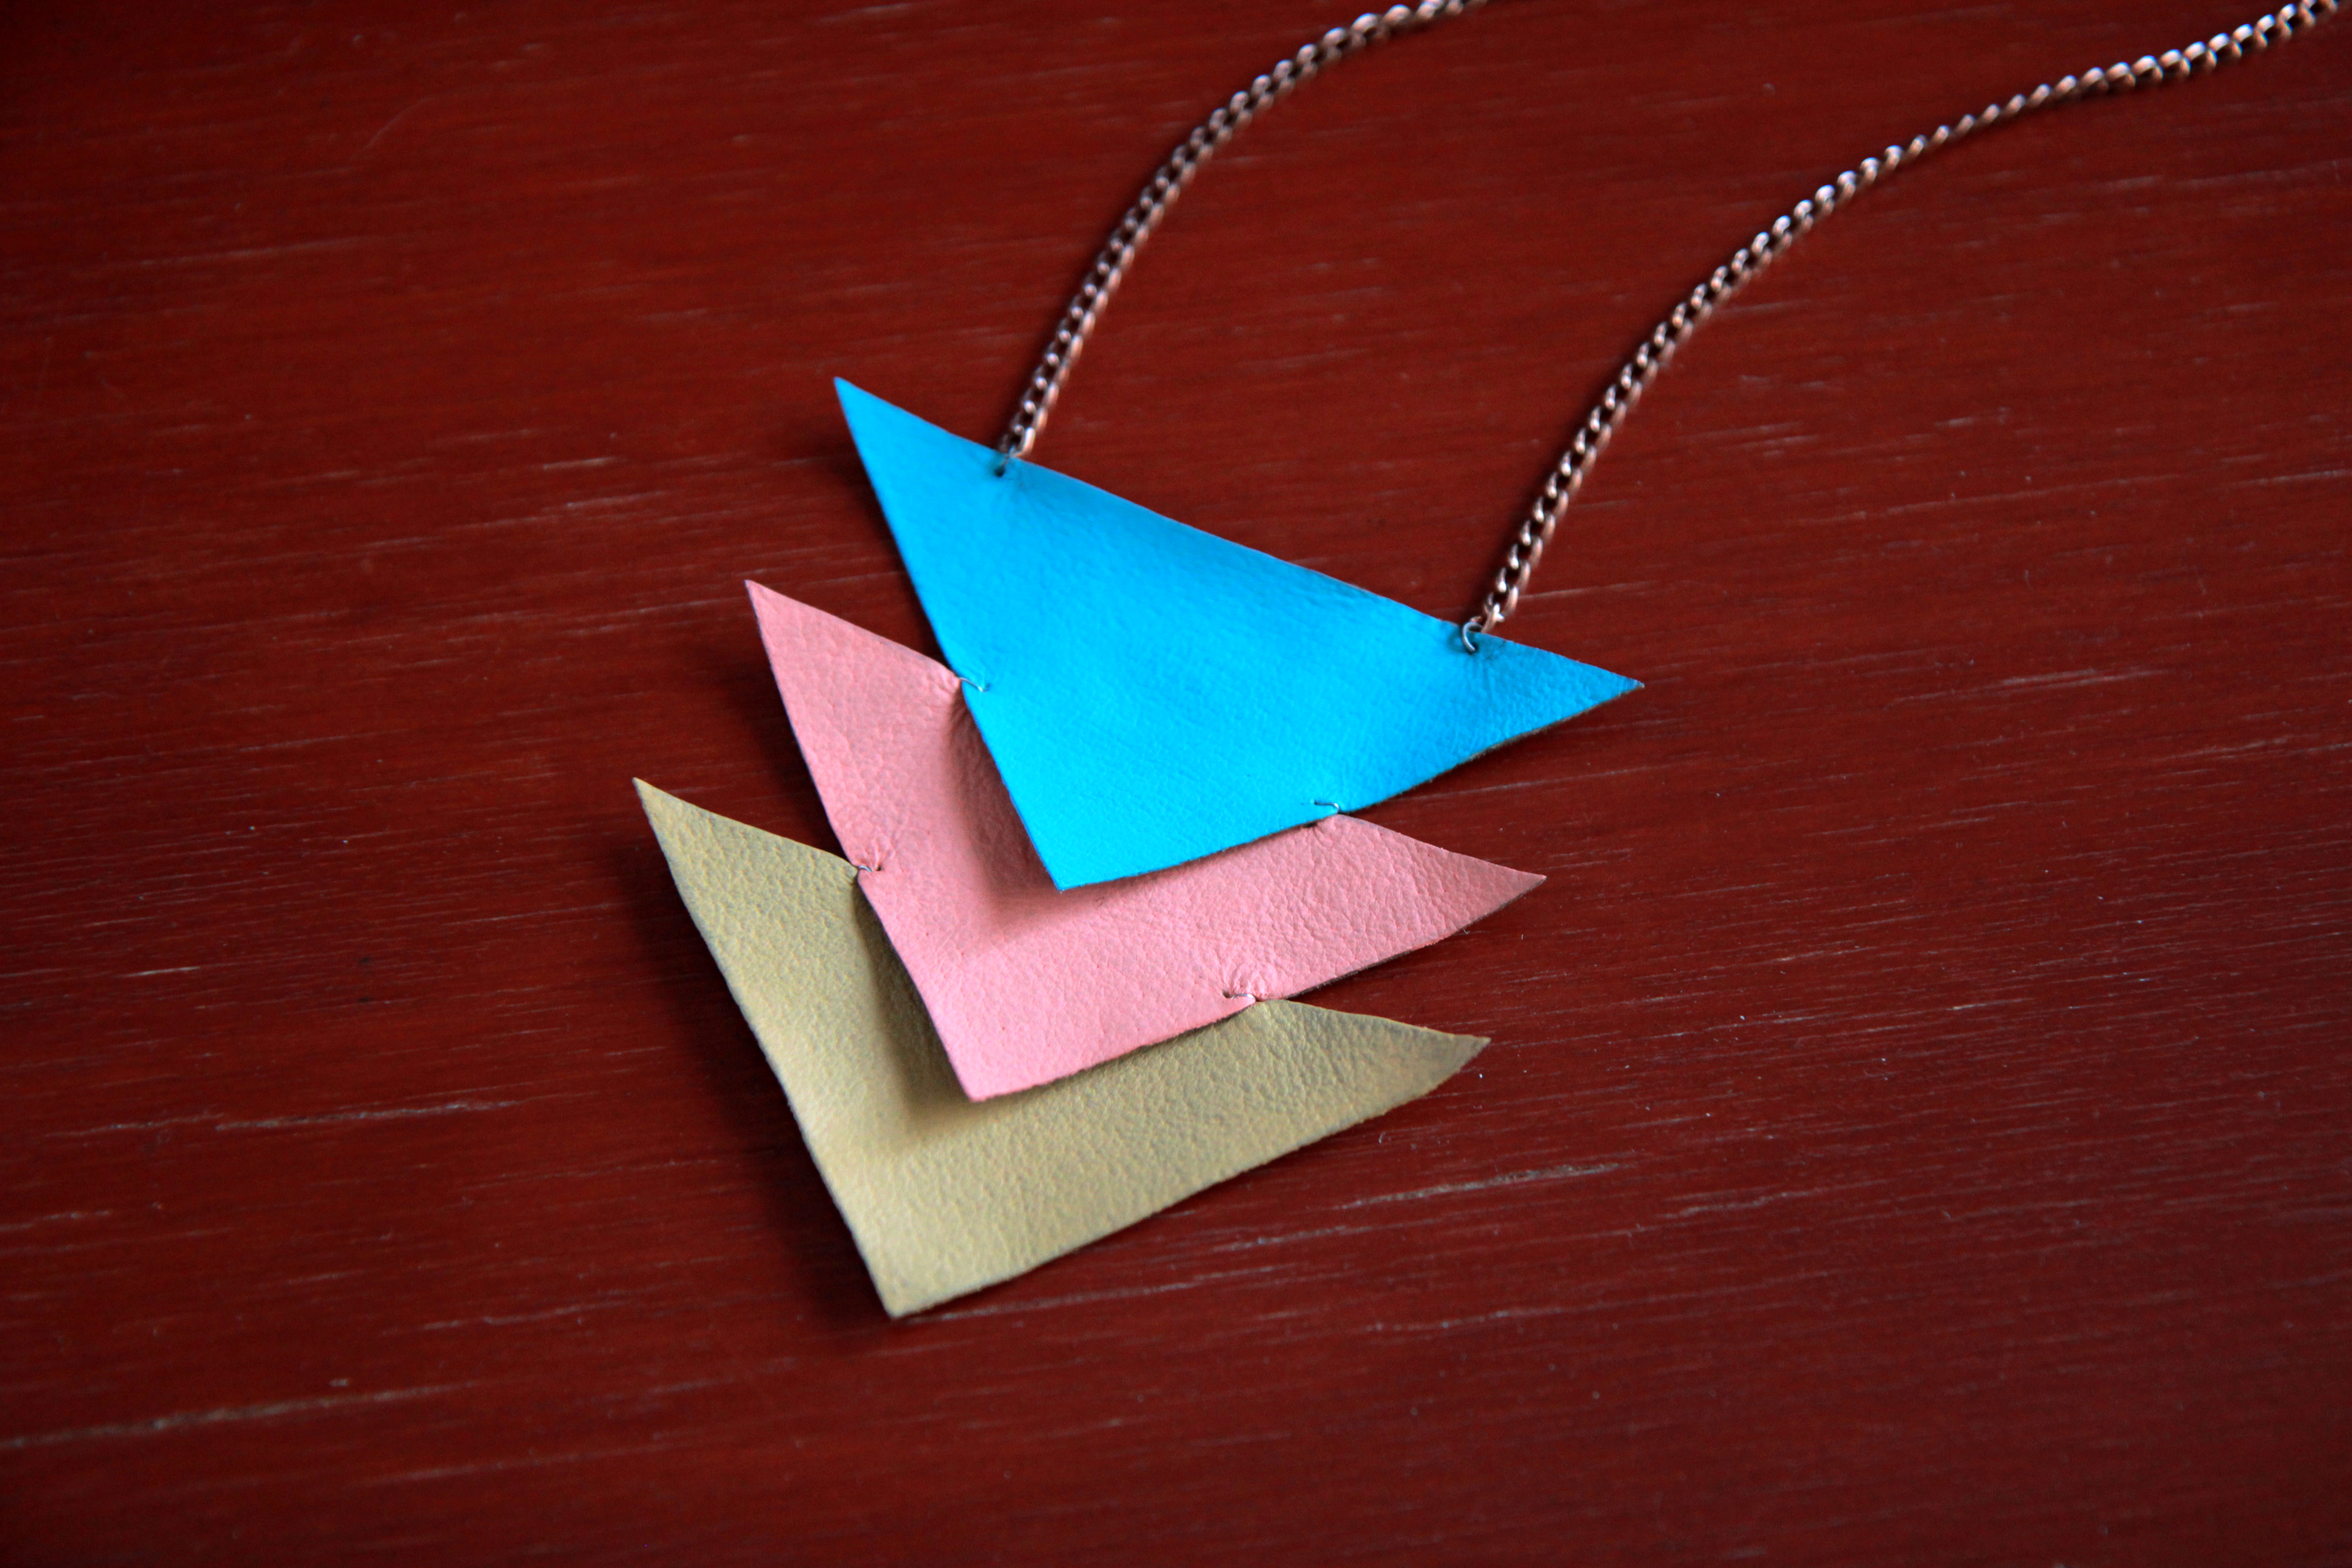
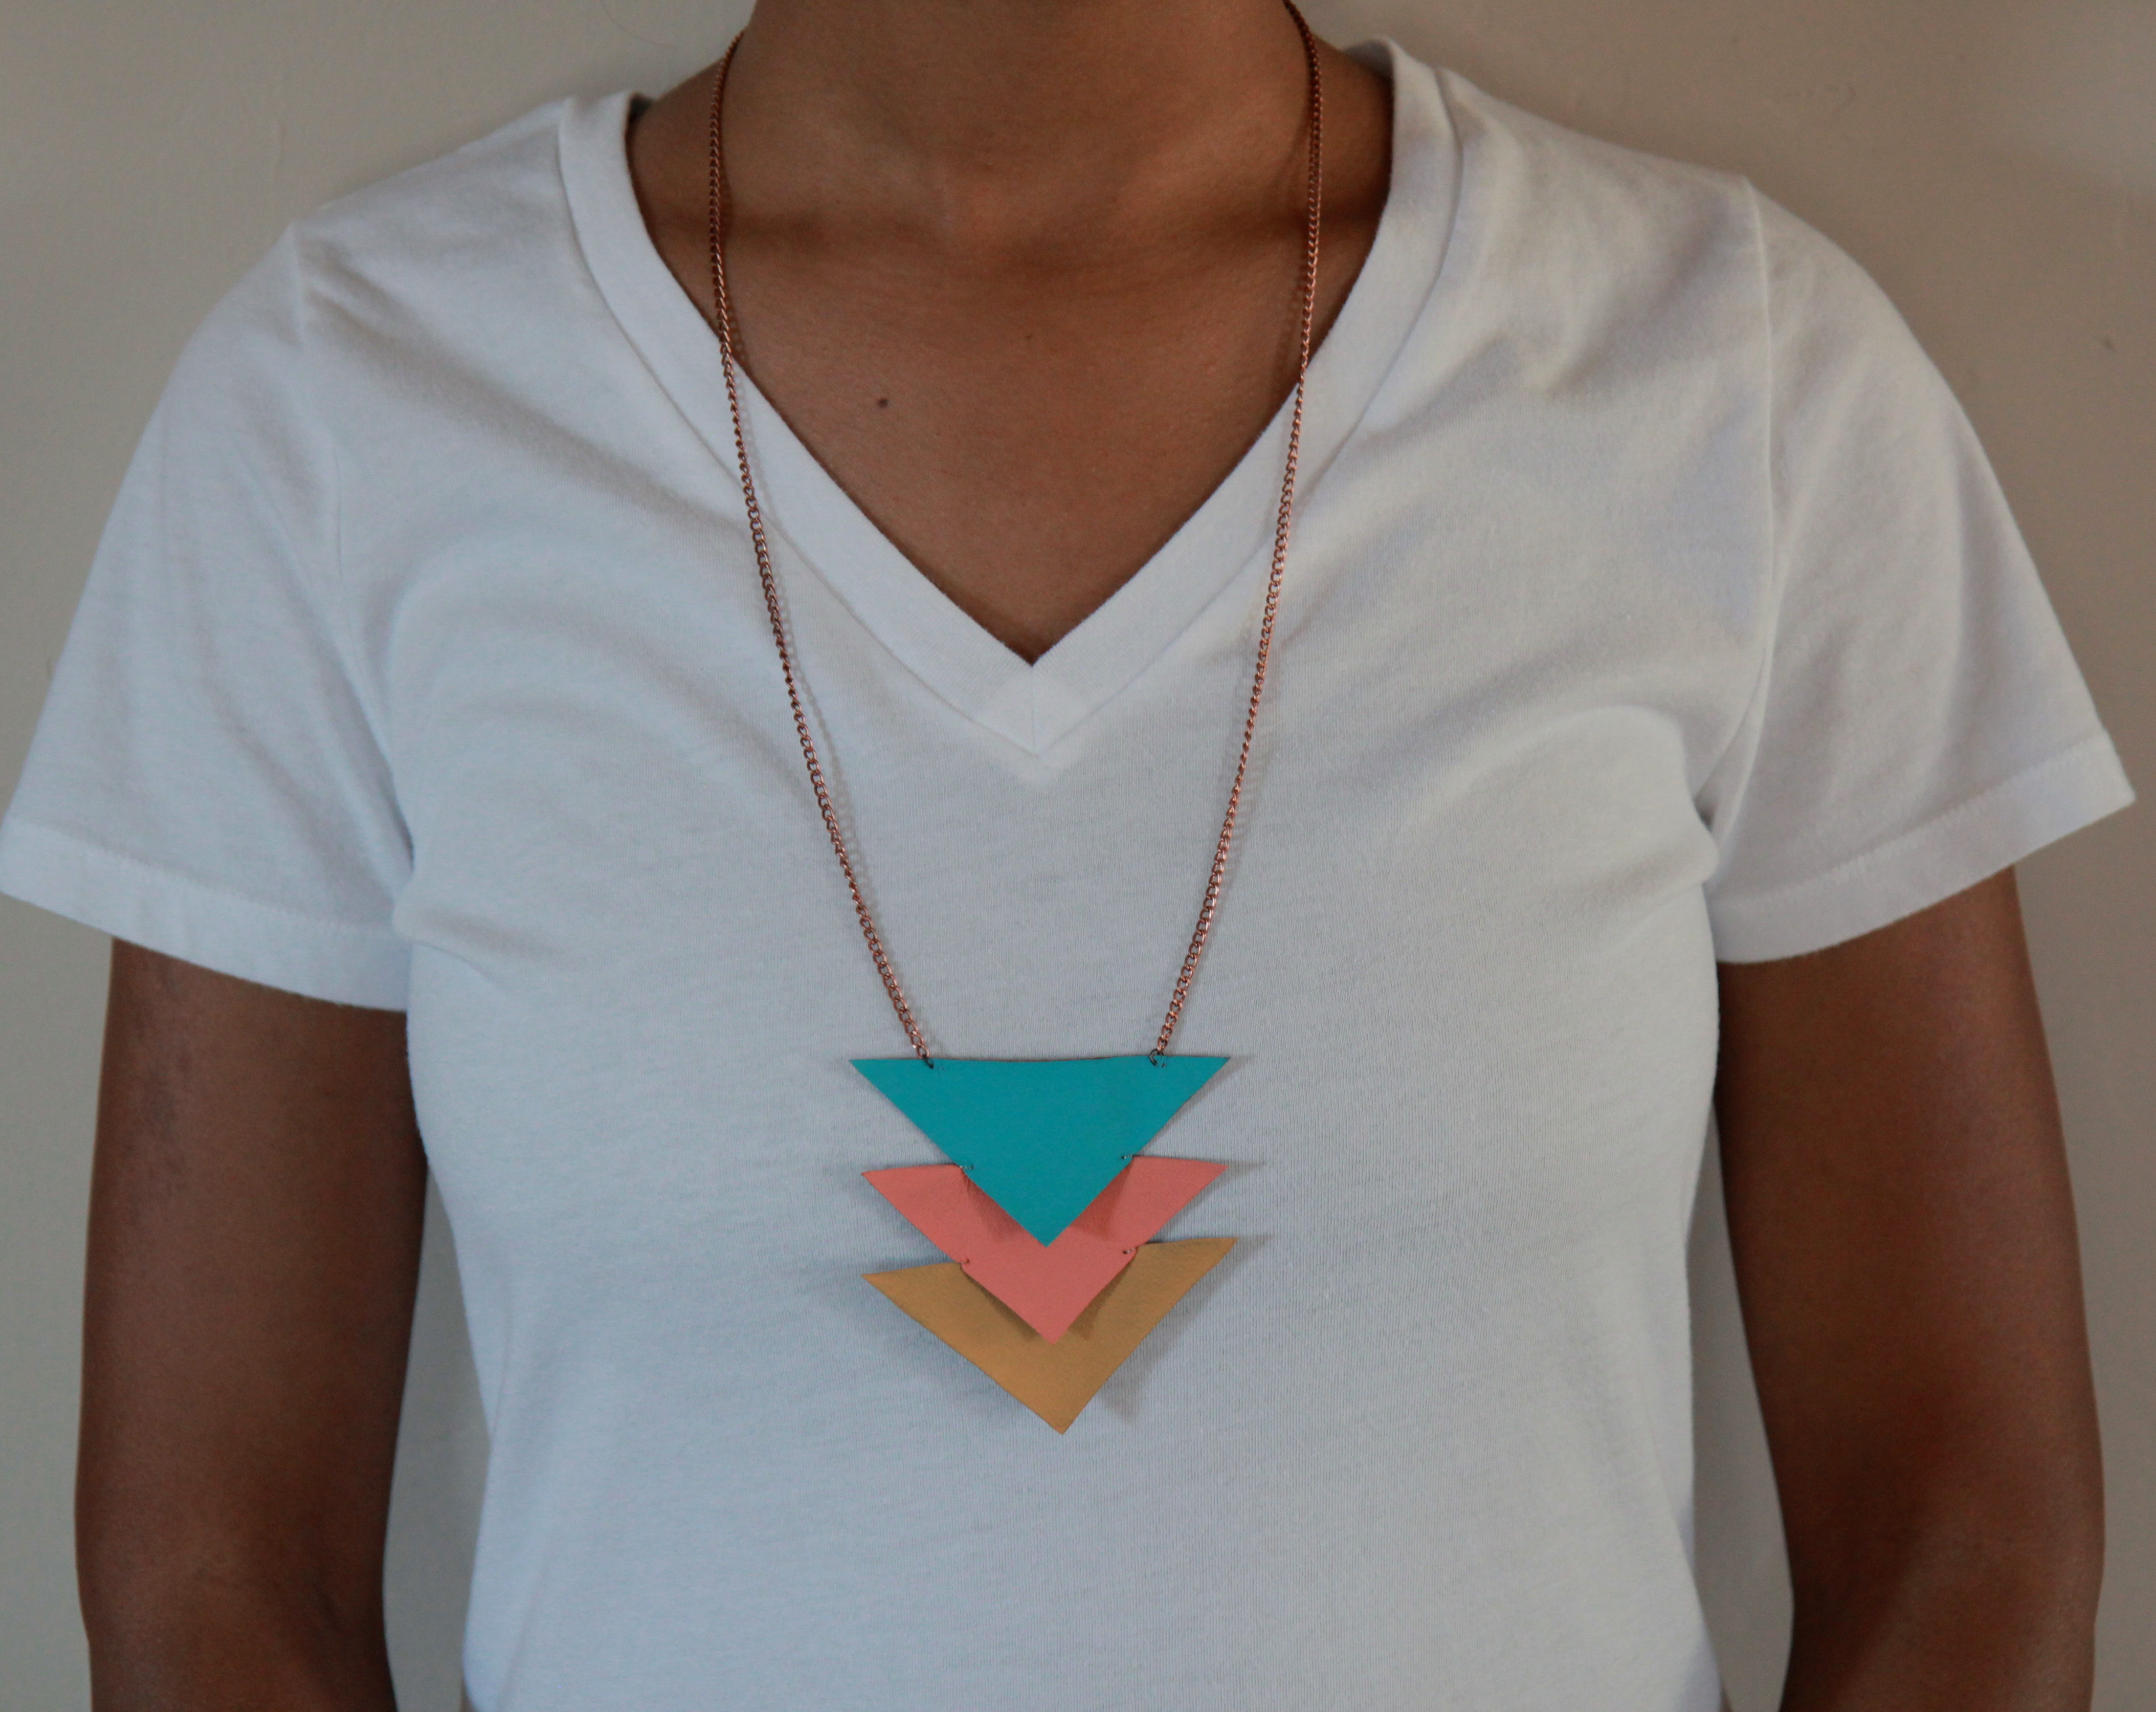
3. Paint the triangles three different colors. For this necklace I decided to go for a bit of a tribal style, so I chose teal, coral, and burnt ochre. If your paint is thick you may need to add a little water, but add just a little at a time. The water will make the leather soft and take longer to dry. The paint just needs to be thin enough to paint evenly, without clumps.
4. Let the paint dry, then apply one more coat.
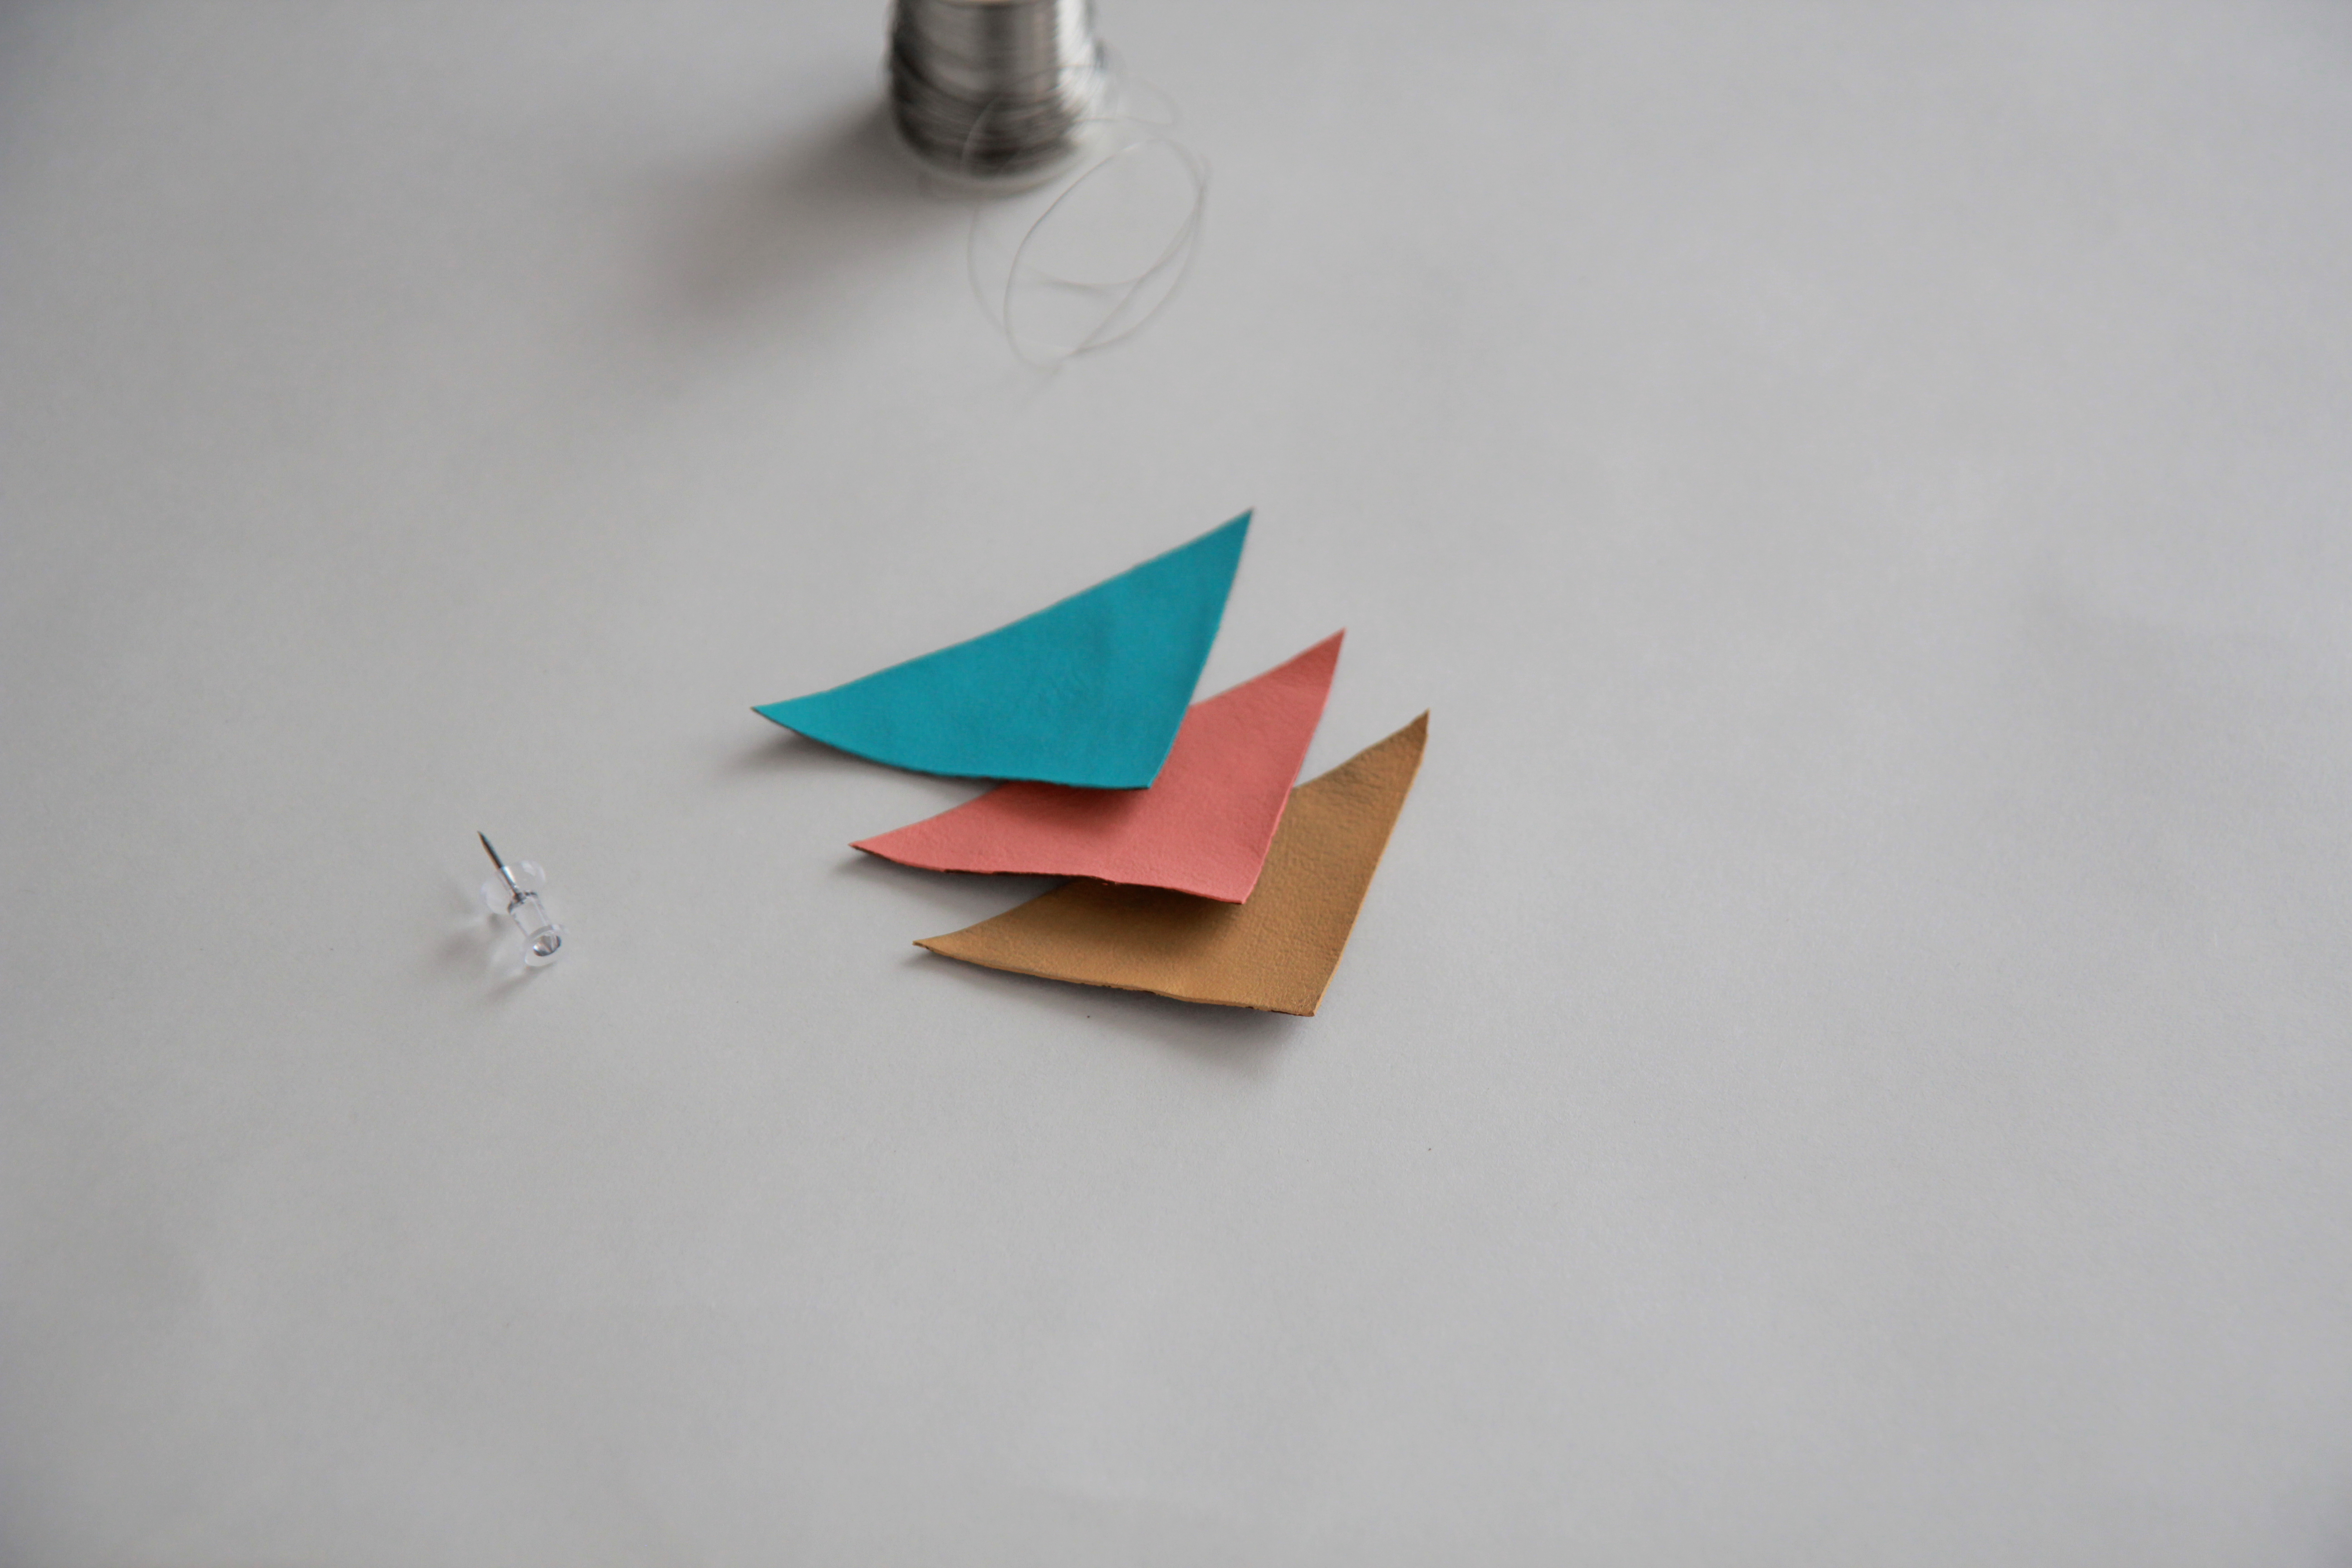
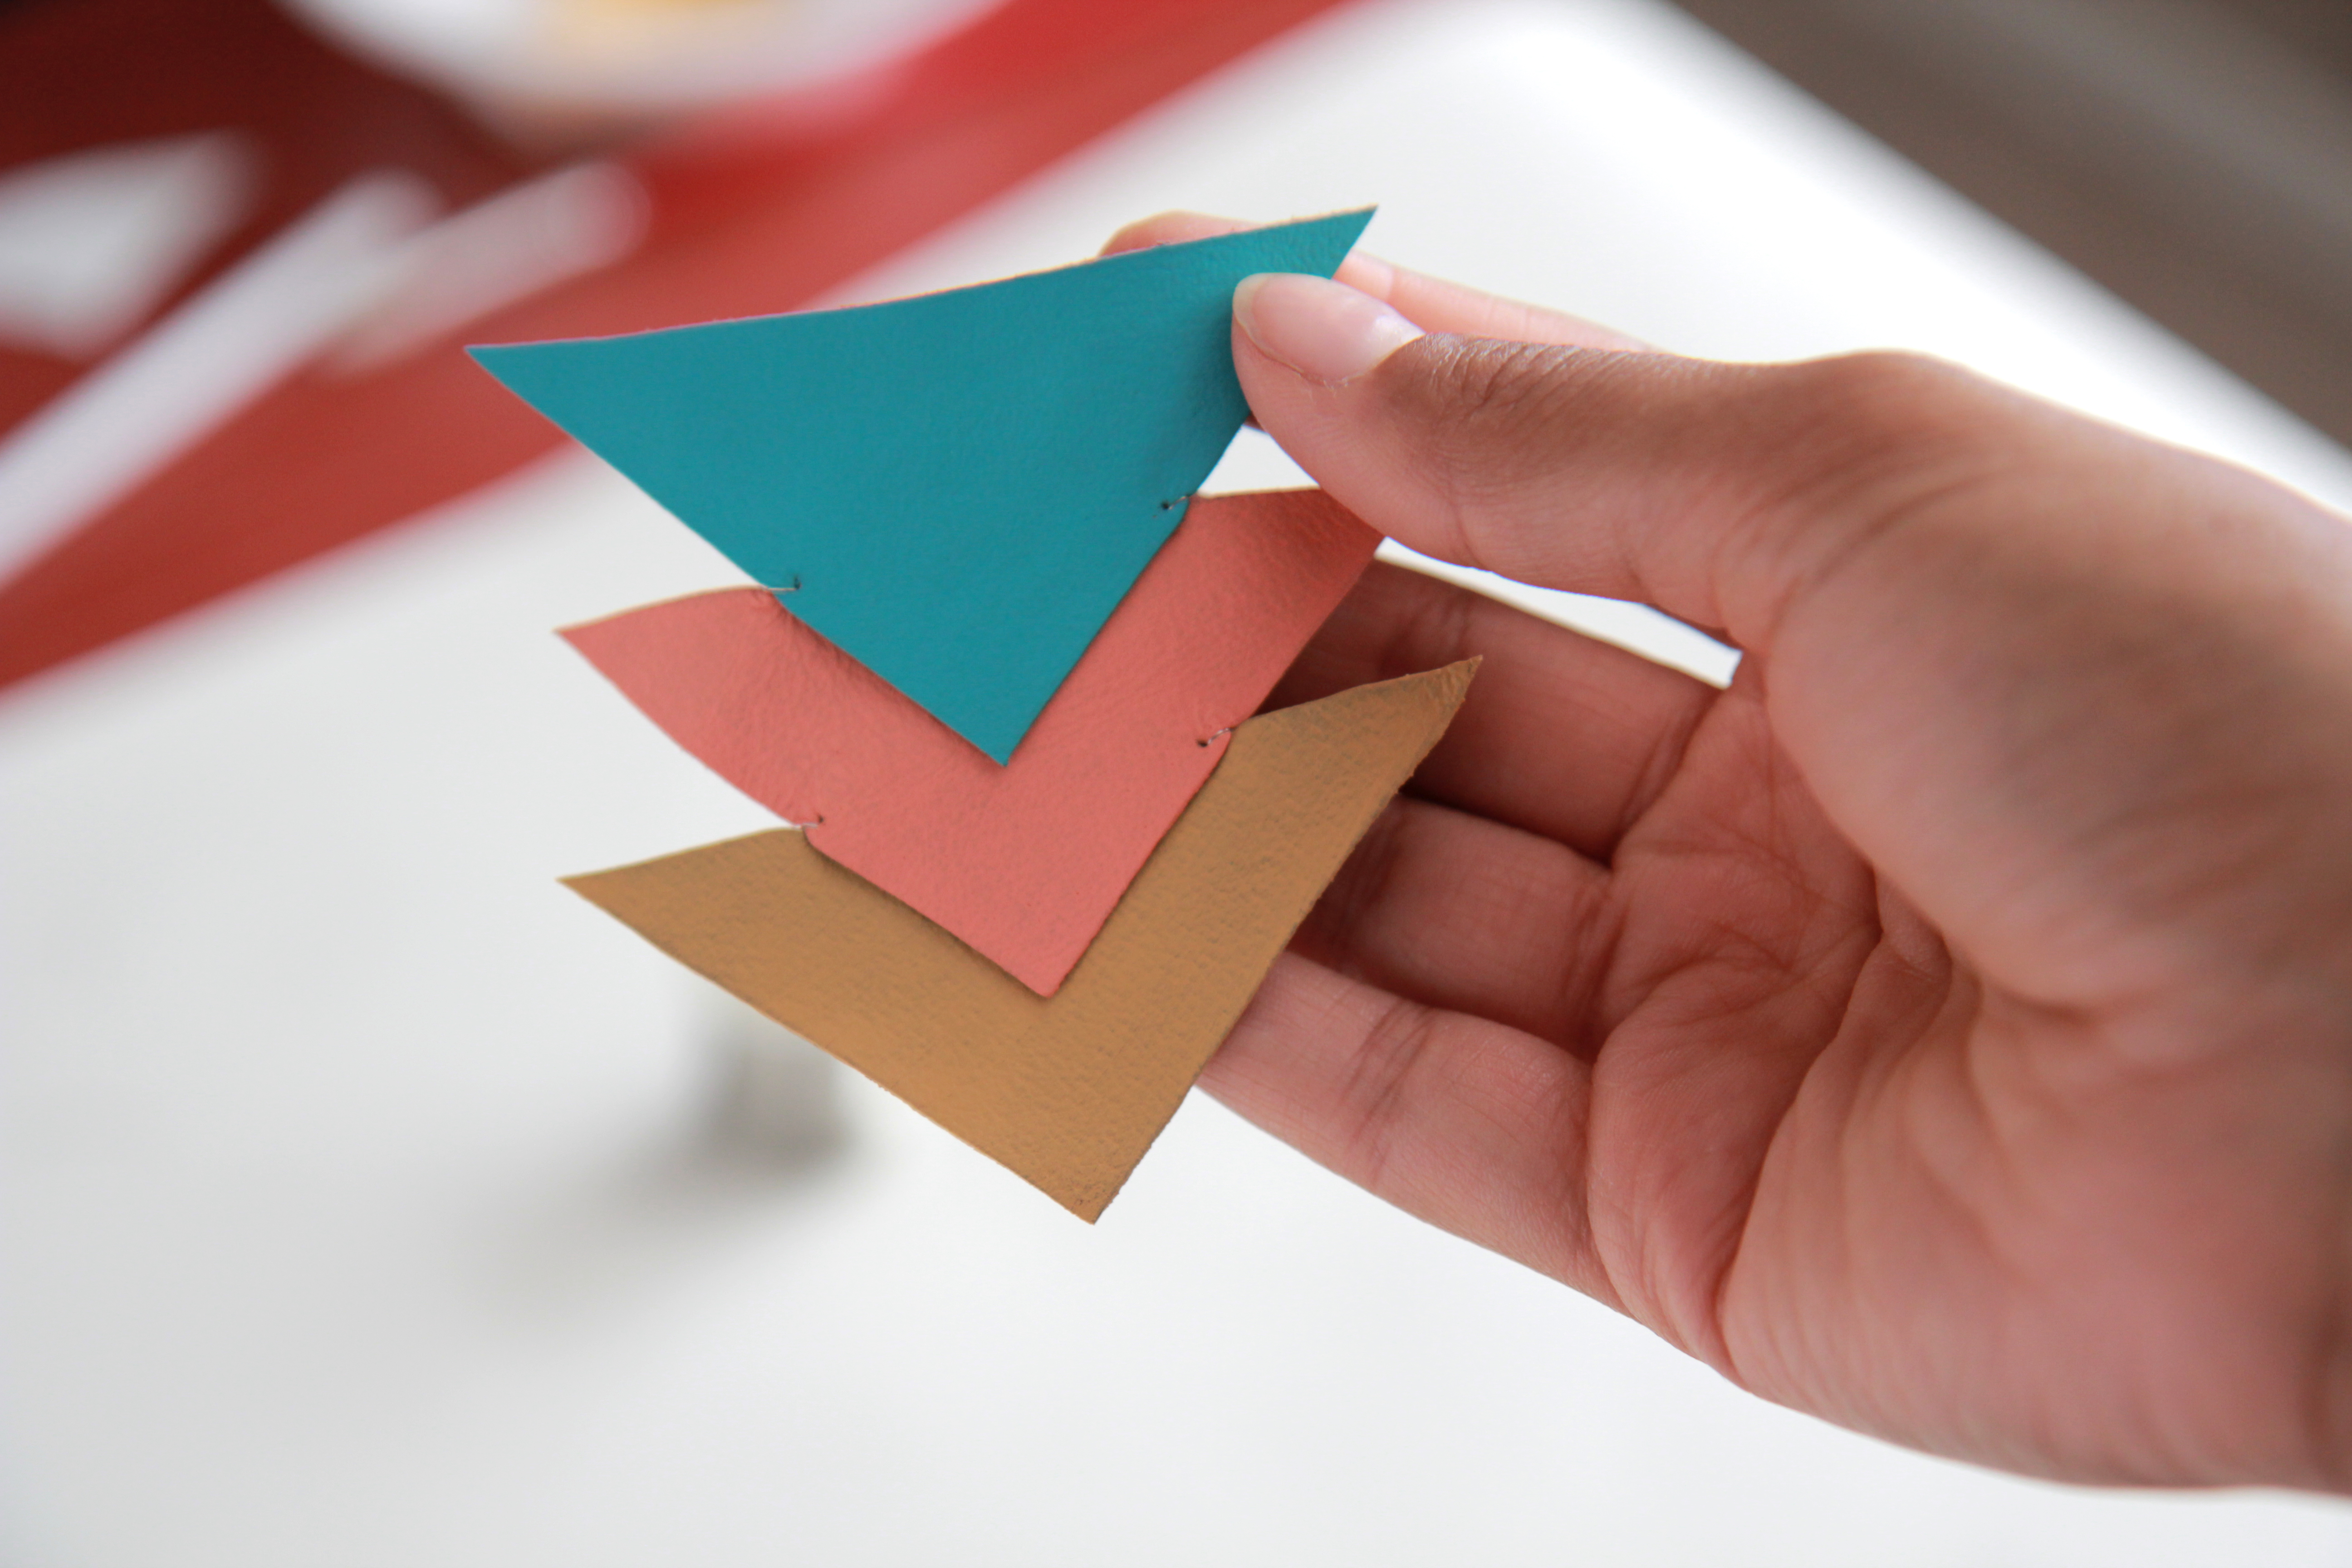
5. Once the painted triangles have dried, decide in which order you want them to be stacked. Stack them so that a little of each color can be seen.
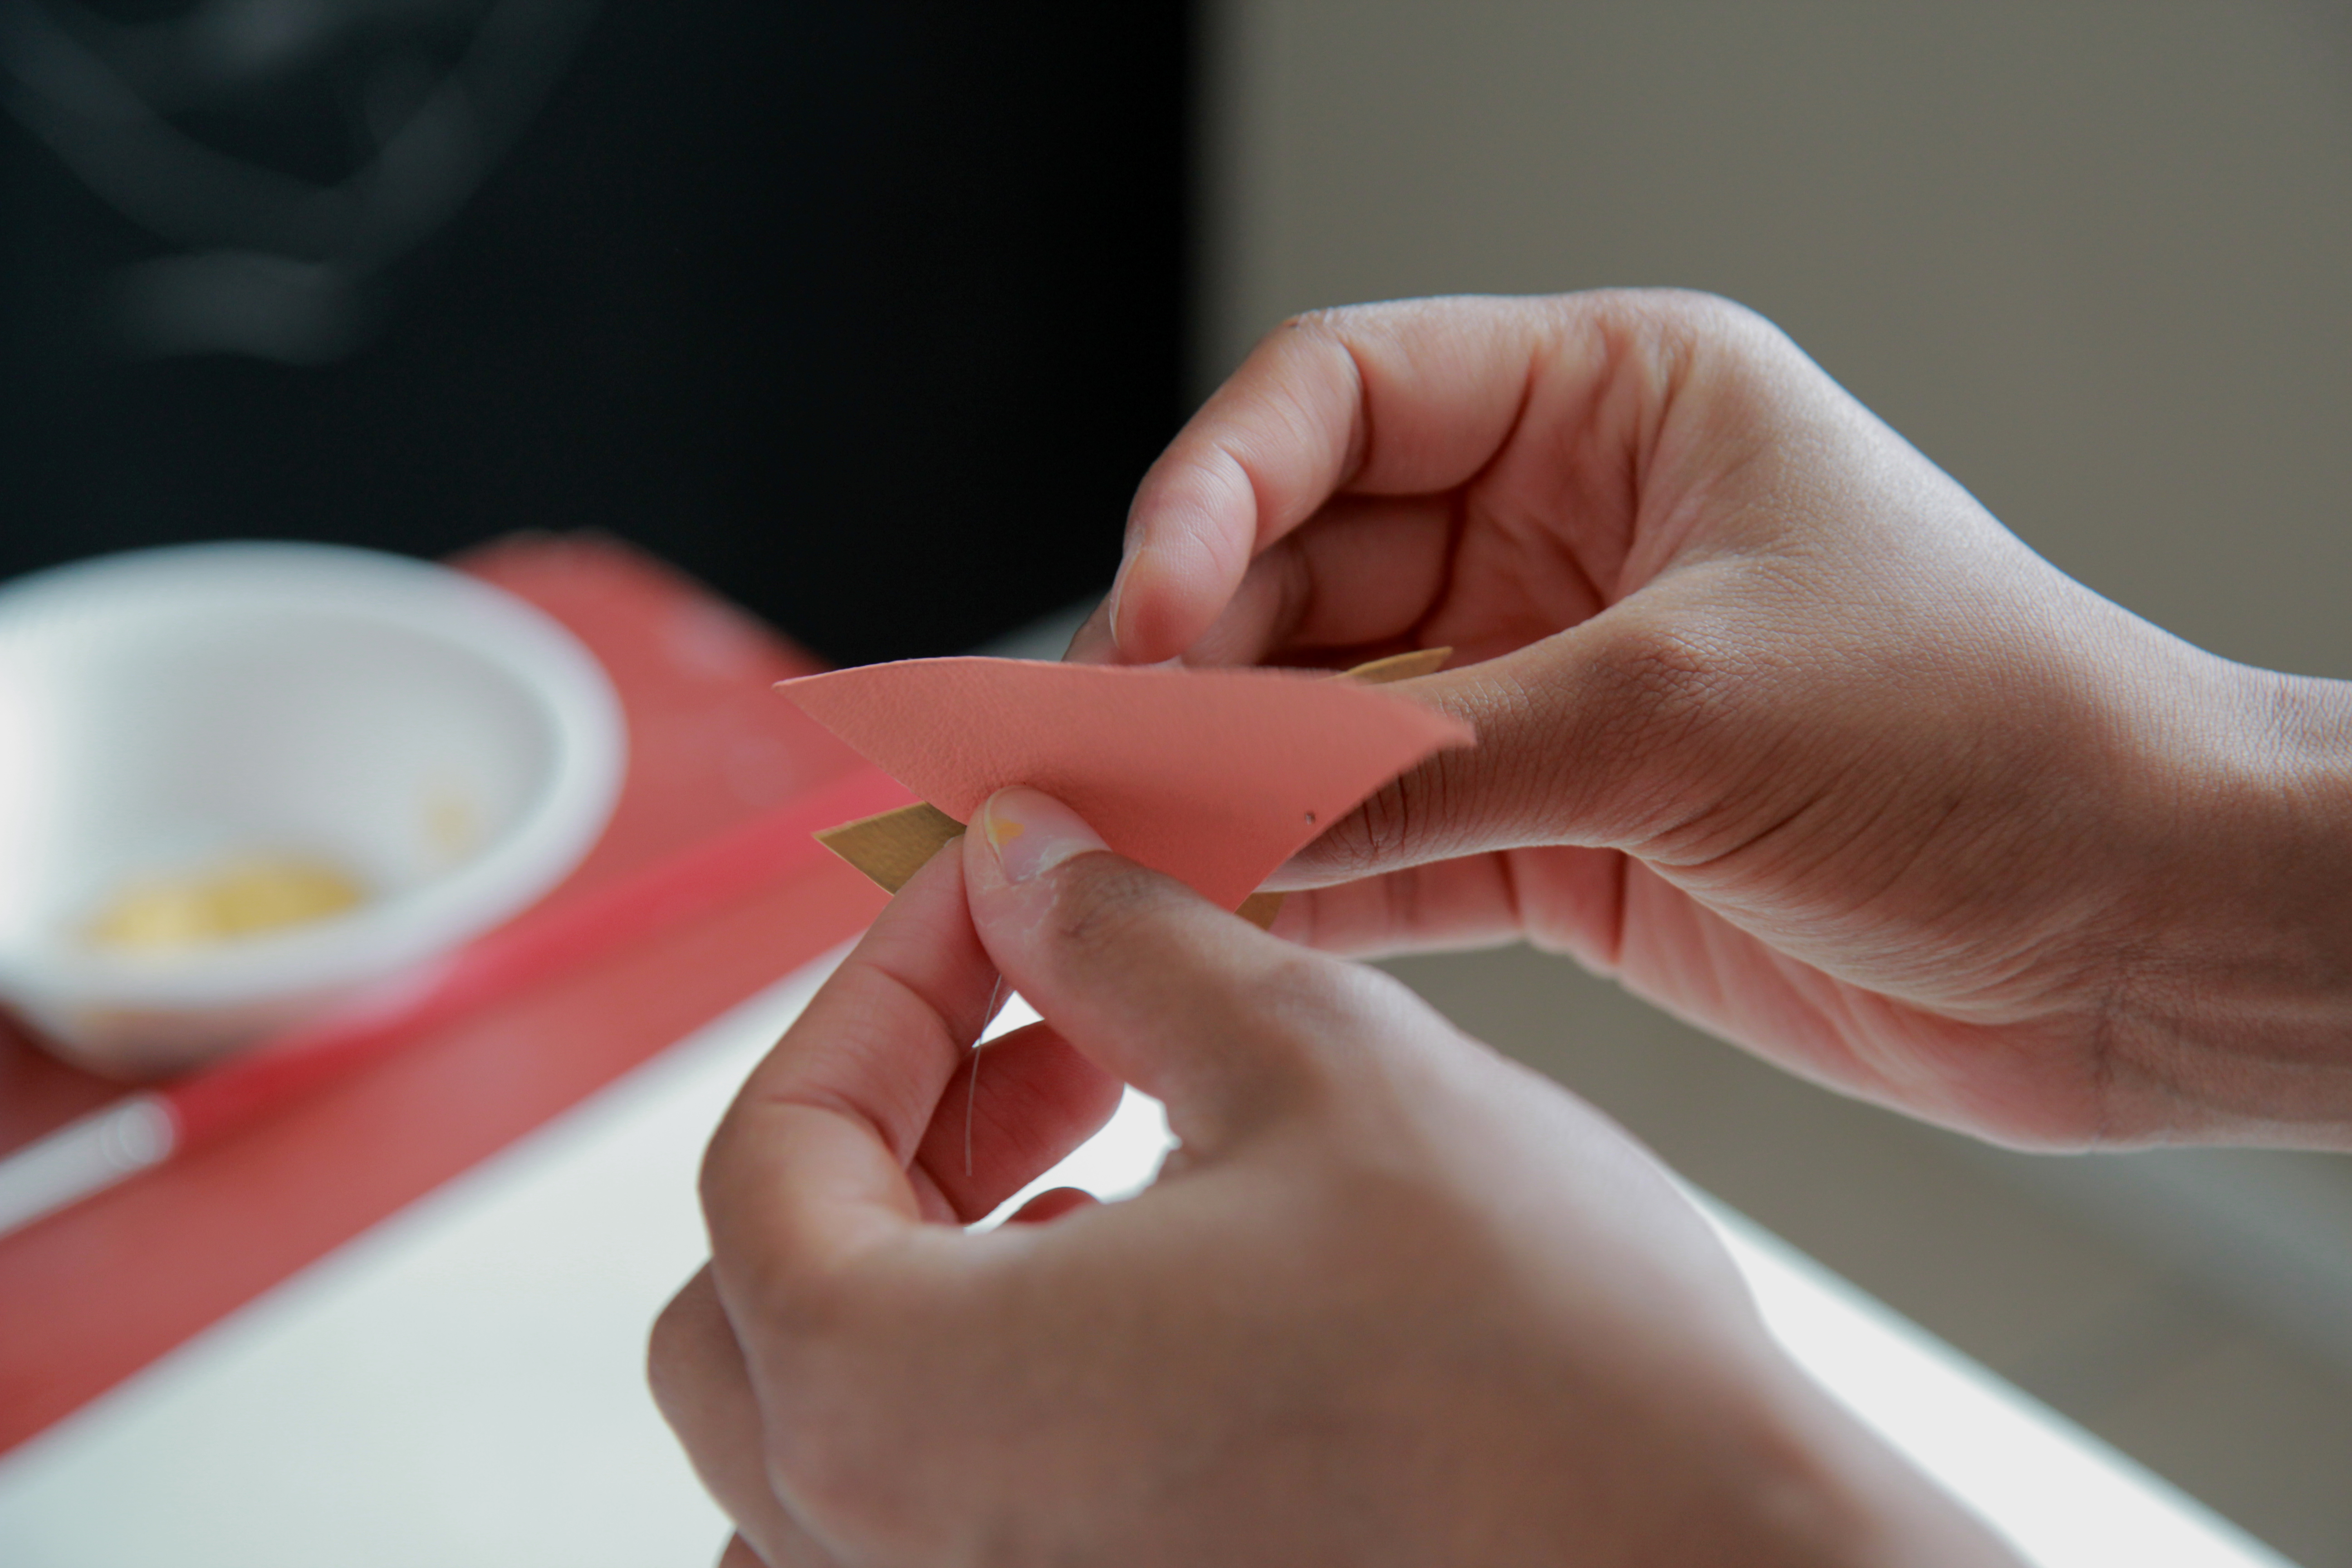
6. Stack the middle triangle over the third (last) triangle. Using the pushpin, make two holes at the top of the middle triangle, making sure that the holes go through the bottom triangle.
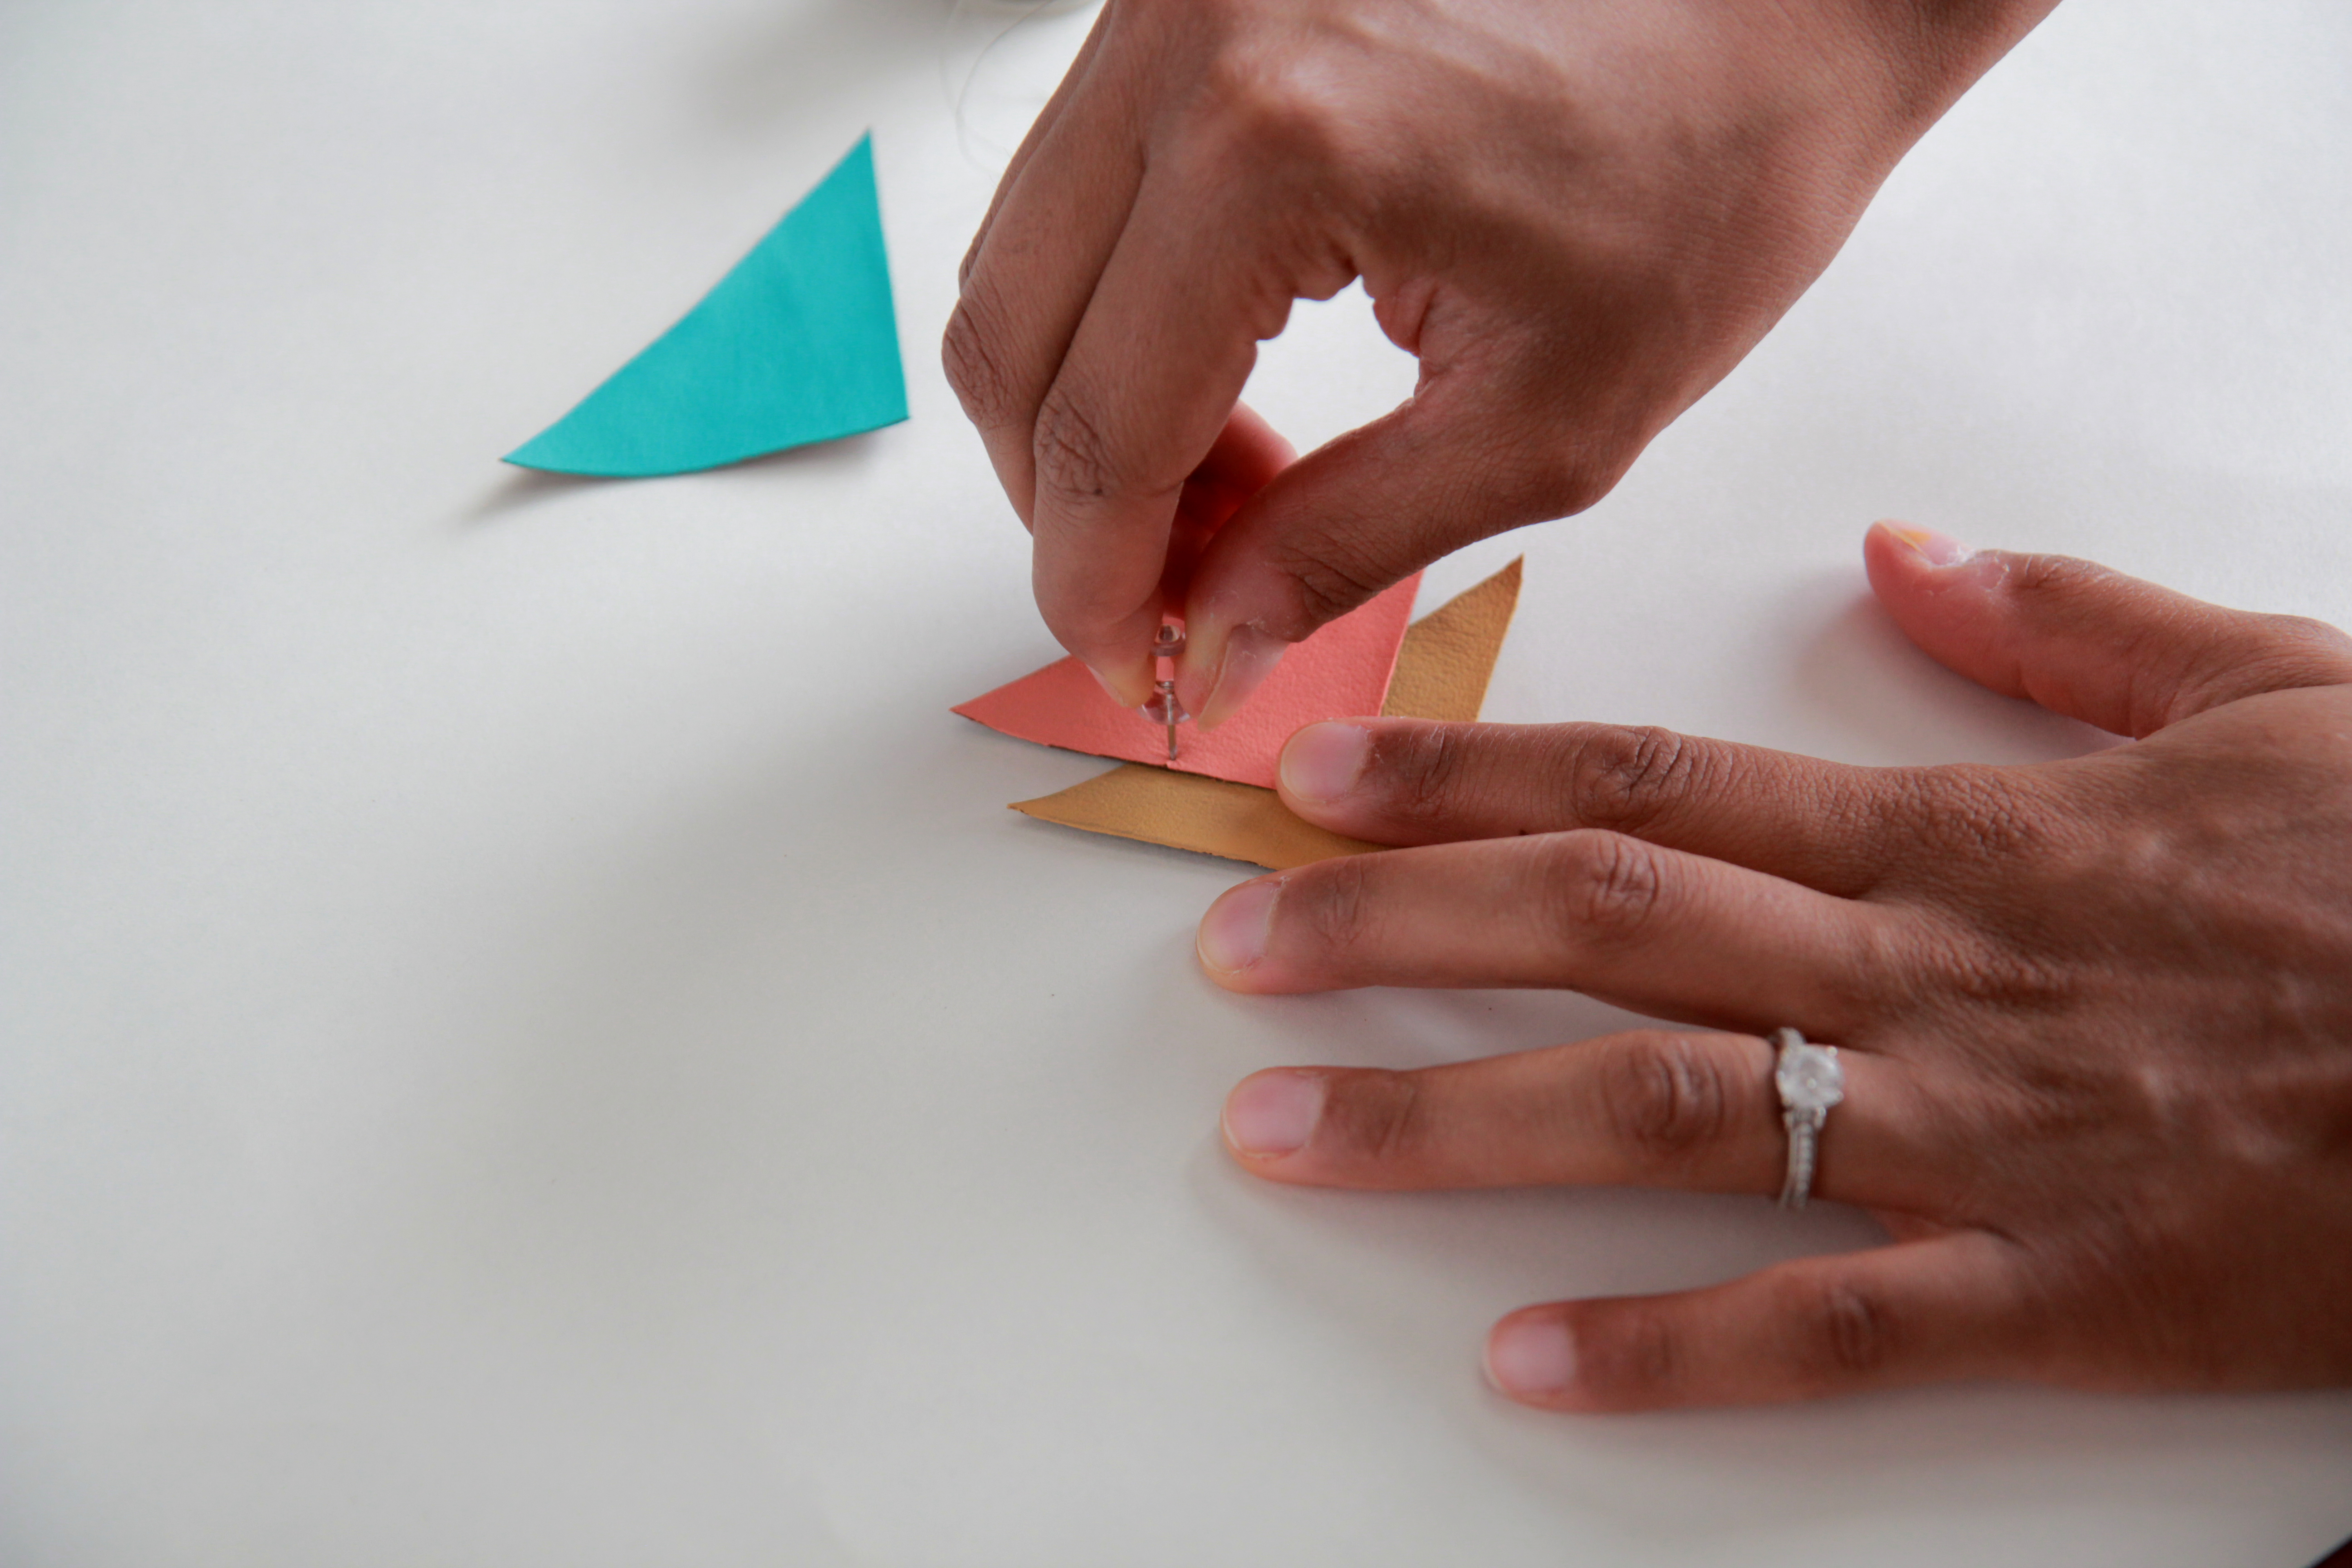
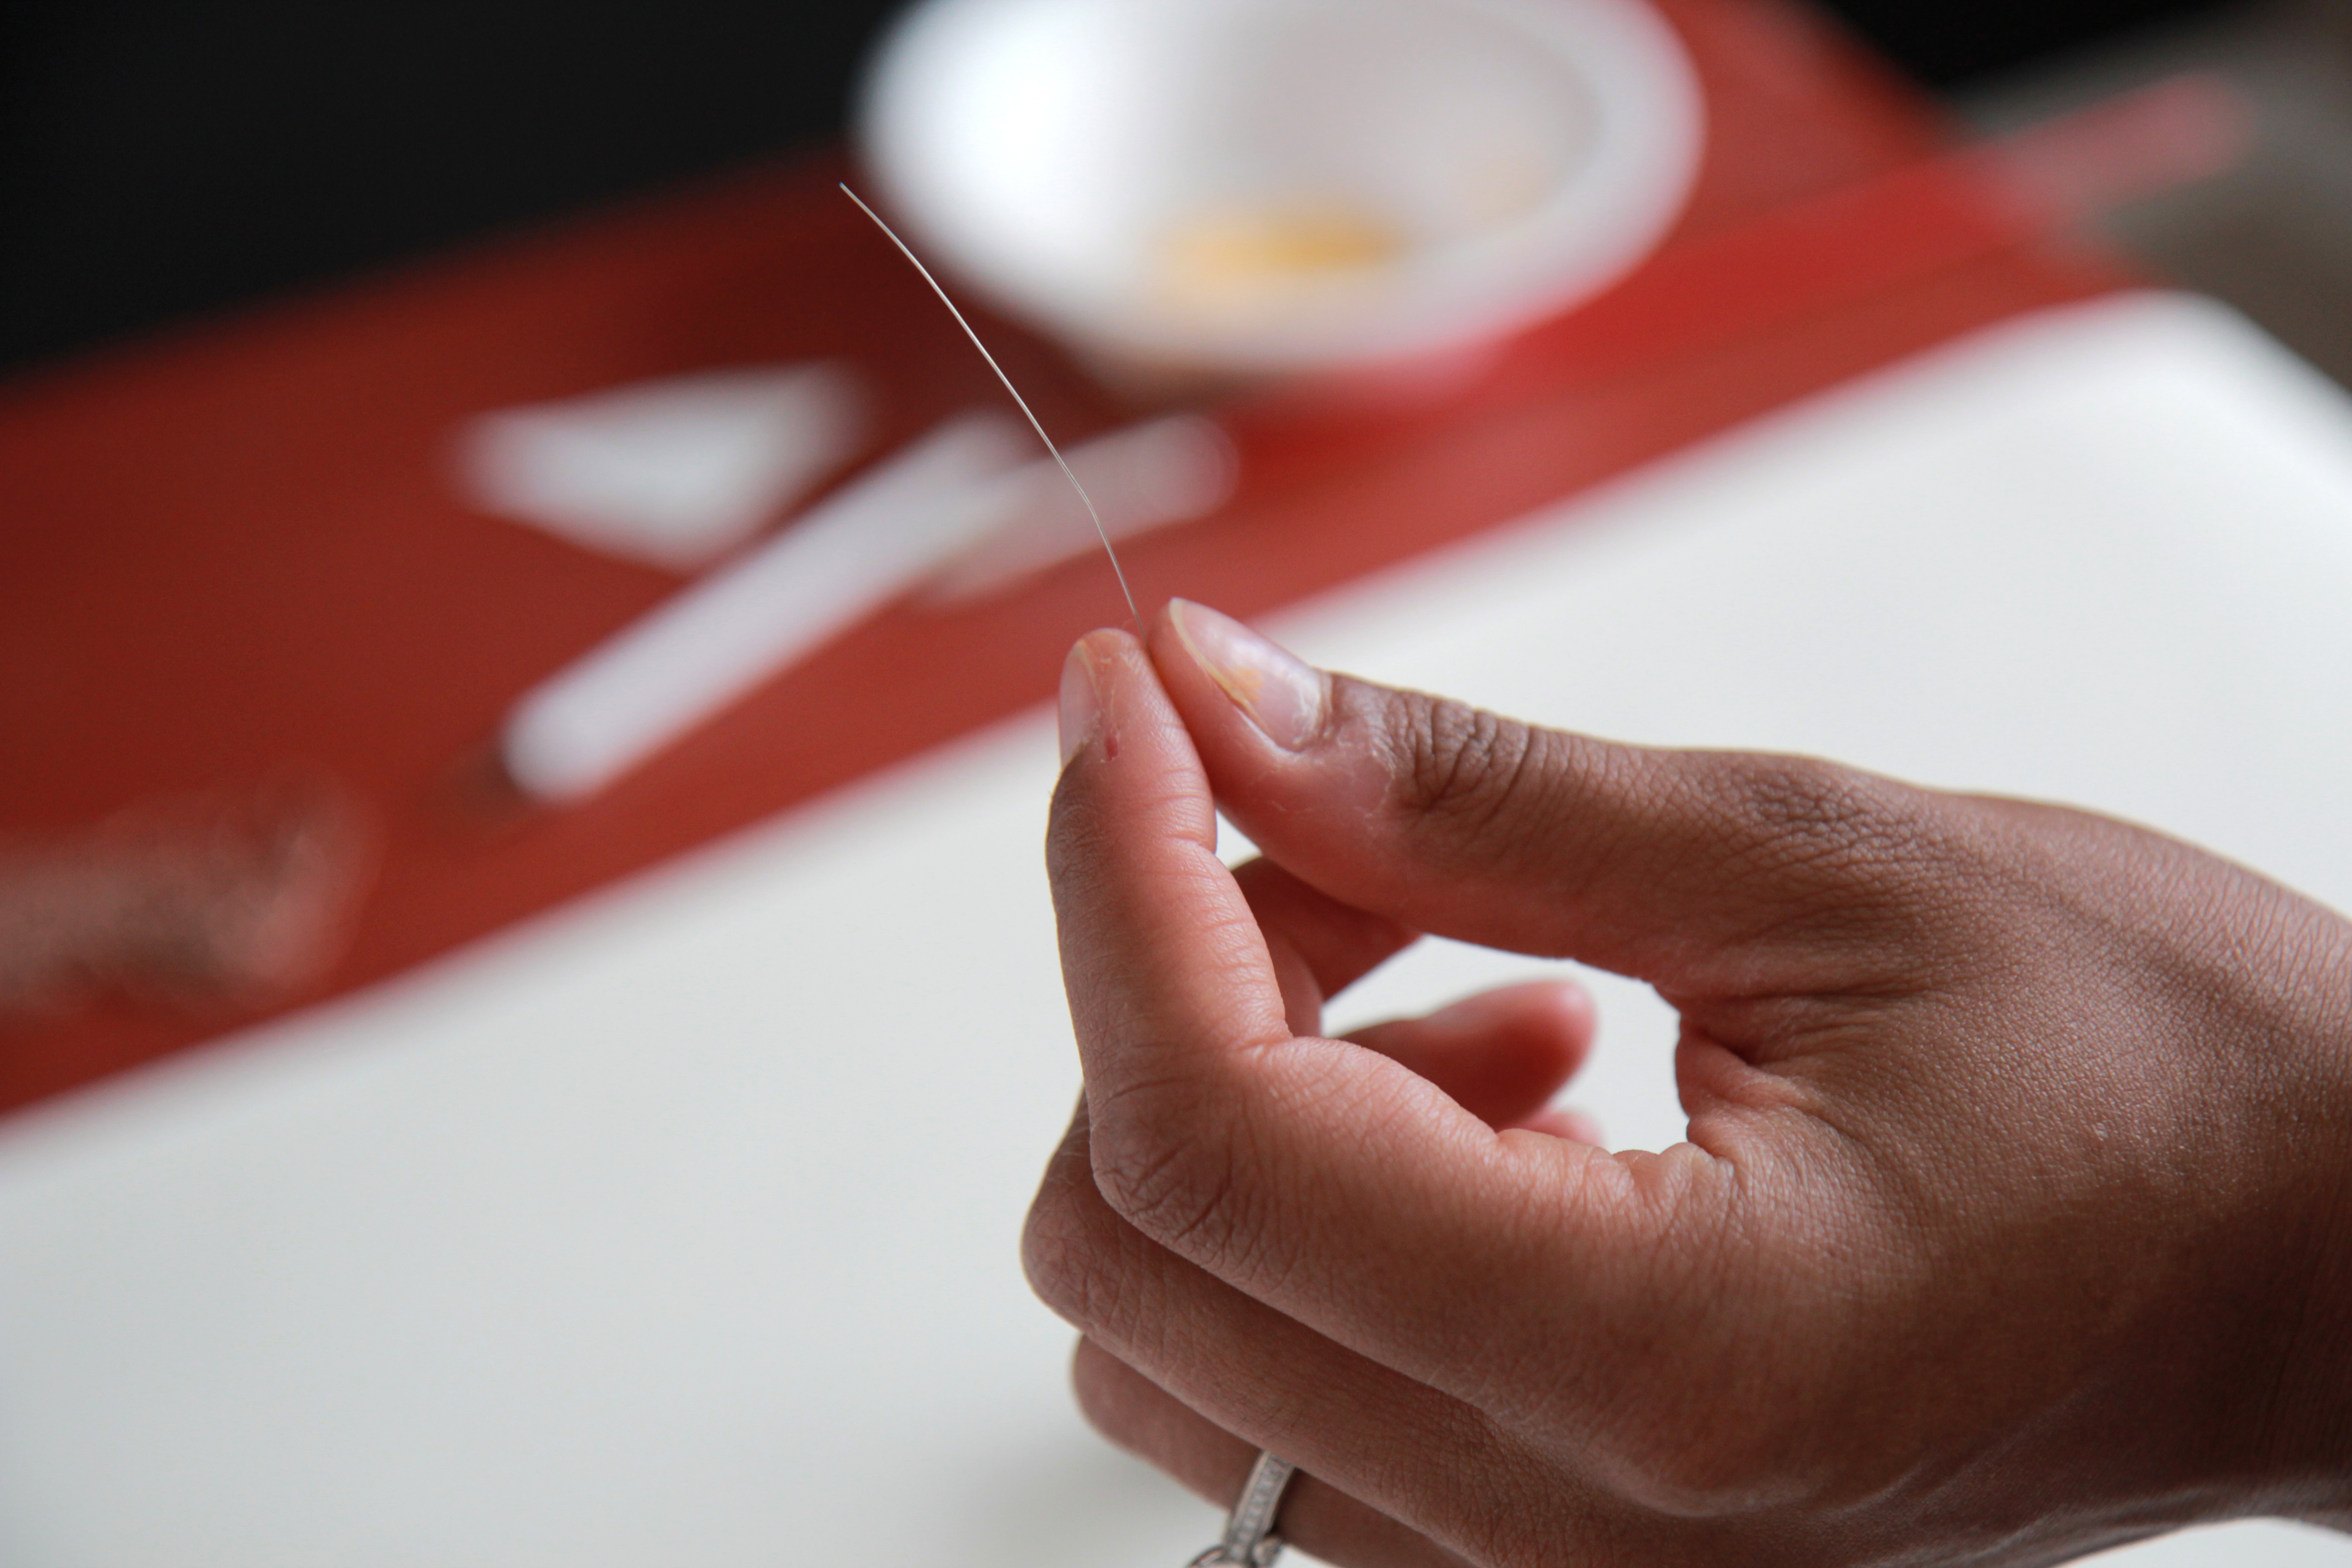
7. Take a small piece of beading wire, and put it through one of the holes, keeping the triangles stacked.
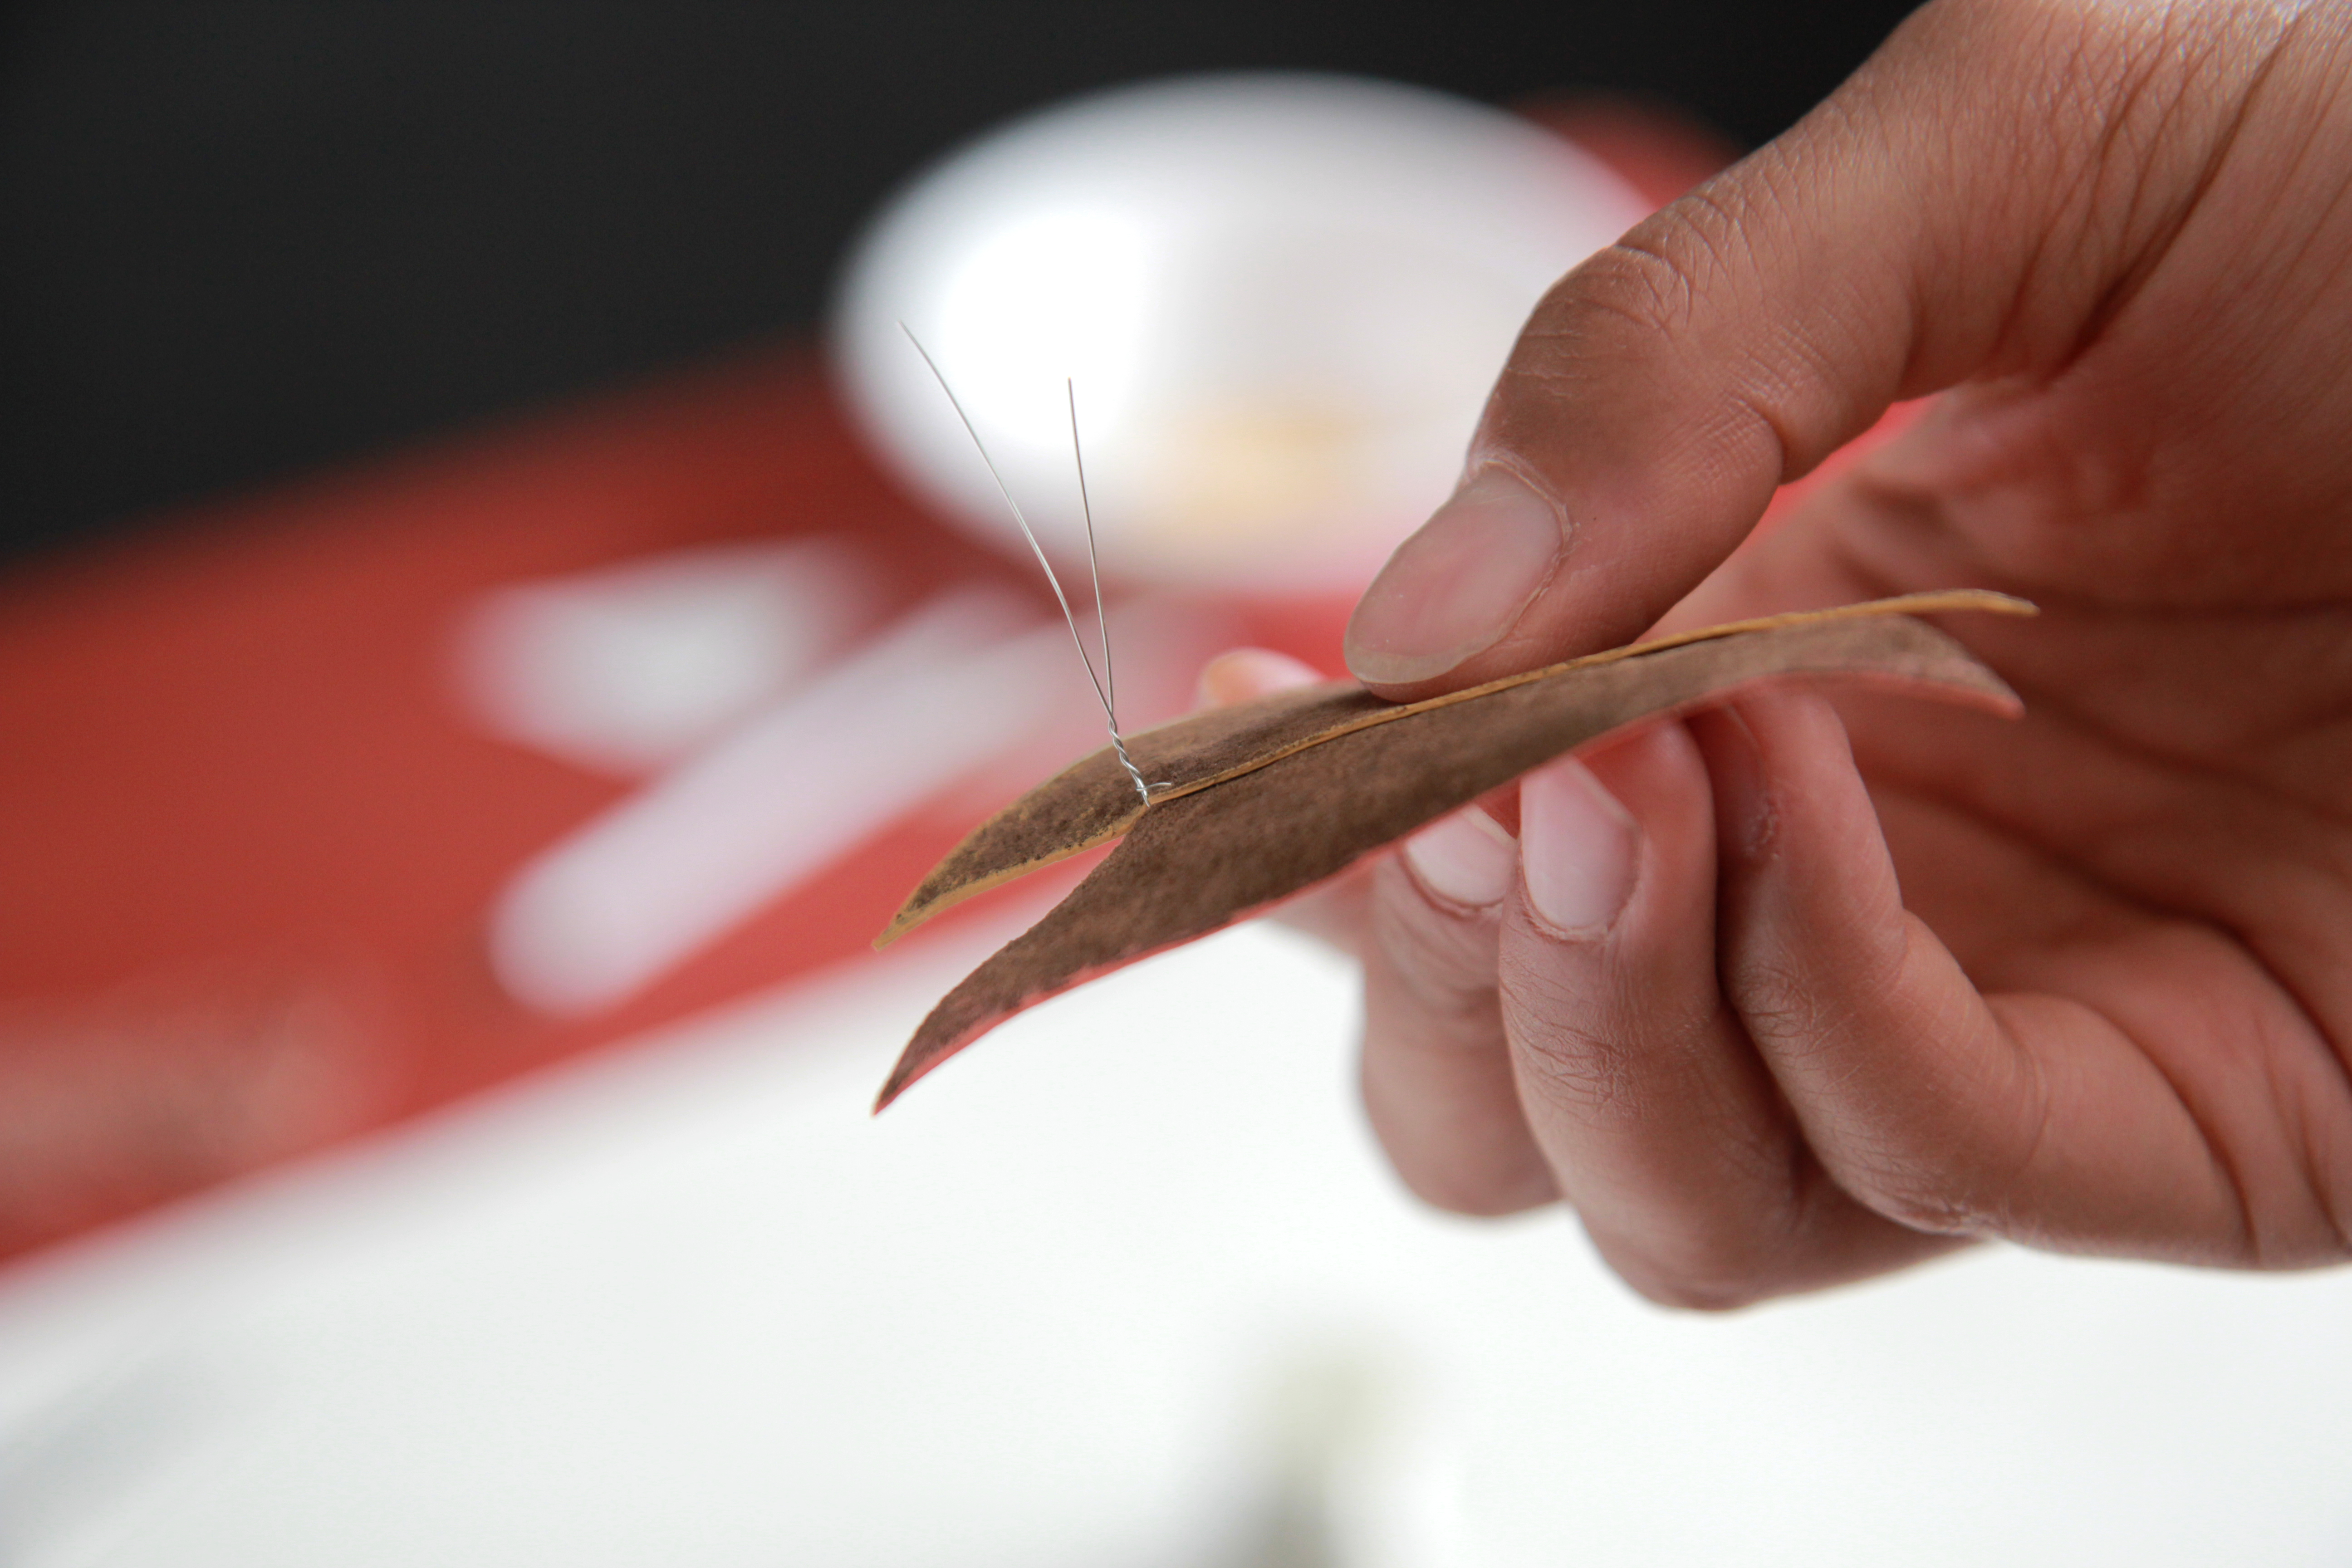
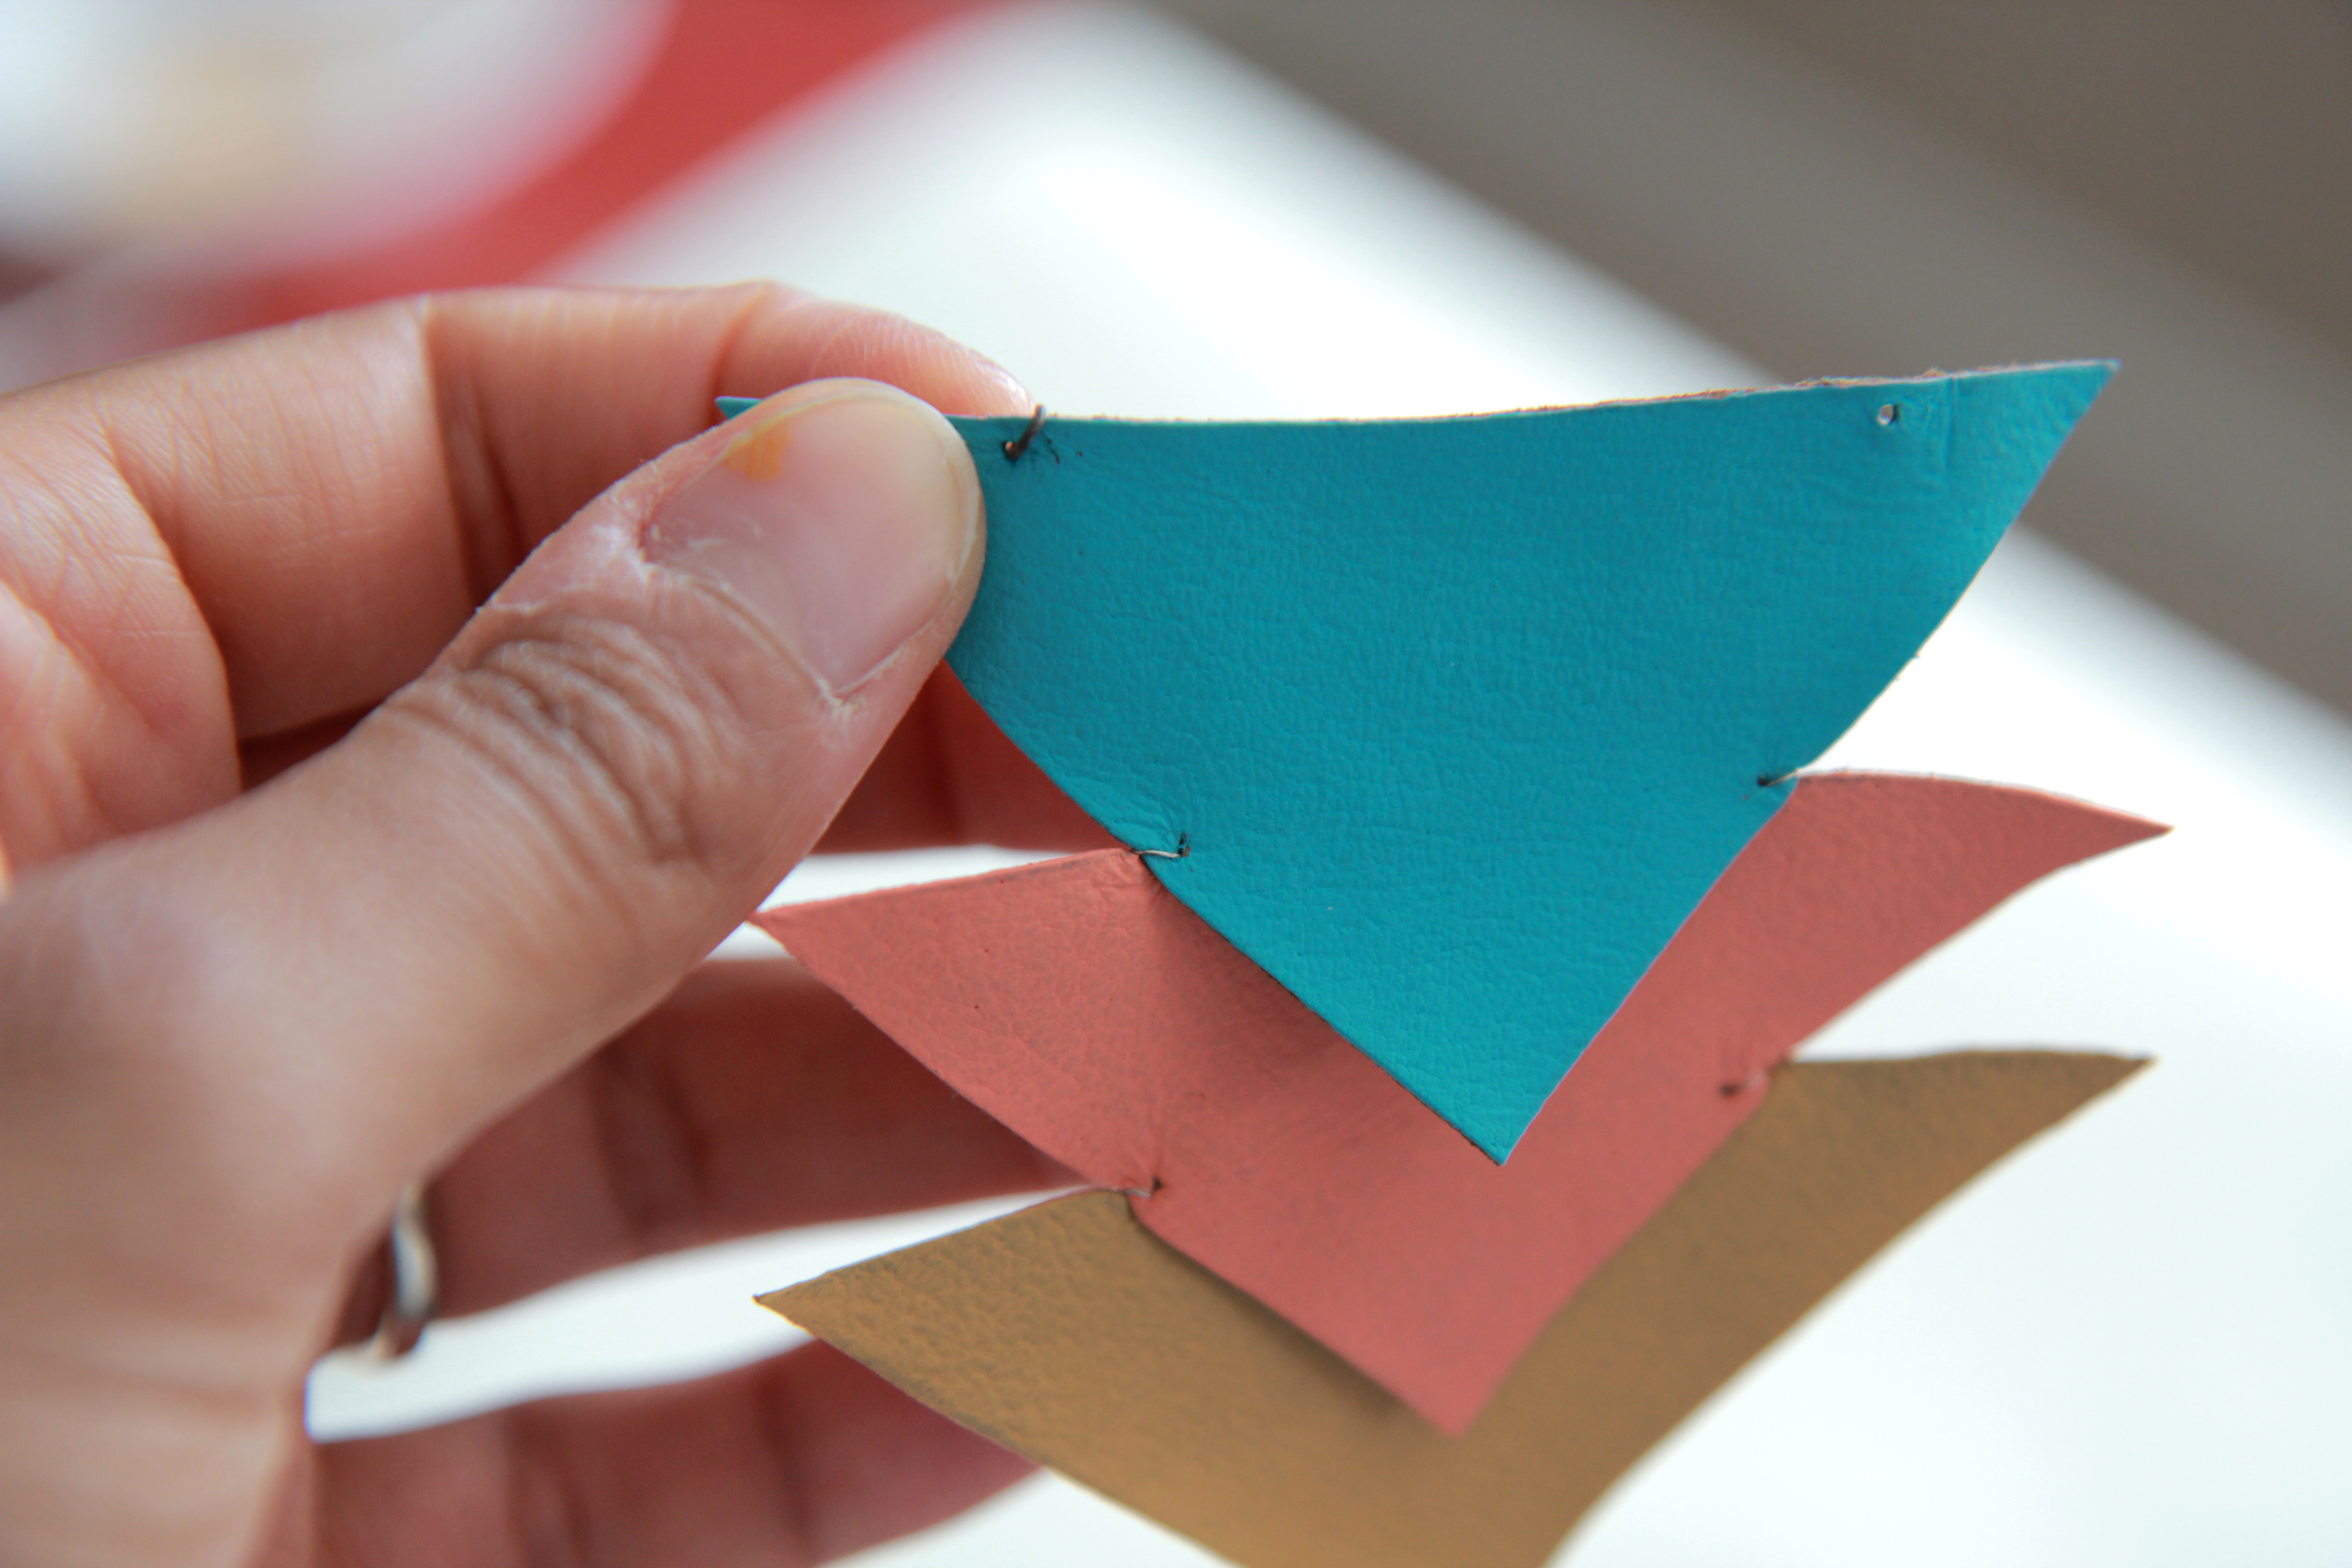
8. Twist the wire in the back of the triangles to secure them together. Repeat on the other side (the second set of holes). Clip the excess wire and press down the twisted part to it sits flush with the leather.
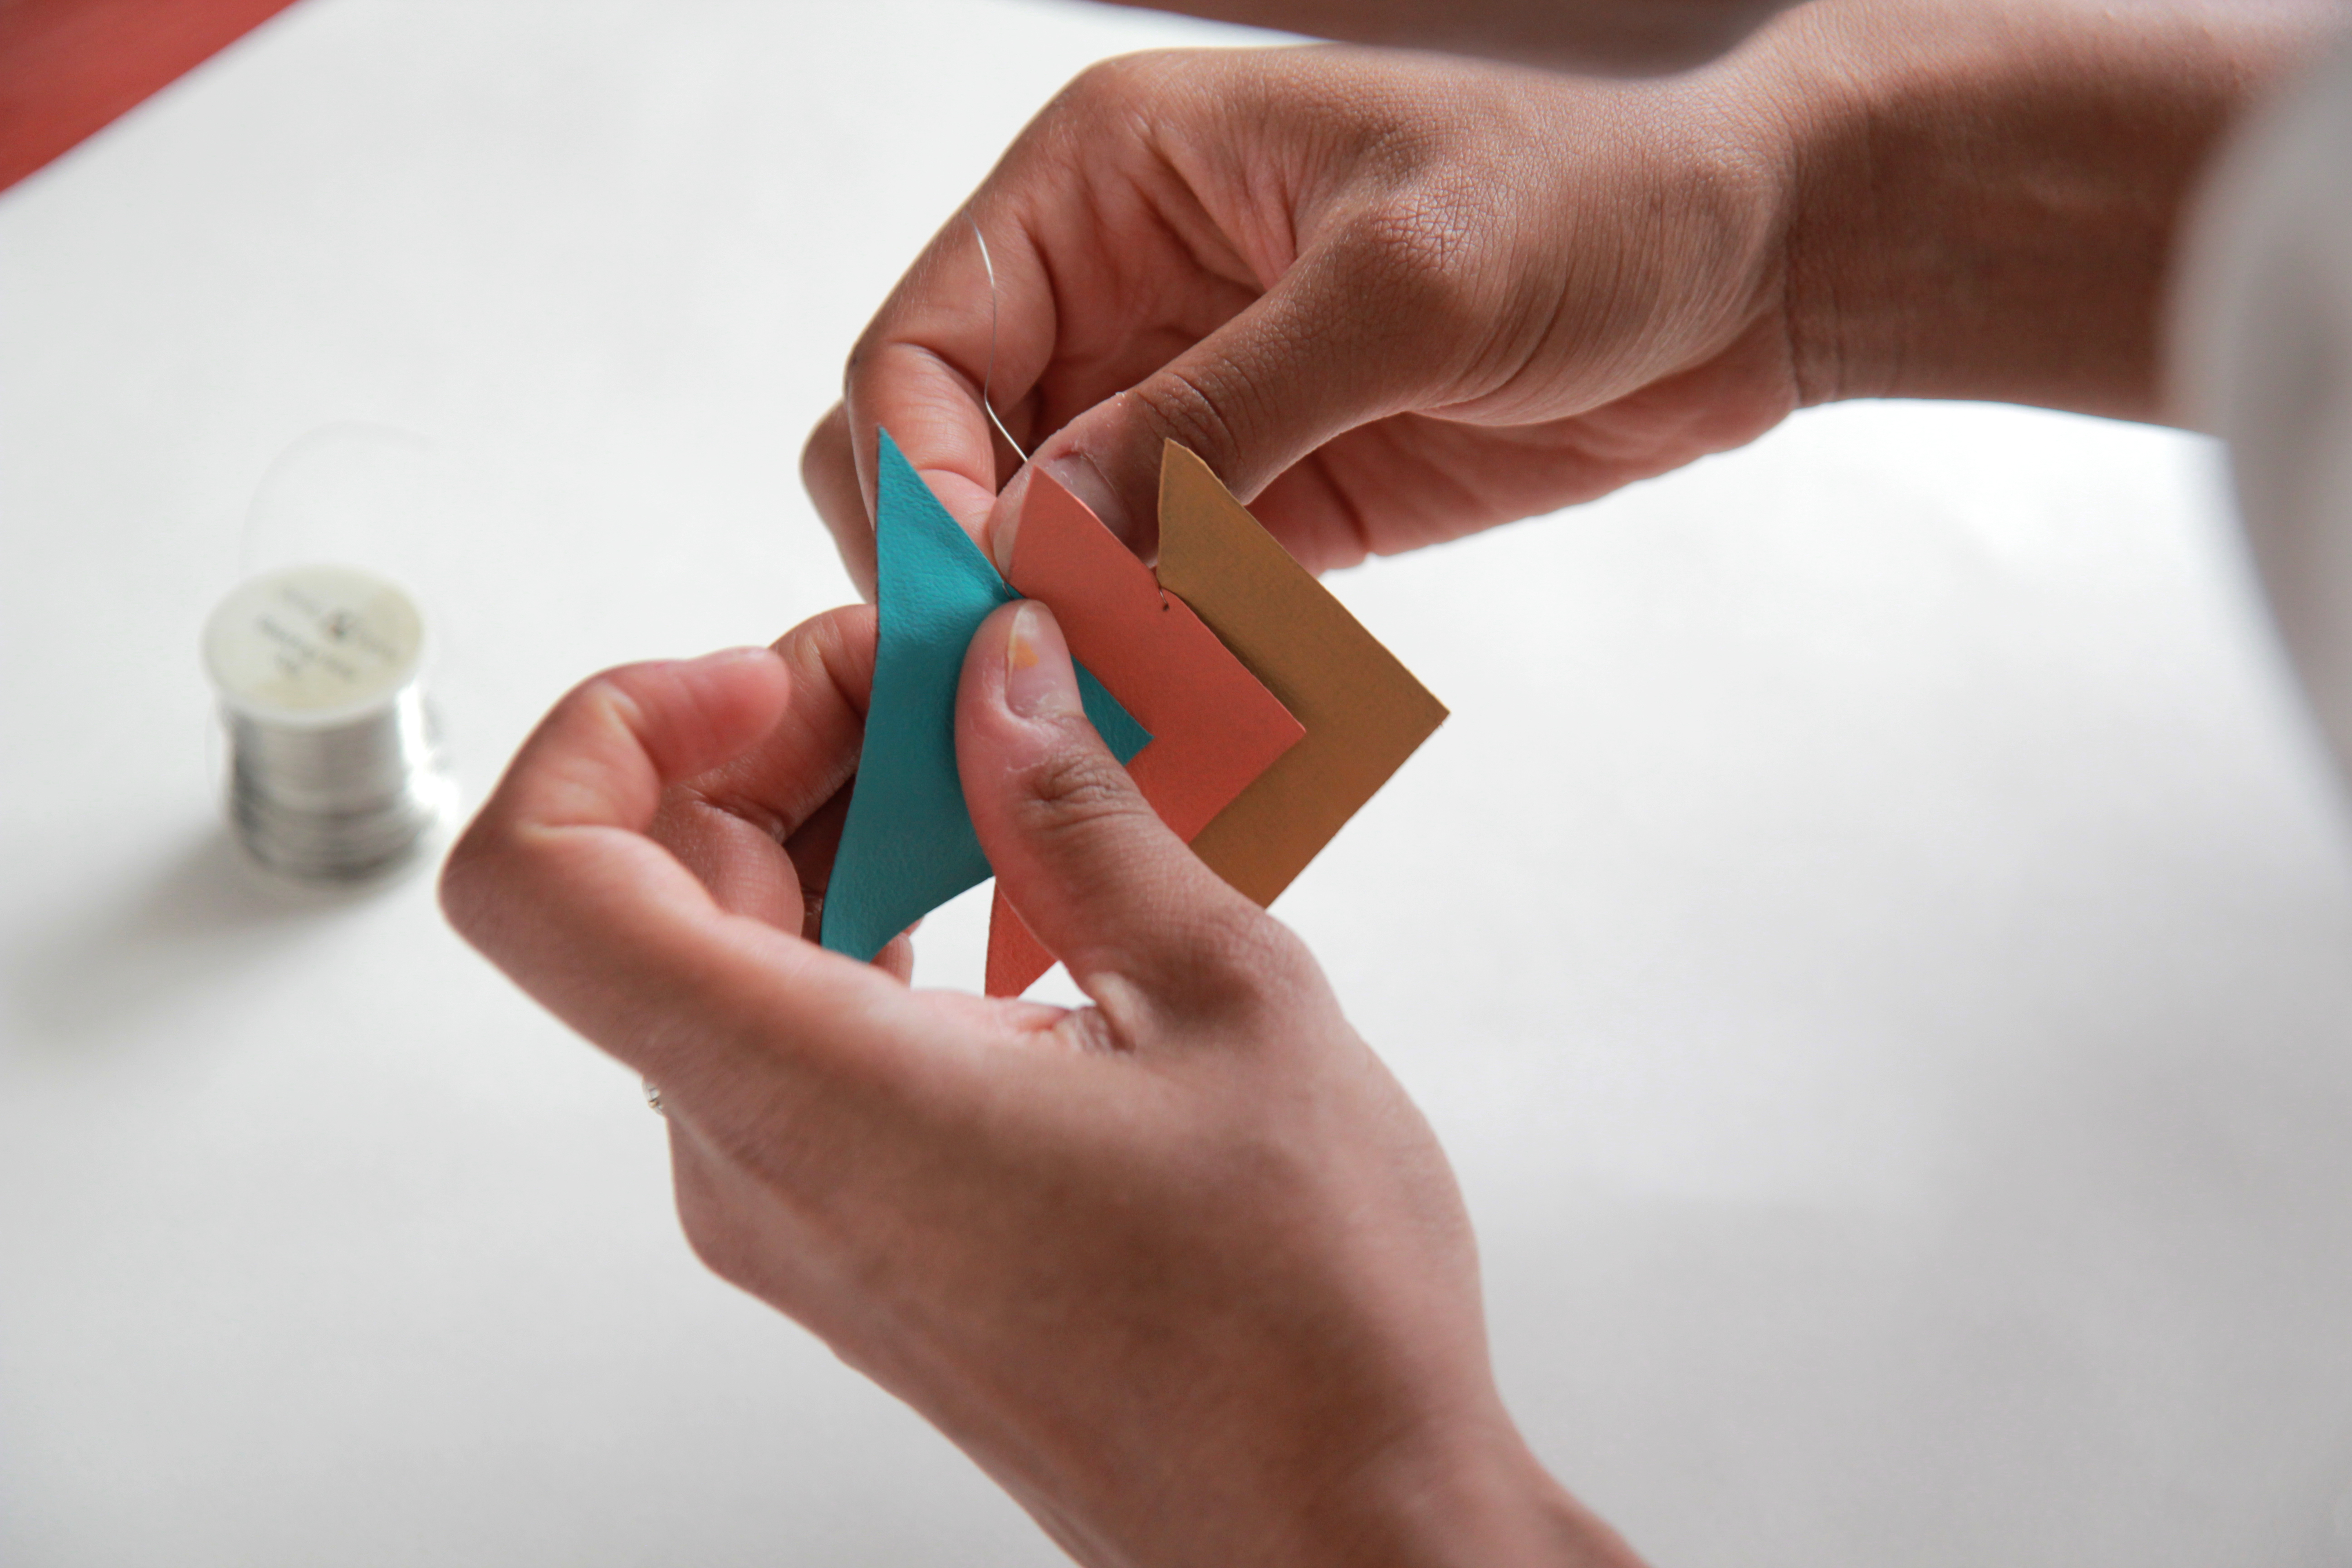
9. Stack the top triangles over the middle triangle, and repeat the same steps with the pushpin and wire. You’ll have three attached triangles when you’re done.
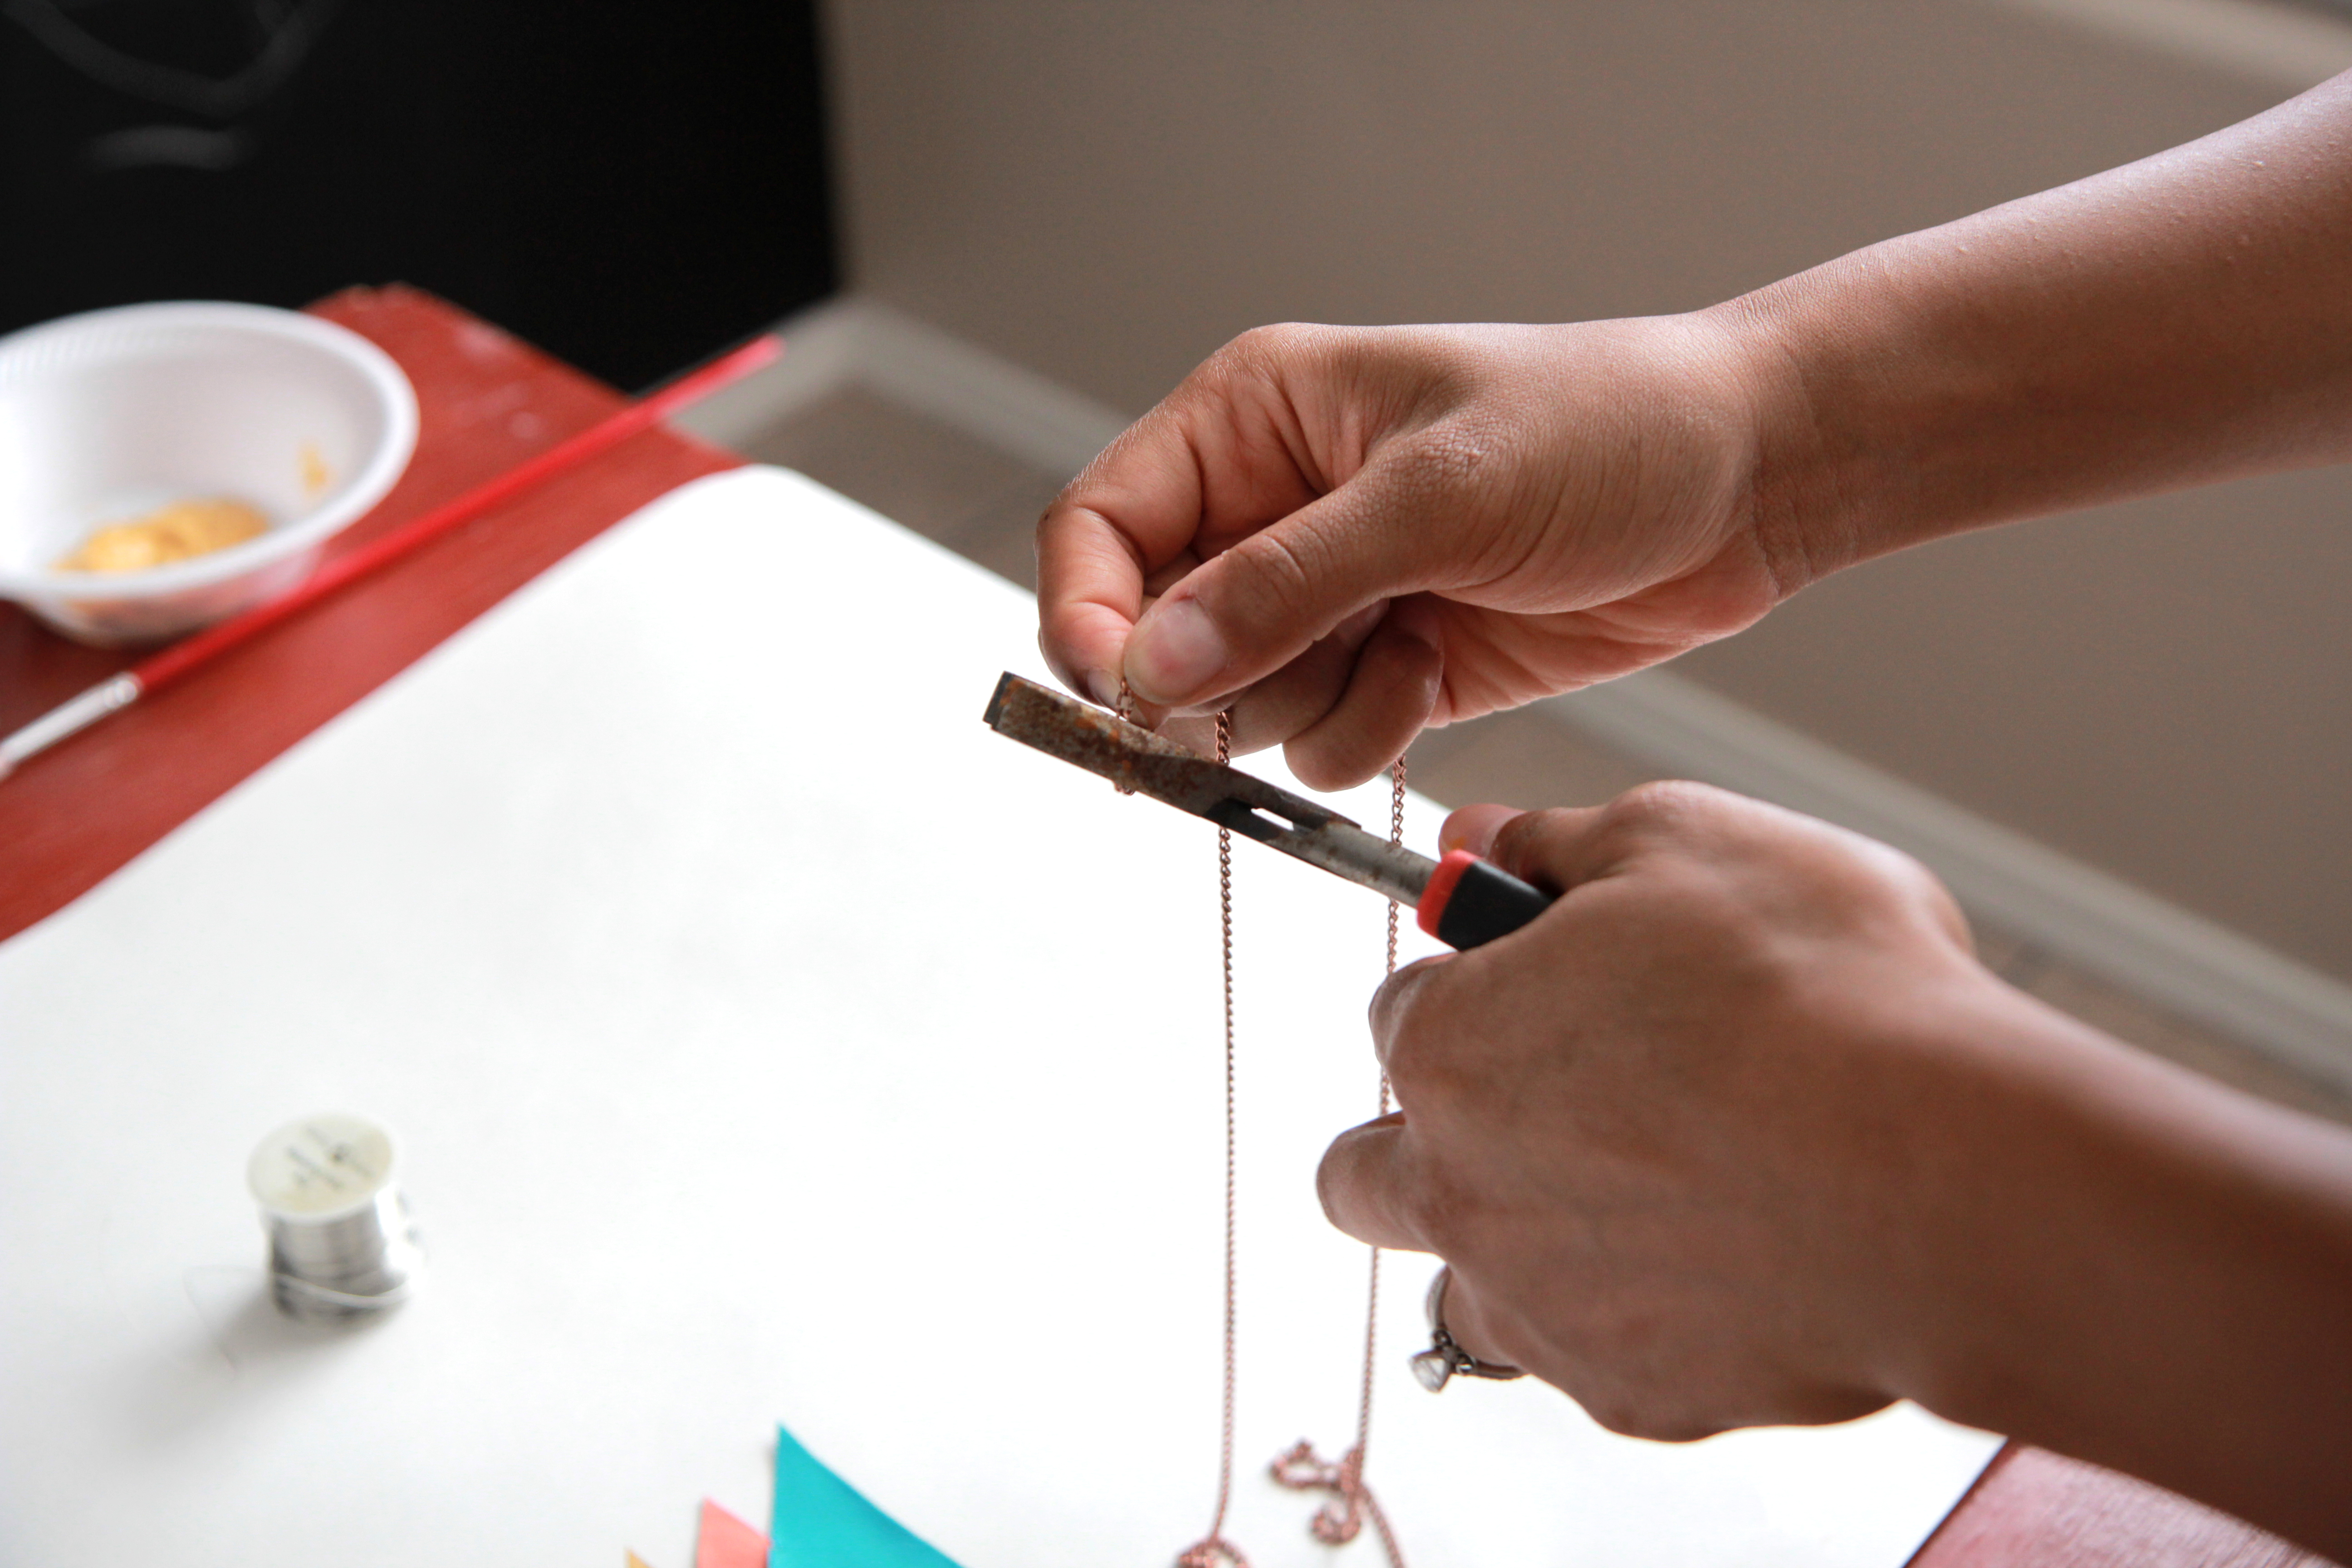
10. Measure your necklace chain. Mine was about 28 inches (with the leather pendant). Use the wire cutters to cut the chain to the length you want.
11. Use the pushpin to poke two holes in the top triangle.
12. Insert the jump rings into the holes.
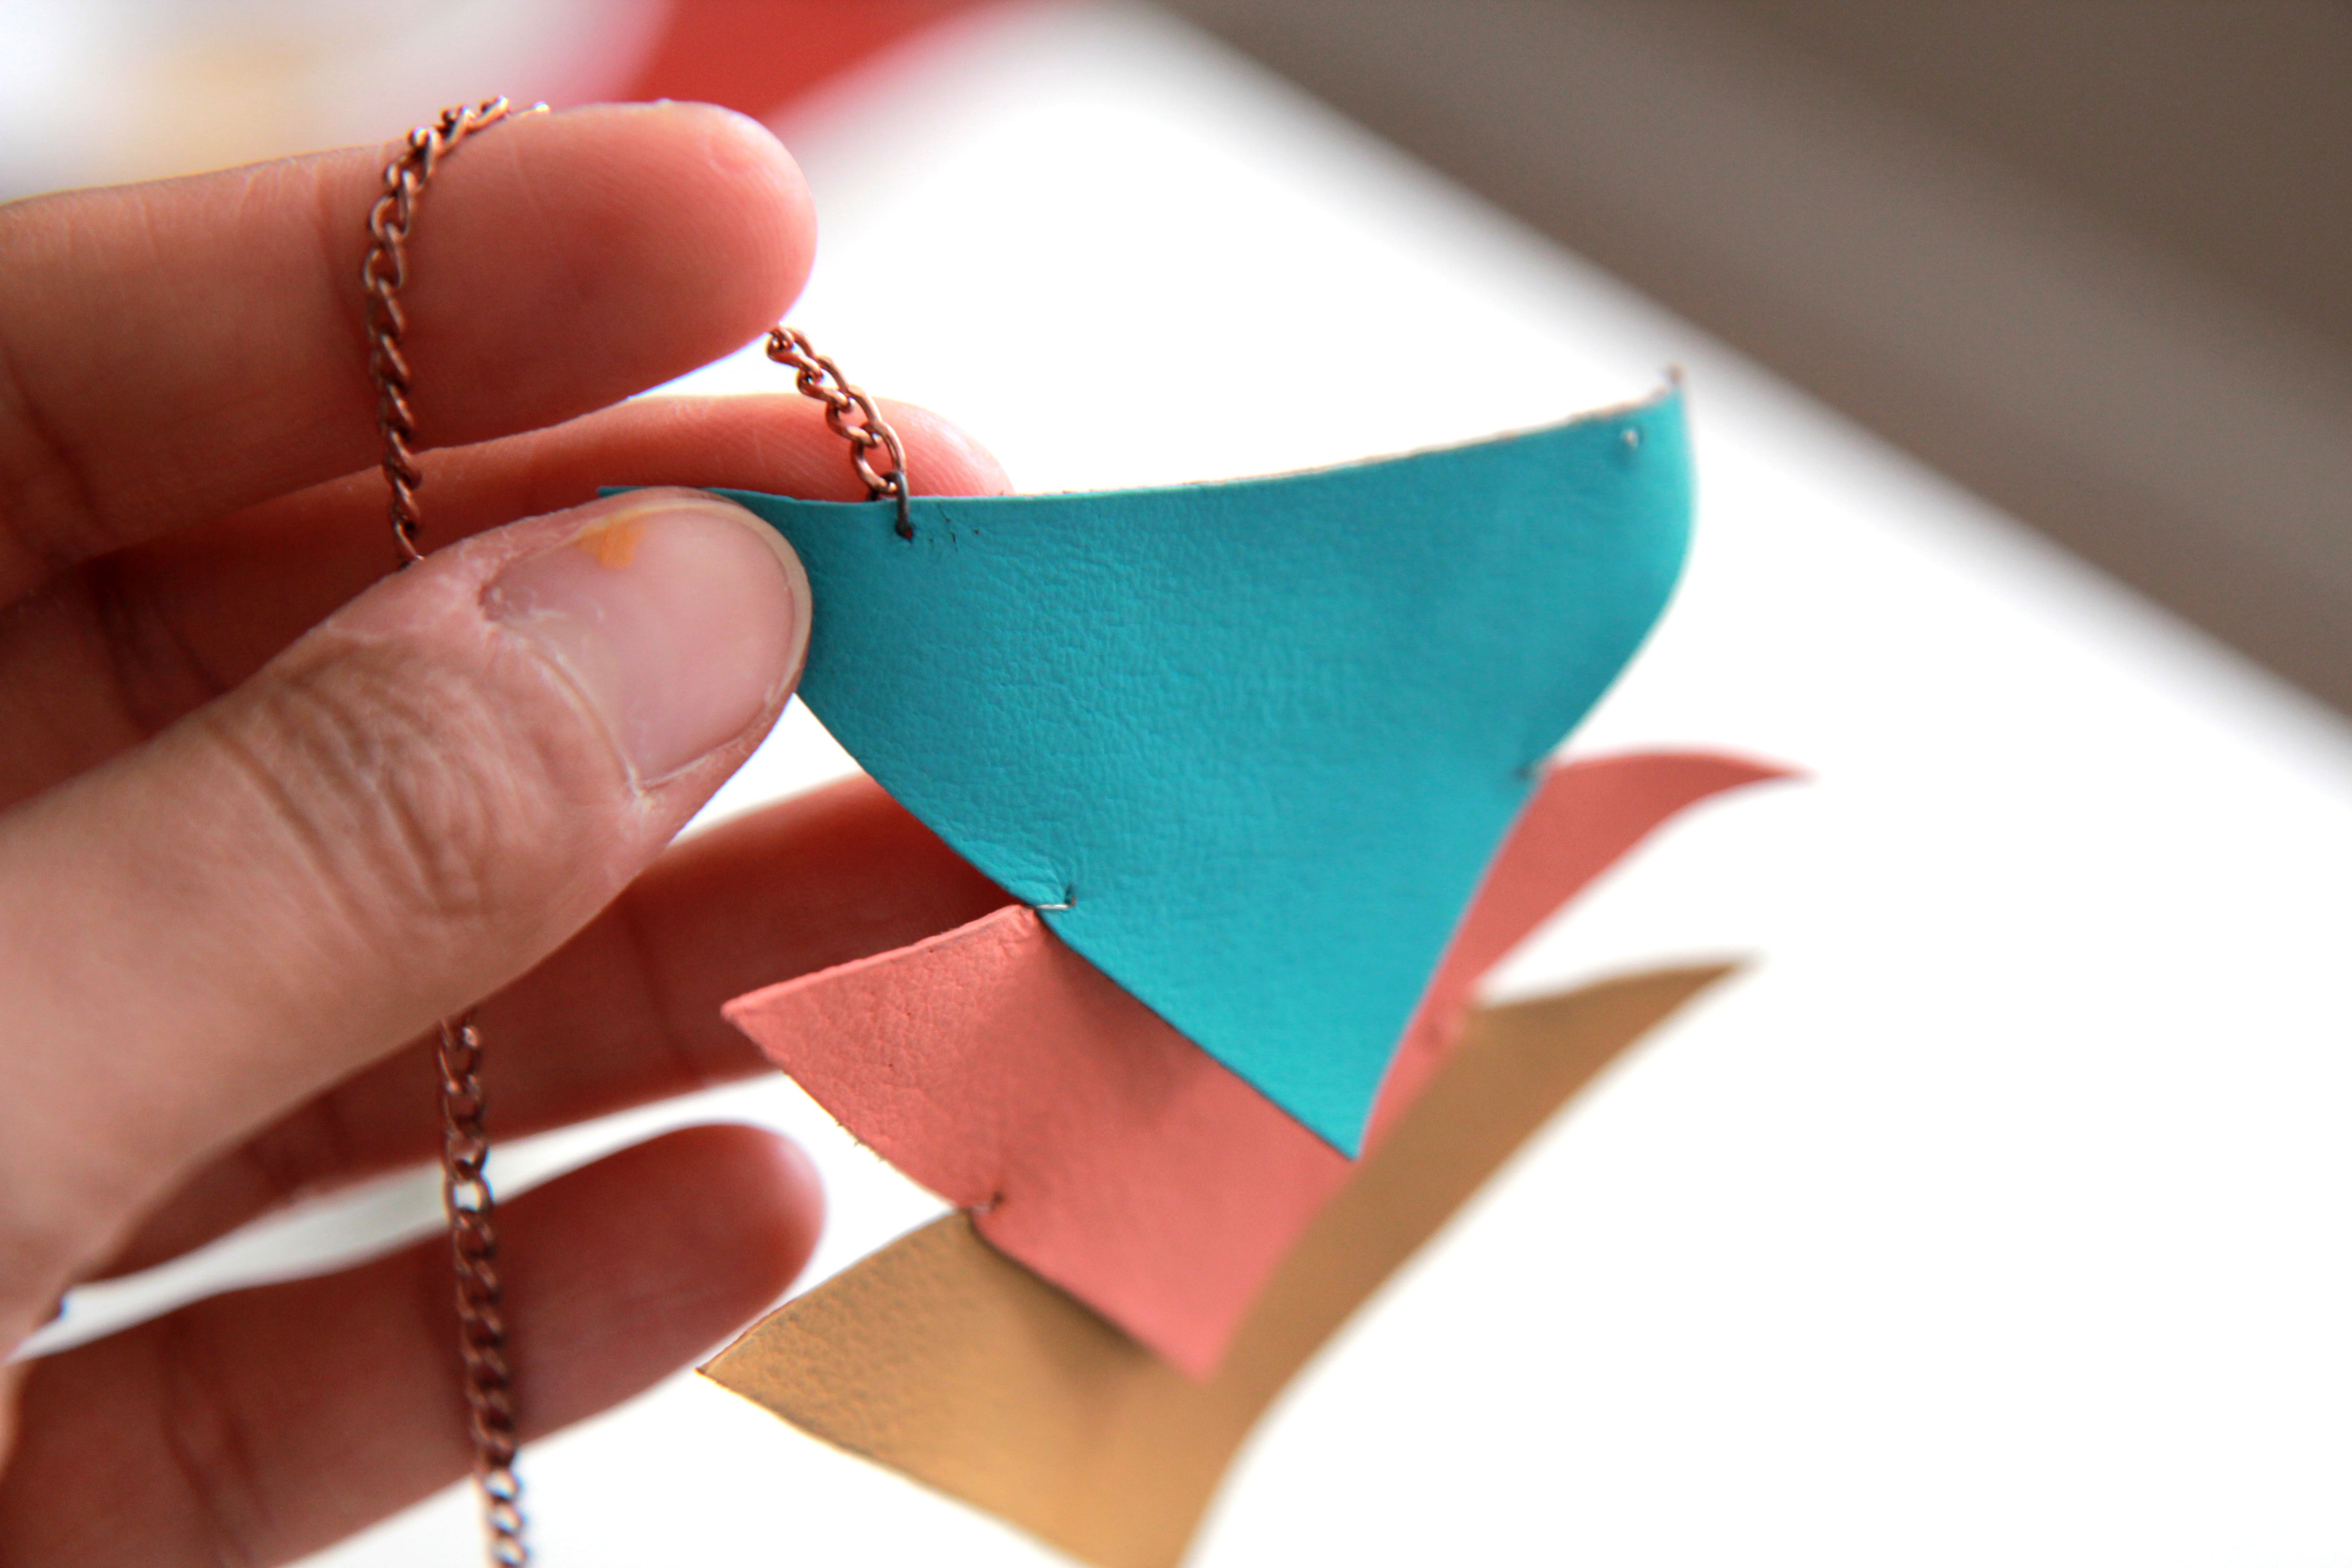
13. Hook the ends of the chain into each of the loops. Depending on how long your chain is you may want to cut it in the middle and add a clasp. Since mine was long enough to easily slip over my head I skipped this part.

14. Admire your beautiful work!
Here’s another version I made, with an ombre style.

I hope you feel creative enough to try this little craft out!