Gallery walls are tricky. When done right, they can add visual interest to a plain wall, but they can be a hot mess if not planned correctly. That’s why I’m going to share my tips for creating the perfect gallery wall.

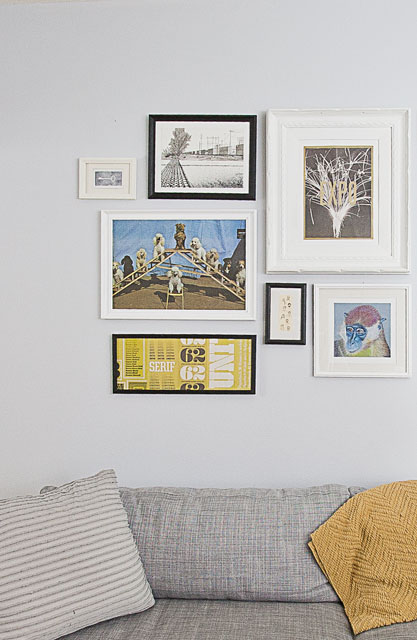
1. Don’t be afraid to mix different styles of frames and artwork, but keep some elements common. While all of my frames are different sizes, I made sure they were all wood. This provided some much needed cohesion.

2. Choose artwork that you love. Most of the artwork in my gallery are original works by Joey, but I also framed images that caught my attention from newspapers and pamphlets. For instance, the dog photo below was actually an ad in the newspaper for a local design school. Joey ran across it months ago, and he stashed it away knowing it would eventually come in handy.

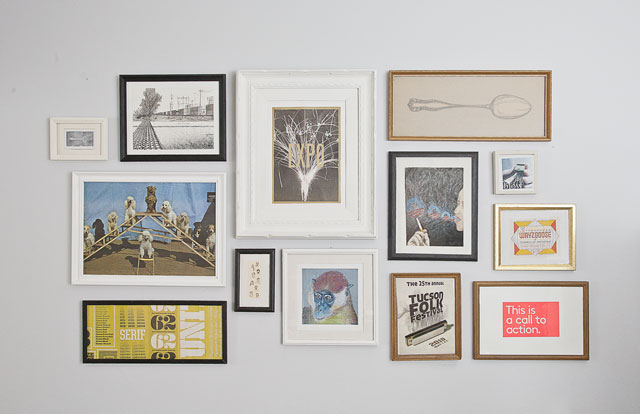
3. Plan the layout before getting out your hammer and nails. I can’t stress the importance of this enough. You need to figure out the spacing, width, and height of your installation before getting started. I laid all of my artwork out on the floor and arranged until I was happy with the placement. I wanted the arrangement to be organic, so I didn’t put too much emphasis on symmetry, but I was very careful to keep the spacing between frames consistent.
4. Keep the “57 Inch on Center” rule in mind. What that means is that the center of your arrangement should be 57″ above the ground. It seems a little low at first glance, but it is actually perfect.
5. When your done hanging and have everything leveled, secure the corners of the frames with double sided foam picture tape. That way, the artwork will always be level and you won’t need to worry about shifting.
1 Comment on How to Create a Perfect Gallery Wall