I’m a little late to the neon sign craze, but better late than never, am I right? So what really spurred this DIY was needing a cool sign for my Persist booth at a few upcoming pop up events. In case your forgot, I started a feminist card game, Persist the Game. Well anyways, I had seen some neon signs that looked cool and figured I could make one for a fraction of the price. It took a lot of hot glue, but I’m happy to report it was a successful endeavor. Keep reading for the instructions.

Materials
- Neon Wire
- Wood pre-cut to the desired size of the sign (Pro tip: I got mine for free in Home Depot’s scrap section)
- Hot Glue Gun
- Electric Drill
- Pencil
Instructions
1. With a pencil, draw your selected design/word onto the wood.
2. Anywhere that you would need to pick up your pencil or re-trace a line, mark with an X. The neon wire can’t make sharp turns, so you will need to drill holes for the wire to be threaded through the back. Use the wire to mock out how it will need to be threaded in order to see if you need any additional drill holes. For instance, I figured out that my “t” needed a hole in the intersection of the cross, which I hadn’t originally expected (note: in the photo below I hadn’t yet drilled the extra hole in the “t”).
3. Drill the holes anywhere you marked with an X. You will want the drill holes to be slightly larger than the wire, but not too big.
4. Thread the wire through the holes, making sure that the battery pack is on the back of the wood. I began at the far right side of the design and worked my way backwards because I wanted the start of my “P” to actually be the start of the wire, but that’s not necessary. 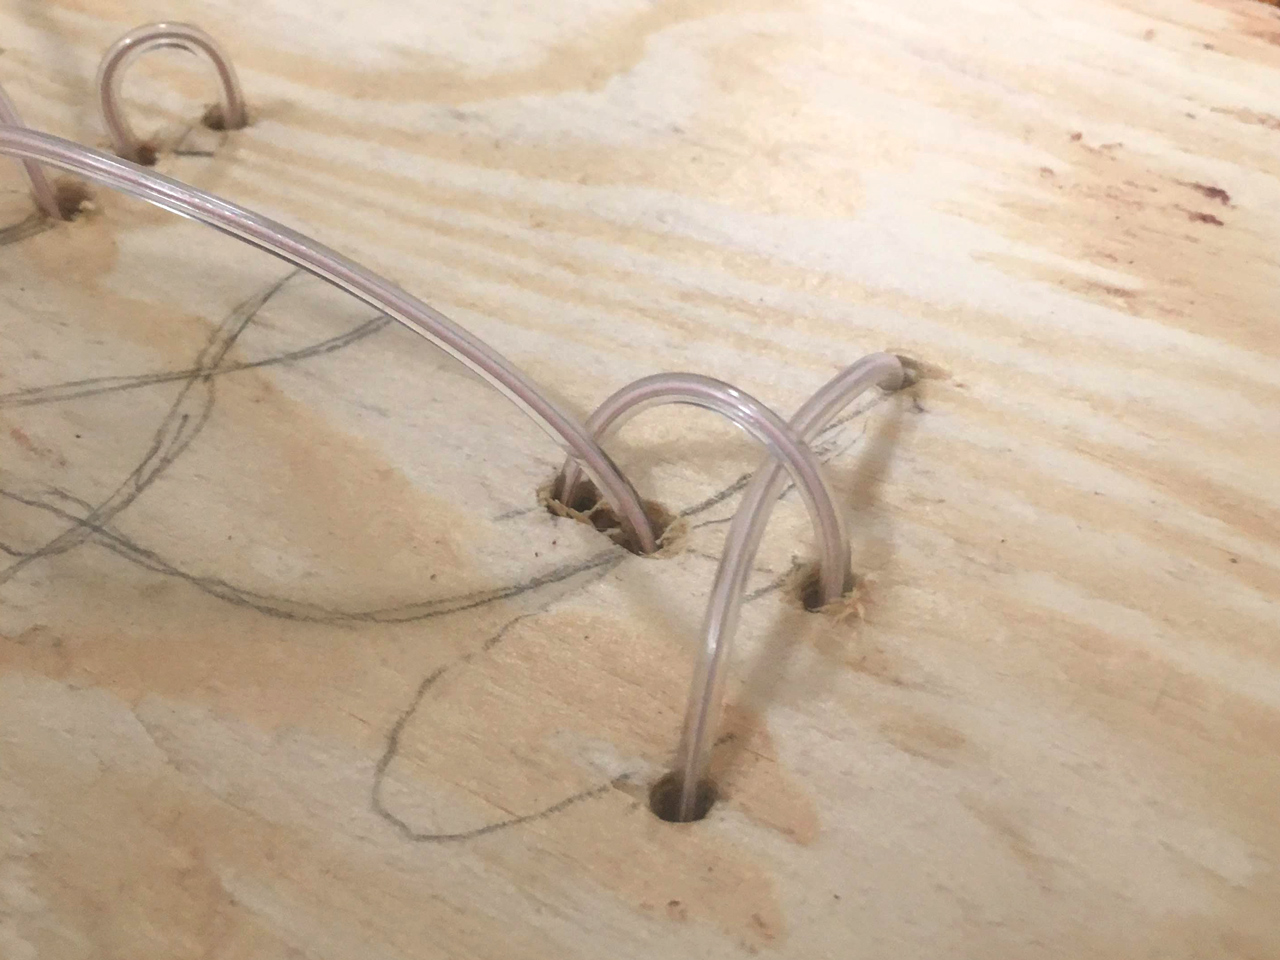
5. Trace your design with the hot glue gun, pressing the wire down as you go. If you choose a word with loops, you will need a LOT of glue.
6. Turn on the switch, and enjoy your neon sign!