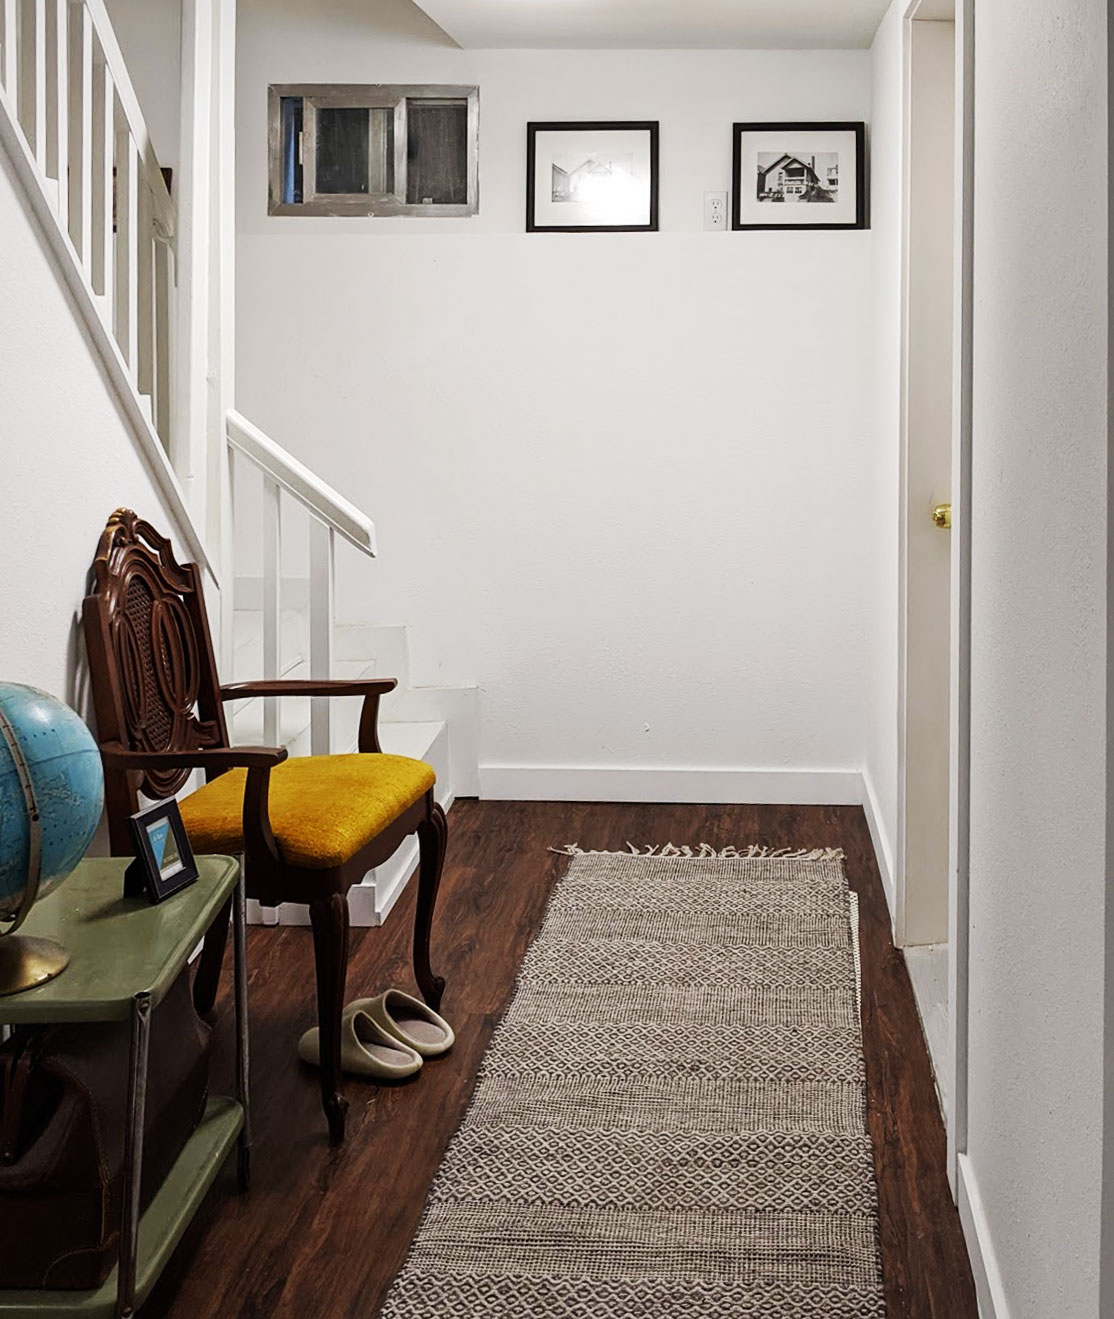
One of the perks of being stranded at home during the quarantine, is that I’m getting a lot of house projects done! I figured this was a good time to tackle a project that I’ve been wanting to do for a while, adding personality to our basement. The setup is a little odd. You come down the stairs, turn right and you are essentially at our garage door. Then there is a hallway, a small open space, a bathroom and two bedrooms. Everything in the basement is white – white stairs (a terrible pain to clean, but beautiful), white walls, white bedding in each room. Don’t get me wrong, I’m all for white spaces, but it just felt a bit plain, especially the area at the bottom of the stairs. So I did what I always do when I need inspiration, I turned to Pinterest. I found the most amazing mud room makeover courtesy of Francois et Moi, and I knew that was the look I wanted. Check out her tutorial here. We followed most of the same steps, but had a few modifications, which I’ll explain below. But first, here is a look at the before.
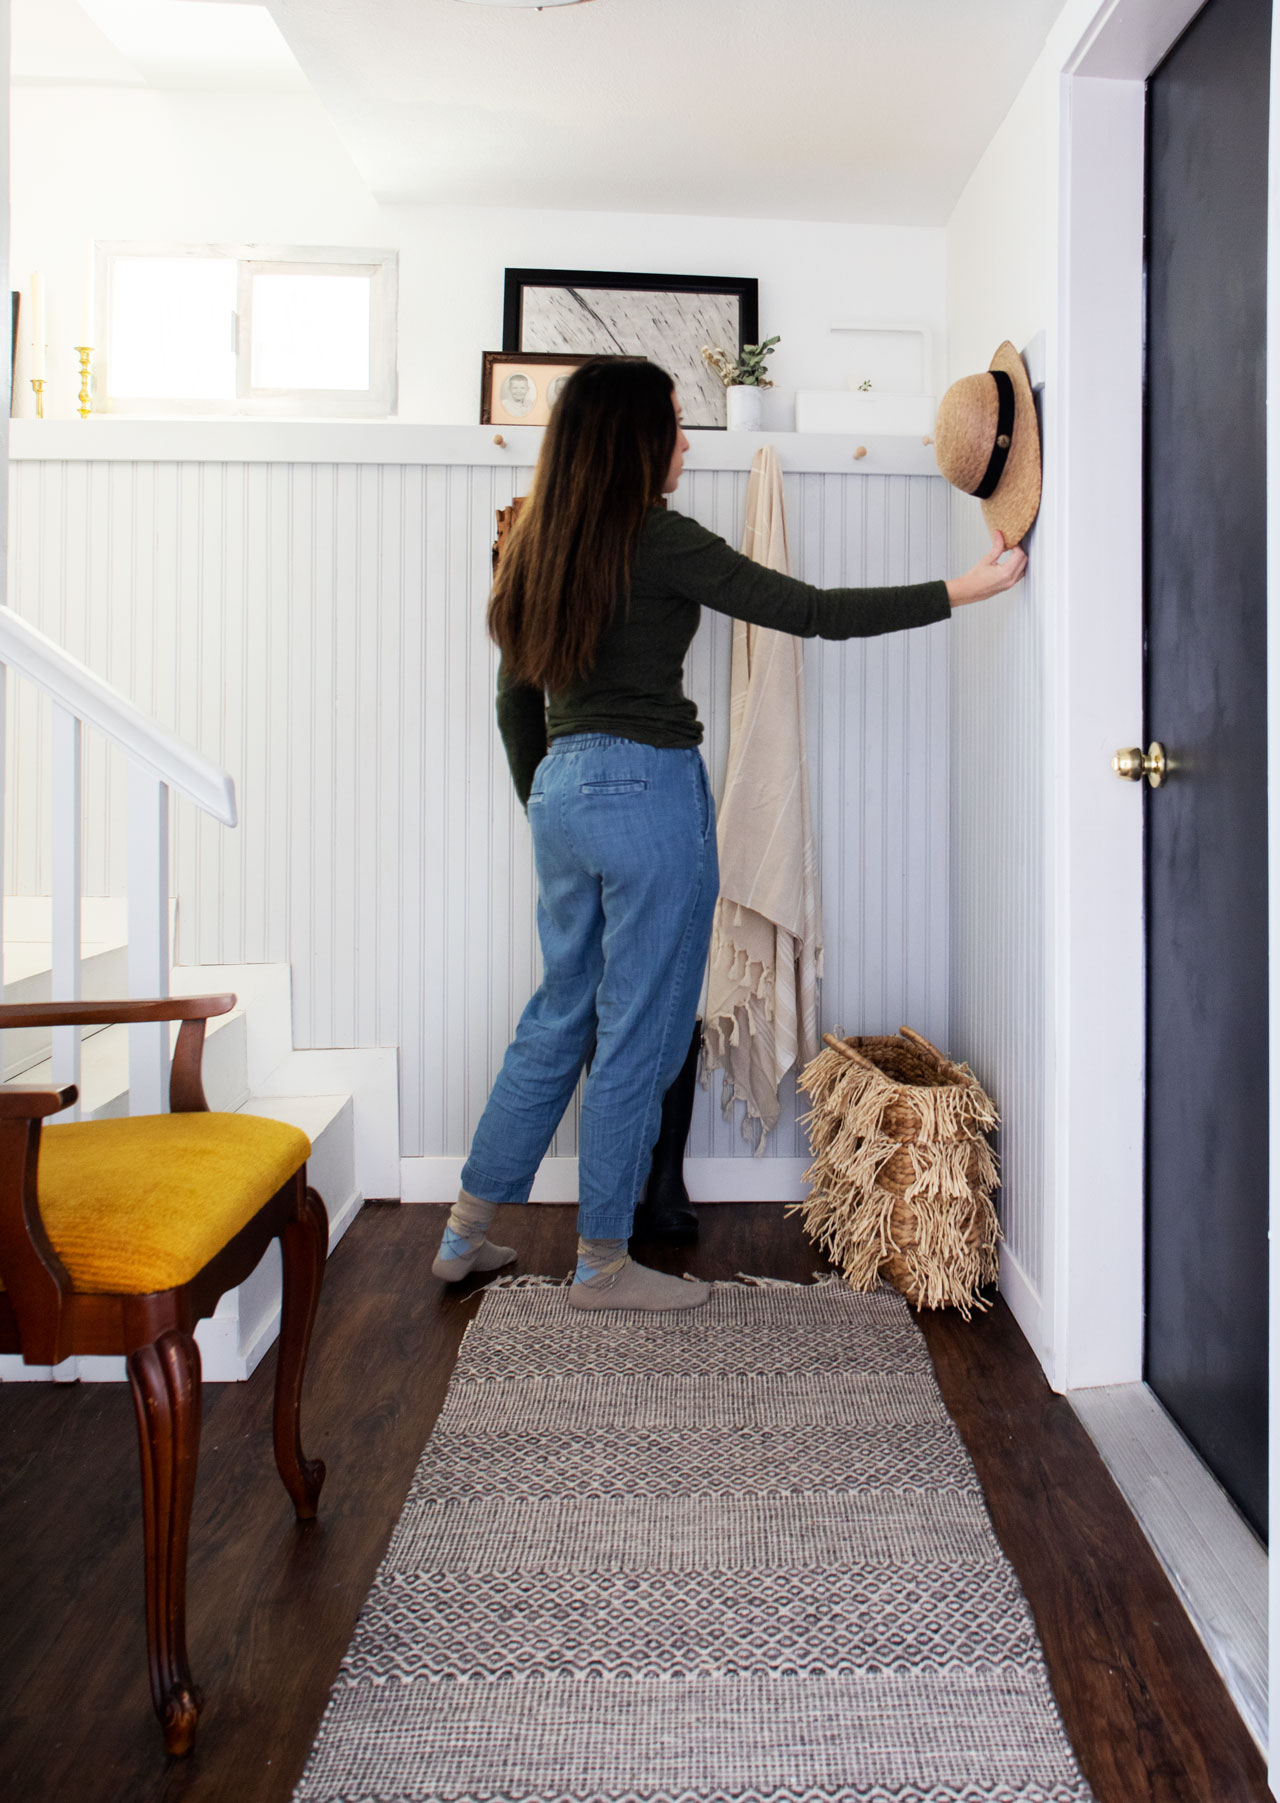
And then the after!! 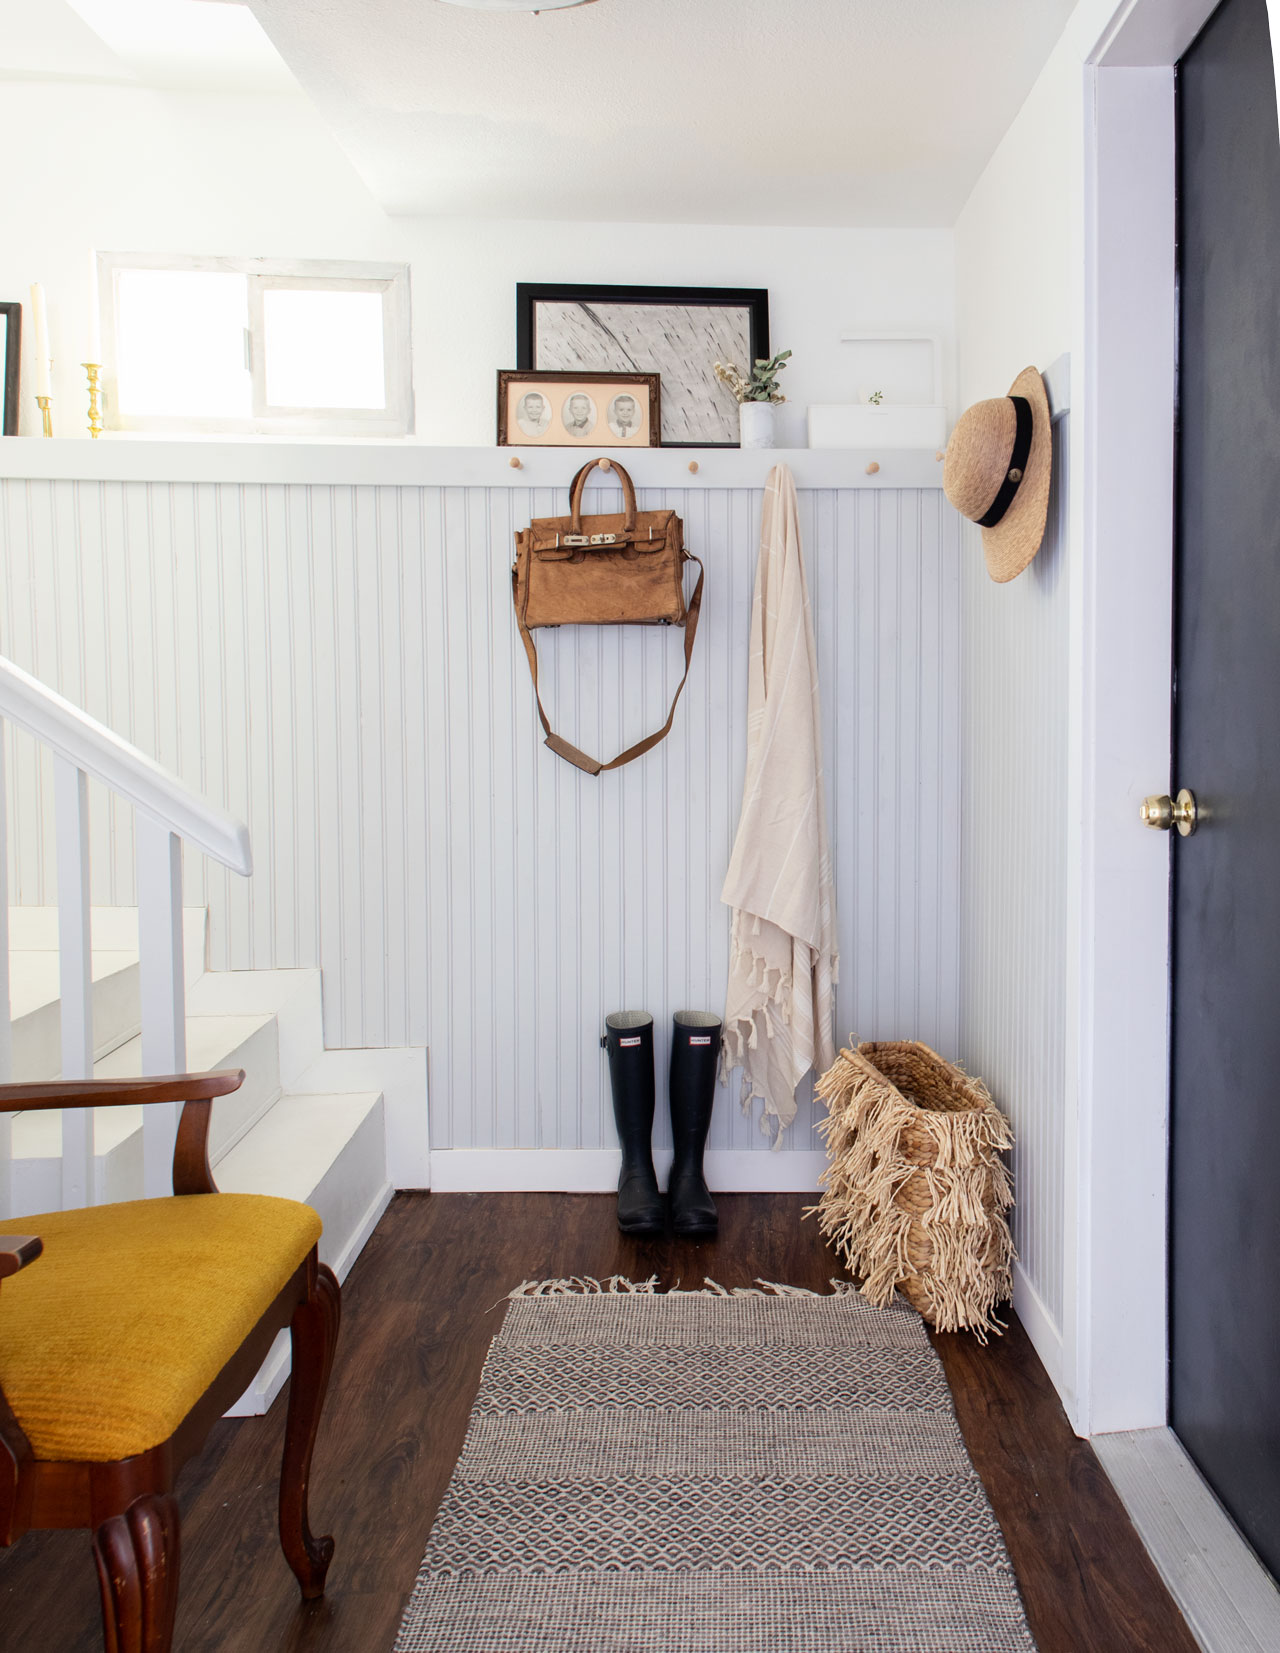
Night and day difference. So now for the details. First off, we used beadboard planks instead of a huge sheet. That was the only way we could fit the beadboard into our car. It made the process take a while, but it worked out fine. Joey took copious measurements of everything and used our new circular saw to make all the necessary cuts. Side bar, how cute is Florence? She wanted to be part of the project, which is very dangerous, so we had to do most of it during her nap and after her bedtime. That’s the toddler life, I guess.
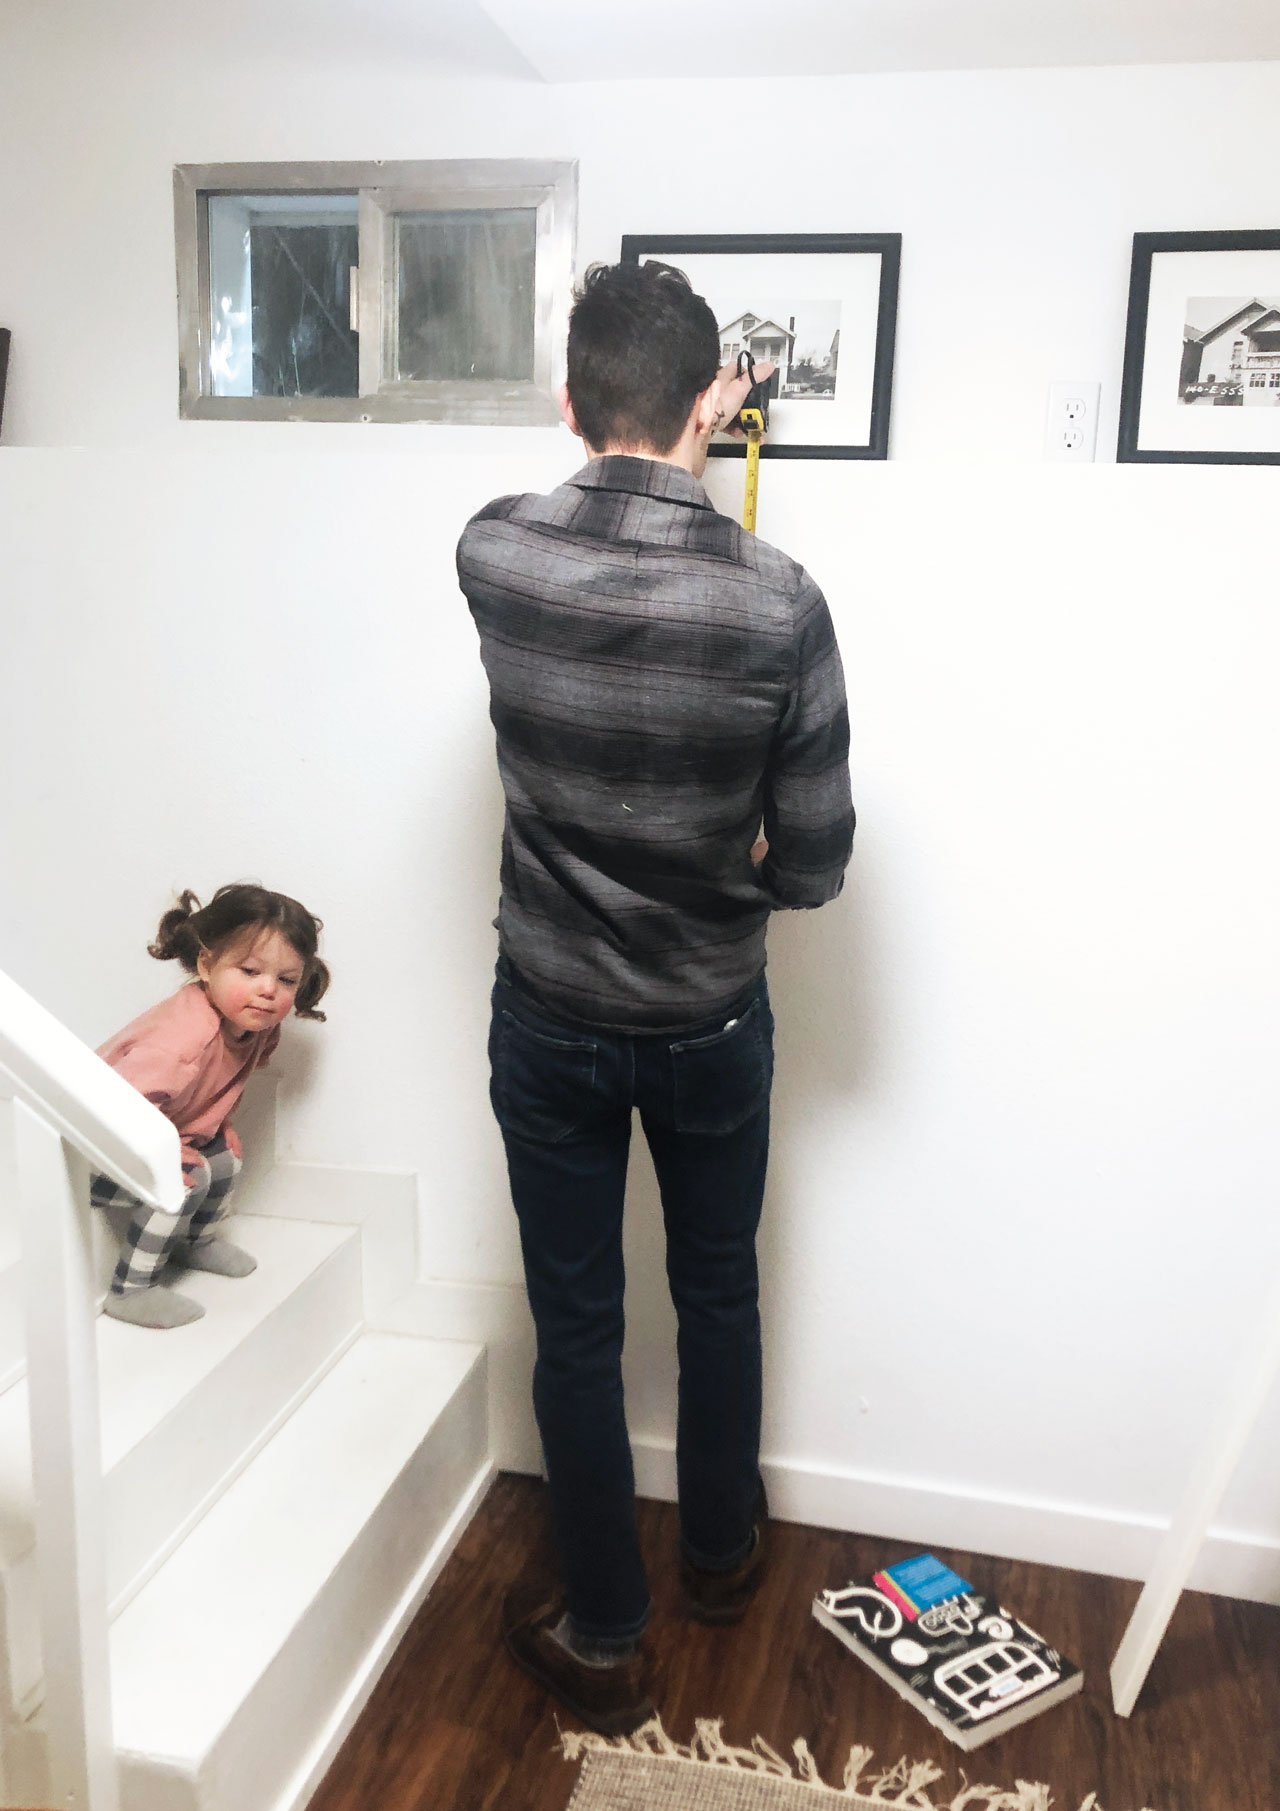
When installing it, we skipped adding liquid nails, which is what most tutorials recommend, and instead just used our brad nail gun. Joey was worried he wouldn’t like the look of the beadboard, so he wanted to install it in a way that would be easier to take down if needed. He is pretty happy with the results, so I don’t think we will be taking it down for a while, but I guess it’s good to know that’s a possibility.

After installation, we added a baseboard to the top and I went to work painting everything. The colors we used are Behr Elemental Gray (Satin) for the beadboard, and Behr Dark Secret (semi gloss) for the door. Then I found these really awesome peg hooks that are screw in, which I installed. And that was basically it – I would call it an intermediate job. Not terribly hard, but it did require some power tools. I’ll leave you with a peek of what it looks like when coming down the stairs.

As you can see, the stairs aren’t the sparkling white that they originally were. I’m trying to decide what I should do about it. I’ve been pondering if a runner would look good. So that might be next on my list of house projects. So stay tuned and see what I finally decide to do (if anything)!