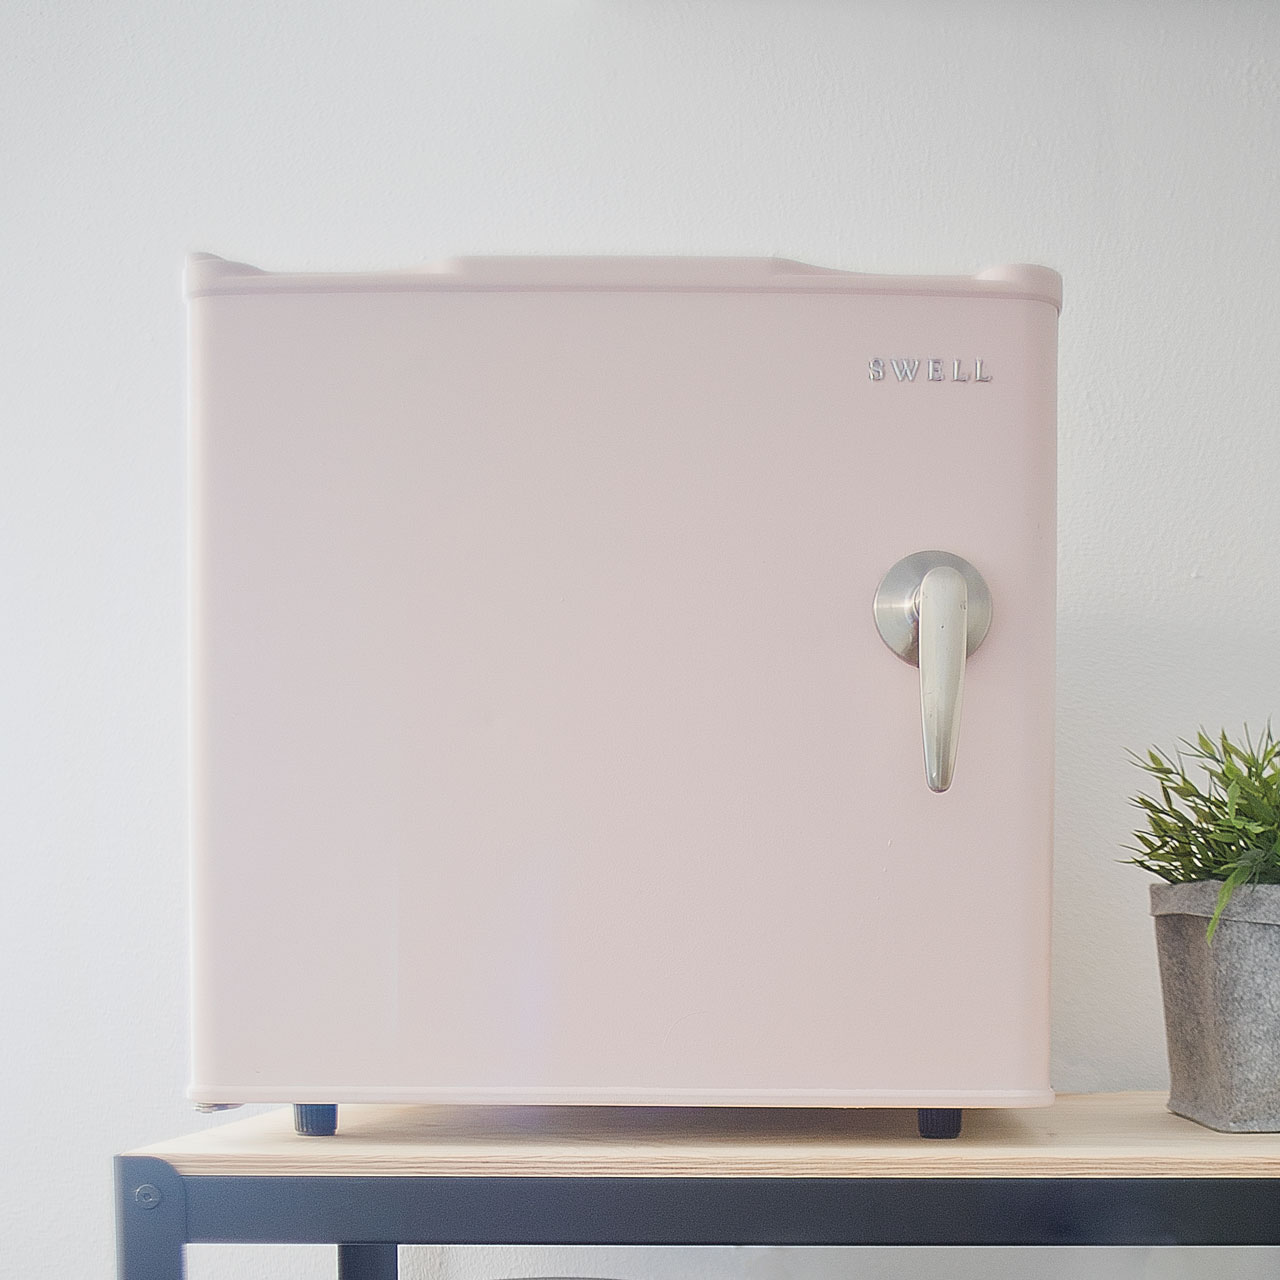
It’s been a while since I’ve done a proper DIY tutorial, so I thought I’d make amends today by sharing a recent project – an adorable retro mini fridge. This all came about because I had been eyeing all the cute, retro mini fridges that seem to be everywhere nowadays. But those suckers are expensive. So I decided to hack my own version from a basic Craigslist fridge. Do you remember when I painted a mini fridge ages ago? It was a pretty popular post and the fridge was so cute. But I donated it to my cube mates at work when I switched teams. So I had to start fresh. And this time, I wanted it to be extra cute because it’s going in our basement where our guest bedrooms are. So I want to stock it with water and treats when we have visitors. And not to toot my own horn, but it turned out awesome.
Here’s the breakdown so you can create your own.
Materials:
- Mini Fridge – Mine was a $25 Craigslist find
- House Paint – I found the pink paint at Home Depot in the discounted pile where they put the rejects
- Retro Door Handle – The one I used was from 2nd Use, a local salvage store
- Metallic Letters – I found some in the scrap booking section at the craft store
- JB Weld
- Sandpaper
- Paint Brush
- Painters Tape
Instructions:
- Sand your mini fridge. When you think you are done, sand it even more. Then wipe off the dust with a wet cloth and let it dry.
- Tape off all the parts of the fridge that you don’t want painted.
- Using a brush or roller, apply light coats of paint. I did 3 coats.
- After the paint dries, apply your handle using JB Weld. I let the handle dry for 48 hours before touching it.
- Choose a “brand” name for your mini fridge and apply the metallic letters. I choose “swell” because it sounds like it totally could have been the name of a retro fridge company back in the day. The letters that I used had adhesive backing, but if yours don’t, you could use superglue to attach them.
It’s not a Smeg, but it’s definitely got the retro vibe that I was going for.
